Unlocking the Secrets of Kinkeliba Propagation: Grow Your Own Healing Herb Garden
Combretum micranthum, more commonly known as Kinkeliba, is a fascinating shrub native to the African savanna. Revered for its medicinal properties and delicious, slightly bitter tea, this hardy plant is gaining popularity among plant enthusiasts worldwide. But how do you go about propagating this unique species? Let’s delve into the secrets of Kinkeliba propagation and unleash your inner green thumb!
Two Paths to Kinkeliba Glory: Seeds vs. Cuttings
Kinkeliba offers two primary propagation methods:
- Seeds: This method requires a touch more patience but rewards you with a greater number of plants.
- Cuttings: A quicker approach, ideal for obtaining a few robust plants.
Sowing the Seeds of Success
While Kinkeliba seeds can be somewhat challenging to find, they offer a rewarding journey for the patient gardener. Here’s a step-by-step guide:
- Source Your Seeds: Seek out reputable online sellers or specialized nurseries that carry Kinkeliba seeds.
- Scarification Secrets: To improve germination rates, gently nick or scarify the hard seed coat with a file. This allows water to penetrate more easily.
- Soaking for Success: Soak the seeds in warm water for 24 hours before sowing.
- Soil Savvy: Choose a well-draining potting mix and plant the seeds about 1/4 inch deep.
- Warmth and Moisture: Kinkeliba thrives in warmth. Maintain a consistent temperature around 75-85°F (24-29°C) using a seedling heat mat if necessary. Keep the soil consistently moist but not waterlogged.
- Patience is Key: Germination can take anywhere from a few weeks to a couple of months. Don’t lose hope!
The Art of the Cutting
Propagating Kinkeliba from cuttings is relatively straightforward:
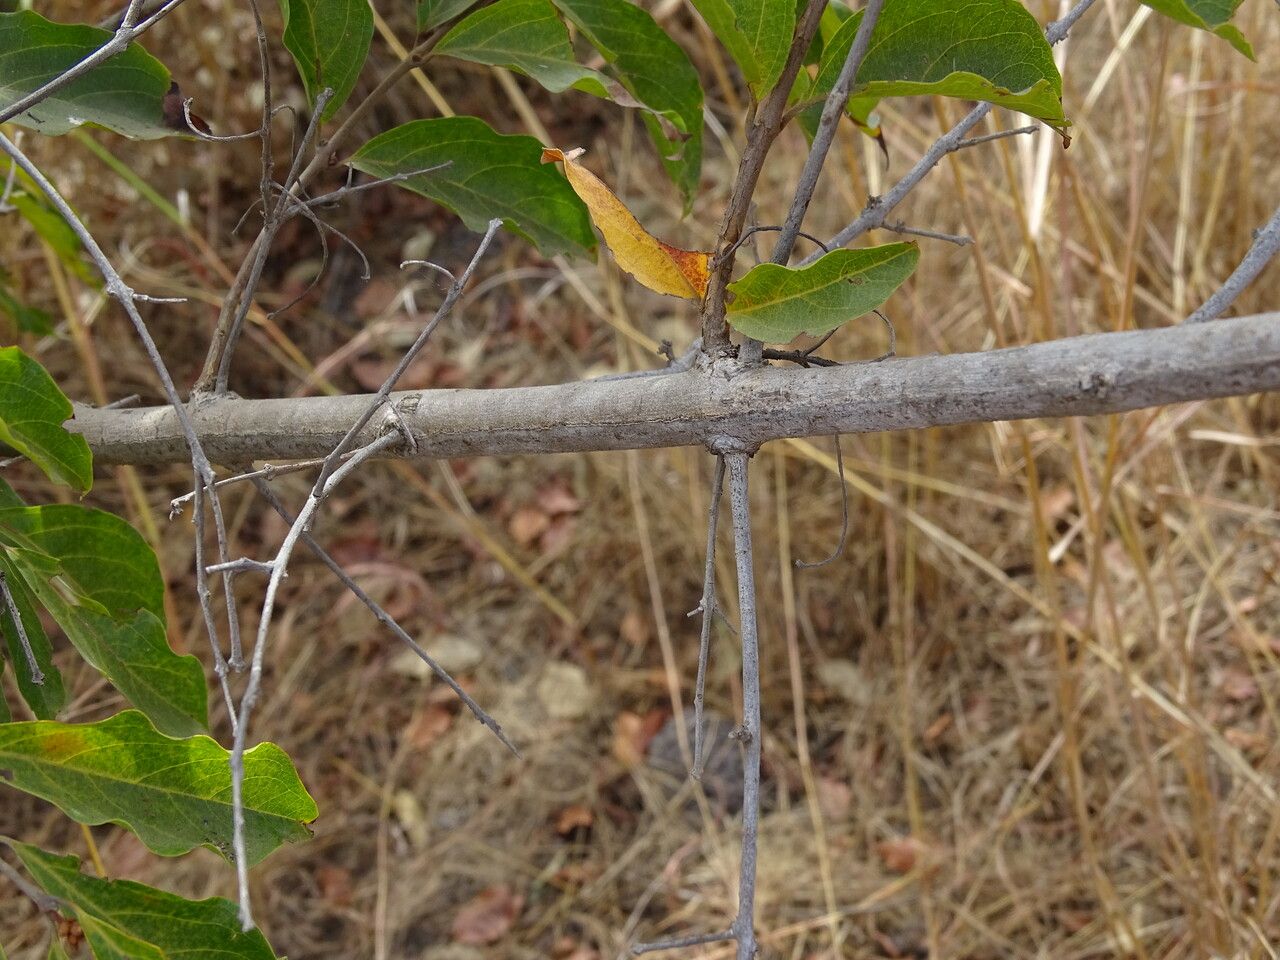
- Timing is Everything: Take cuttings from healthy, mature branches in late spring or early summer. Ideally, choose semi-hardwood cuttings – branches that are firm but still have some flexibility.
- Cut with Precision: Using sharp, sterilized shears, cut a 4-6 inch section just below a leaf node.
- Prepare the Cutting: Remove the leaves from the lower half of the cutting and dip the cut end in rooting hormone powder (optional but recommended).
- Potting Up: Plant the cutting in a pot filled with a well-draining potting mix, burying at least one node below the soil line.
- Moisture and Patience: Water well and cover the pot with a plastic bag or use a humidity dome to maintain moisture. Be sure to provide bright, indirect light. Rooting typically takes 4-6 weeks.
Nurturing Your Kinkeliba
Regardless of your chosen propagation method, young Kinkeliba plants thrive in warm, sunny locations with well-draining soil. Water deeply but infrequently, allowing the soil to dry out slightly between waterings. Fertilize lightly during the growing season.
Reaping the Rewards
With a little patience and care, propagating your own Kinkeliba is a rewarding experience. Soon you’ll be enjoying the fruits of your labor, sipping on a cup of homemade Kinkeliba tea, and reaping the health benefits of this incredible African plant.