Unlocking the Secrets of Pignut Propagation: A Guide to Growing More of This Delectable Wild Edible
The humble Pignut (Conopodium majus), often overlooked as a simple meadow flower, hides a delightful secret beneath the soil: a small, nutty tuber prized by foragers and adventurous eaters alike. If you’re lucky enough to have these charming plants gracing your garden or have access to a sustainable foraging spot, you might be wondering how to cultivate more of this tasty treat. Well, you’re in luck! This article will guide you through the fascinating world of Pignut propagation, unlocking the secrets to multiplying your harvest and enjoying these nutty treasures for years to come.
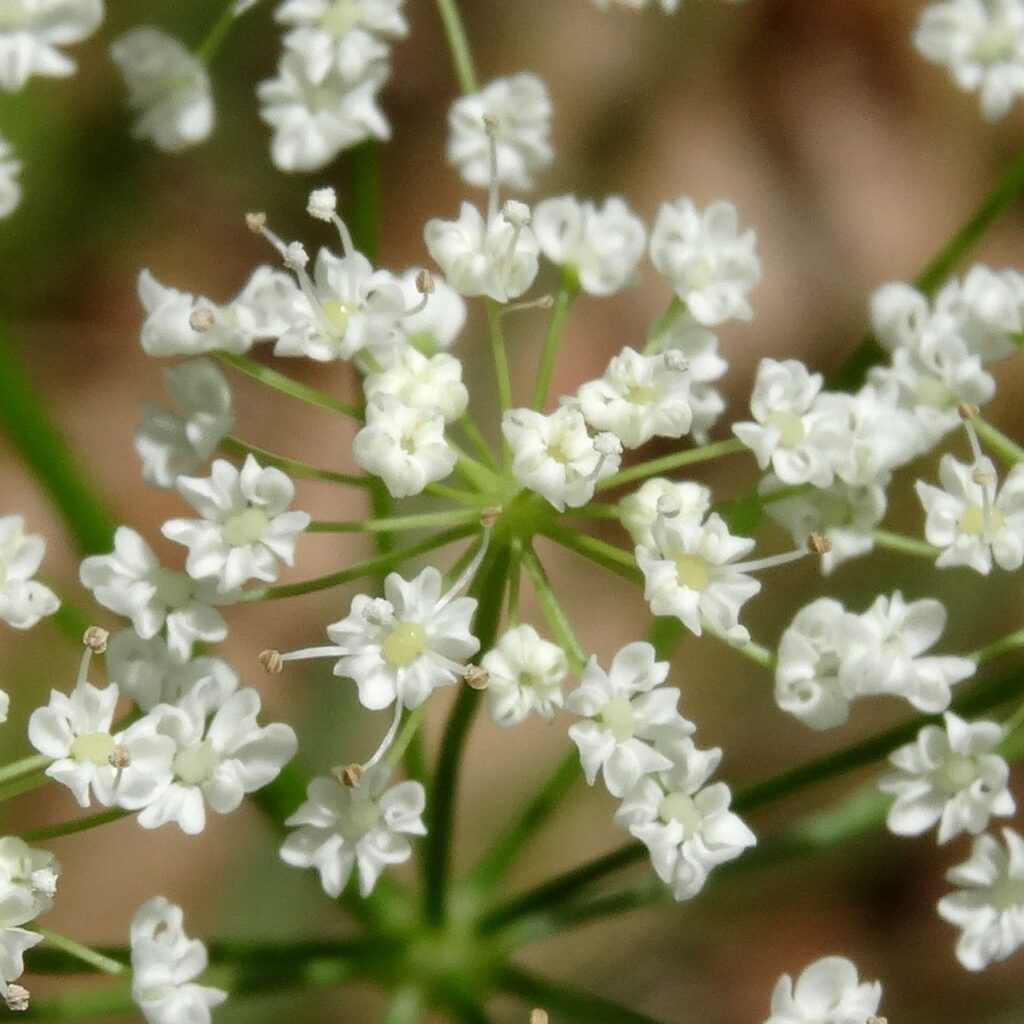
Sowing the Seeds of Success: Propagation by Seed
While a bit more time-consuming, propagating Pignuts from seed offers a rewarding journey for the patient gardener.
1. Seed Collection and Preparation:
- Collect ripe seeds in late summer or early autumn when the seed heads turn brown and brittle.
- Gently rub the seed heads to release the seeds.
- No need for extensive cleaning – a light blow will remove loose debris.
2. Sowing Time and Method:
- For best results, sow freshly collected seeds directly into prepared outdoor beds in autumn.
- Choose a location with partial shade and well-drained, fertile soil.
- Sow seeds thinly, about 1 cm deep, and cover lightly with soil.
3. Germination and Beyond:
- Be patient! Pignut seeds can take several months to germinate, often sprouting the following spring.
- Once seedlings emerge, thin them to about 15-20 cm apart to allow adequate space for growth.
- Water regularly during dry spells and provide a light mulch to retain moisture and suppress weeds.
Tuber Division: A Shortcut to Pignut Paradise
For a quicker and more immediate approach, tuber division is your best bet. This method involves separating and replanting the plant’s underground tubers.
1. Timing is Everything:
- Divide Pignut tubers in late autumn or early spring when the plants are dormant.
- This timing minimizes stress and encourages successful establishment.
2. Digging for Treasure:
- Carefully dig up established Pignut plants, ensuring you lift the entire root system.
- Gently loosen the soil around the tubers, taking care not to damage them.
3. Division and Replanting:
- Look for clusters of tubers that can be easily separated while leaving a good amount of root attached to each section.
- Replant the divided tubers immediately in their new locations, spacing them about 15-20 cm apart.
- Water well and keep the soil consistently moist as the divided tubers establish themselves.
Reaping the Rewards: Harvesting Your Pignut Bounty
Patience is a virtue when it comes to Pignut propagation. Seed-grown plants typically take two to three years to produce substantial tubers. On the other hand, plants started from divisions may reward you with a harvest in their second year.
Once established, Pignuts are relatively low-maintenance and will continue to grace your garden with their delicate foliage and hidden treasures for many years to come.
So, why not embark on the rewarding adventure of Pignut propagation? Whether you choose to sow seeds or divide existing plants, you’ll be well-rewarded with a bounty of these delicious and versatile wild edibles.