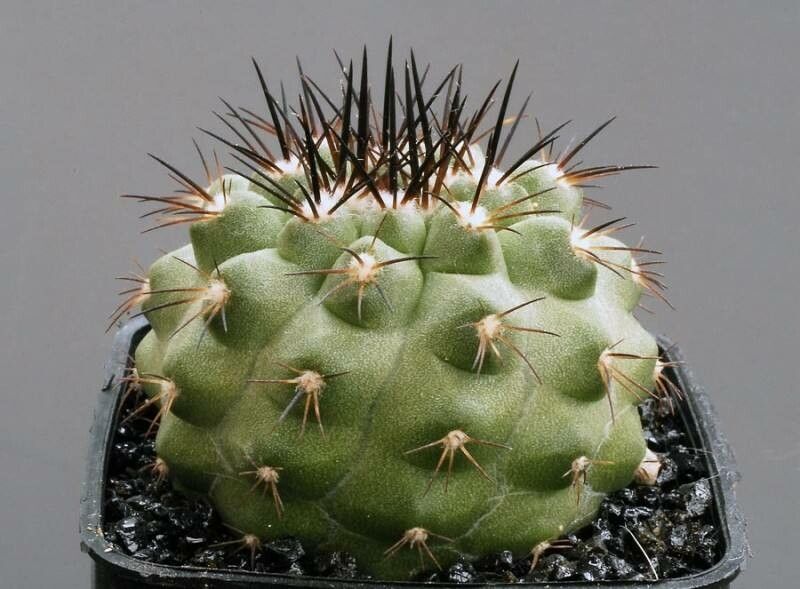
Cracking the Code: Propagating the Majestic Copiapoa angustiflora
The Copiapoa angustiflora, with its striking geometric form and delicate yellow blooms, is a cactus that commands attention. Native to the arid coastal deserts of Chile, this slow-growing beauty poses a unique challenge for plant enthusiasts looking to expand their collections. Fear not, fellow cactus admirers, for this guide will demystify the process of propagating Copiapoa angustiflora, empowering you to nurture new life from these fascinating succulents.
Understanding the Propagation Puzzle:
Copiapoa angustiflora can be propagated through two primary methods:
Seed Propagation: This approach offers a fulfilling journey from seed to mature plant, albeit a lengthy one. Patience is key, as Copiapoa seeds are notoriously slow to germinate and grow.
- Offset (Pup) Removal: This method provides a faster route to establishing new plants by leveraging the natural tendency of mature Copiapoa to produce offsets. It involves carefully detaching and rooting these miniature versions of the parent plant.
Method 1: Sowing the Seeds of Patience
Sourcing Quality Seeds: Start with fresh, viable seeds from a reputable supplier. Copiapoa seeds can lose viability quickly, so freshness is crucial.
Preparing the Seedbed: Create a well-draining soil mix using a blend of pumice, perlite, and a small amount of cactus potting mix. Moisten the mix thoroughly.
Sowing the Seeds: Sprinkle the seeds sparsely across the surface of the soil and gently press them in, ensuring they are not buried.
Creating a Humid Environment: Cover the container with a clear lid or plastic wrap to maintain high humidity, essential for germination. Place the container in a brightly lit area, but out of direct sunlight.
Maintaining Warmth and Moisture: Ensure a consistent temperature around 70-80°F (21-27°C). Mist the soil surface regularly to prevent it from drying out completely.
- Exercising Patience: Germination can take several weeks to months. Resist the urge to overwater, as this can lead to rot. Once seedlings emerge, gradually expose them to more light.
Method 2: Embracing the Offset Opportunity
Identifying Viable Offsets: Look for offsets that have developed a good root system and are at least an inch in diameter.
Careful Removal: Using a clean, sharp knife or shears, carefully detach the offset from the parent plant, ensuring you retain some roots on the offset.
Callusing the Wound: Allow the cut surface of both the offset and the parent plant to callus over for several days to a week. This prevents fungal infections.
Planting the Offset: Prepare a well-draining soil mix as you would for seeds. Gently insert the offset into the soil, ensuring the roots are covered.
Minimal Watering: Water sparingly, allowing the soil to dry out completely between waterings. Overwatering is the biggest risk at this stage.
- Observing Growth: With proper care, your offset should establish roots and begin new growth. Be patient, as it may take several weeks for signs of growth to appear.
Nurturing Your Copiapoa Success Story:
Regardless of the propagation method you choose, the key to success with Copiapoa angustiflora lies in mimicking its natural, arid environment. Provide plenty of bright, indirect light, water sparingly, and ensure excellent drainage. With patience, dedication, and a touch of luck, you’ll soon witness the rewarding experience of watching your Copiapoa progeny thrive.