Taming the Giant Sea Kale: A Guide to Propagating Crambe arborea
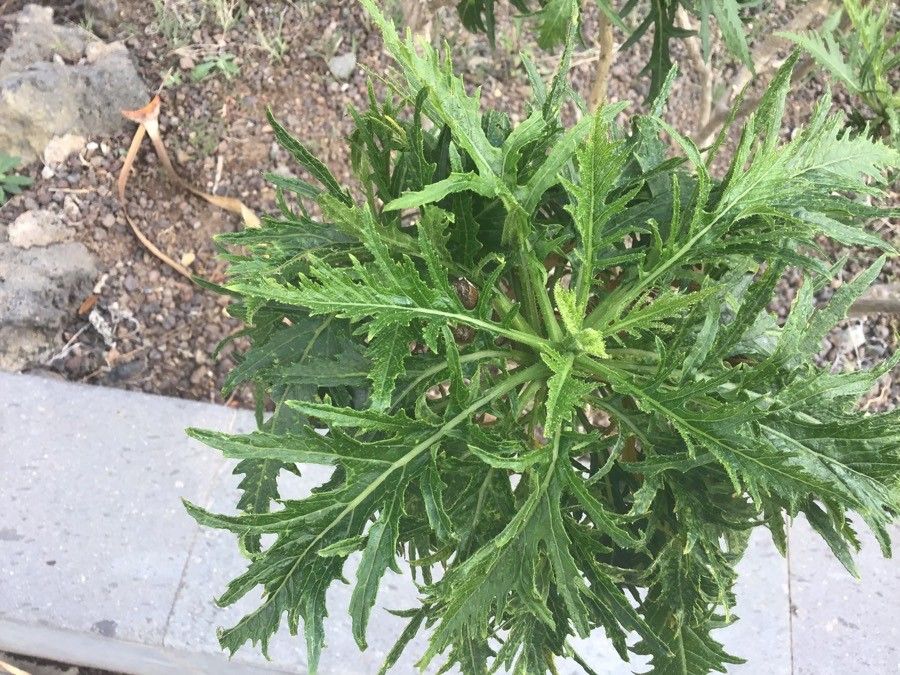
The horticultural world is full of hidden gems, and Crambe arborea, better known as giant sea kale, is certainly one of them. This stunning plant, hailing from the Canary Islands, captivates with its colossal, architectural foliage and ethereal sprays of tiny white flowers. While its size might intimidate some gardeners, propagating Crambe arborea is an achievable feat that offers a rewarding challenge.
Two Paths to Propagation:
Giant sea kale can be propagated in two ways: by seed and by basal cuttings. Each method has its own pros and cons, appealing to different gardening styles and experience levels.
1. The Seed Route: Embracing the Element of Surprise
Propagating Crambe arborea from seed is an adventure for the patient gardener. Here’s what you need to know:
- Sourcing Seeds: Your best bet is to obtain fresh seeds from a reputable supplier, as germination rates can be variable.
- Sowing Time: Sow seeds in late winter or early spring in seed trays filled with well-draining compost.
- Germination Patience: Be prepared to wait, as germination can take anywhere from a few weeks to a couple of months. Maintaining consistent moisture and a warm temperature (around 20°C) will encourage sprouting.
- Pricking Out and Potting On: Once seedlings are large enough to handle, prick them out into individual pots and grow them on until they are robust enough to plant out the following spring.
Pros:
- Cost-effective: Seeds are generally more budget-friendly than purchasing established plants.
- Potential for Variation: Seed-grown plants can exhibit slight variations, adding an element of surprise to your garden.
Cons:
- Slow Process: Growing Crambe arborea from seed requires considerable time and patience.
2. Basal Cuttings: A Faster Track to Success
If you prefer a quicker and more reliable method, basal cuttings are the way to go. This technique offers a higher success rate and lets you enjoy your giant sea kale sooner.
- Timing is Key: The ideal time to take basal cuttings is in late spring or early summer when new growth is actively emerging.
- Cut and Treat: Carefully select healthy, non-flowering shoots and cut them at the base, ensuring you take a small section of the rootstock (heel). Dip the cut end in rooting hormone to encourage root development.
- Plant and Protect: Insert cuttings into a pot filled with a well-draining rooting mix. Place the pot in a warm, bright location out of direct sunlight. Covering the pot with a plastic bag can help maintain humidity and promote rooting.
- Transplanting: Once cuttings have developed a healthy root system, usually after a few weeks, transplant them into individual pots and grow them on until the following spring when they are ready for their permanent position in your garden.
Pros:
- Faster Results: Basal cuttings offer a quicker turnaround time compared to starting from seed.
- Preserves Plant Characteristics: Cuttings will produce plants that are genetically identical to the parent plant, ensuring the same growth habit and floral display.
Cons:
- Requires a Parent Plant: You’ll need access to an established Crambe arborea plant to take cuttings.
Worth the Effort:
No matter which propagation method you choose, successfully growing your own Crambe arborea is a rewarding experience. This architectural marvel will become a showstopping centerpiece in your garden, adding drama and textural interest for years to come.