Growing Greenery: Propagating Your Own Thuja Occidentalis
The Thuja occidentalis, also known as Eastern white cedar or American arborvitae, is a popular evergreen conifer prized for its hardiness and versatility in the landscape. Whether you envision a stately hedge, a privacy screen, or simply want to add more of these vibrant green beauties to your yard, propagating your own Thuja occidentalis is a rewarding endeavor. Let’s explore two common methods: propagation from cuttings and growing from seed.
Method 1: Taking Cuttings (For Faster Results)
Propagating from cuttings involves encouraging a piece of the parent plant to develop roots and grow into a new, independent plant. This method is generally faster than growing from seed and ensures you get a genetically identical copy of the parent plant:
1. Timing is key: Take cuttings in late spring or early summer, when the plant is actively growing and the stems are semi-hardwood.
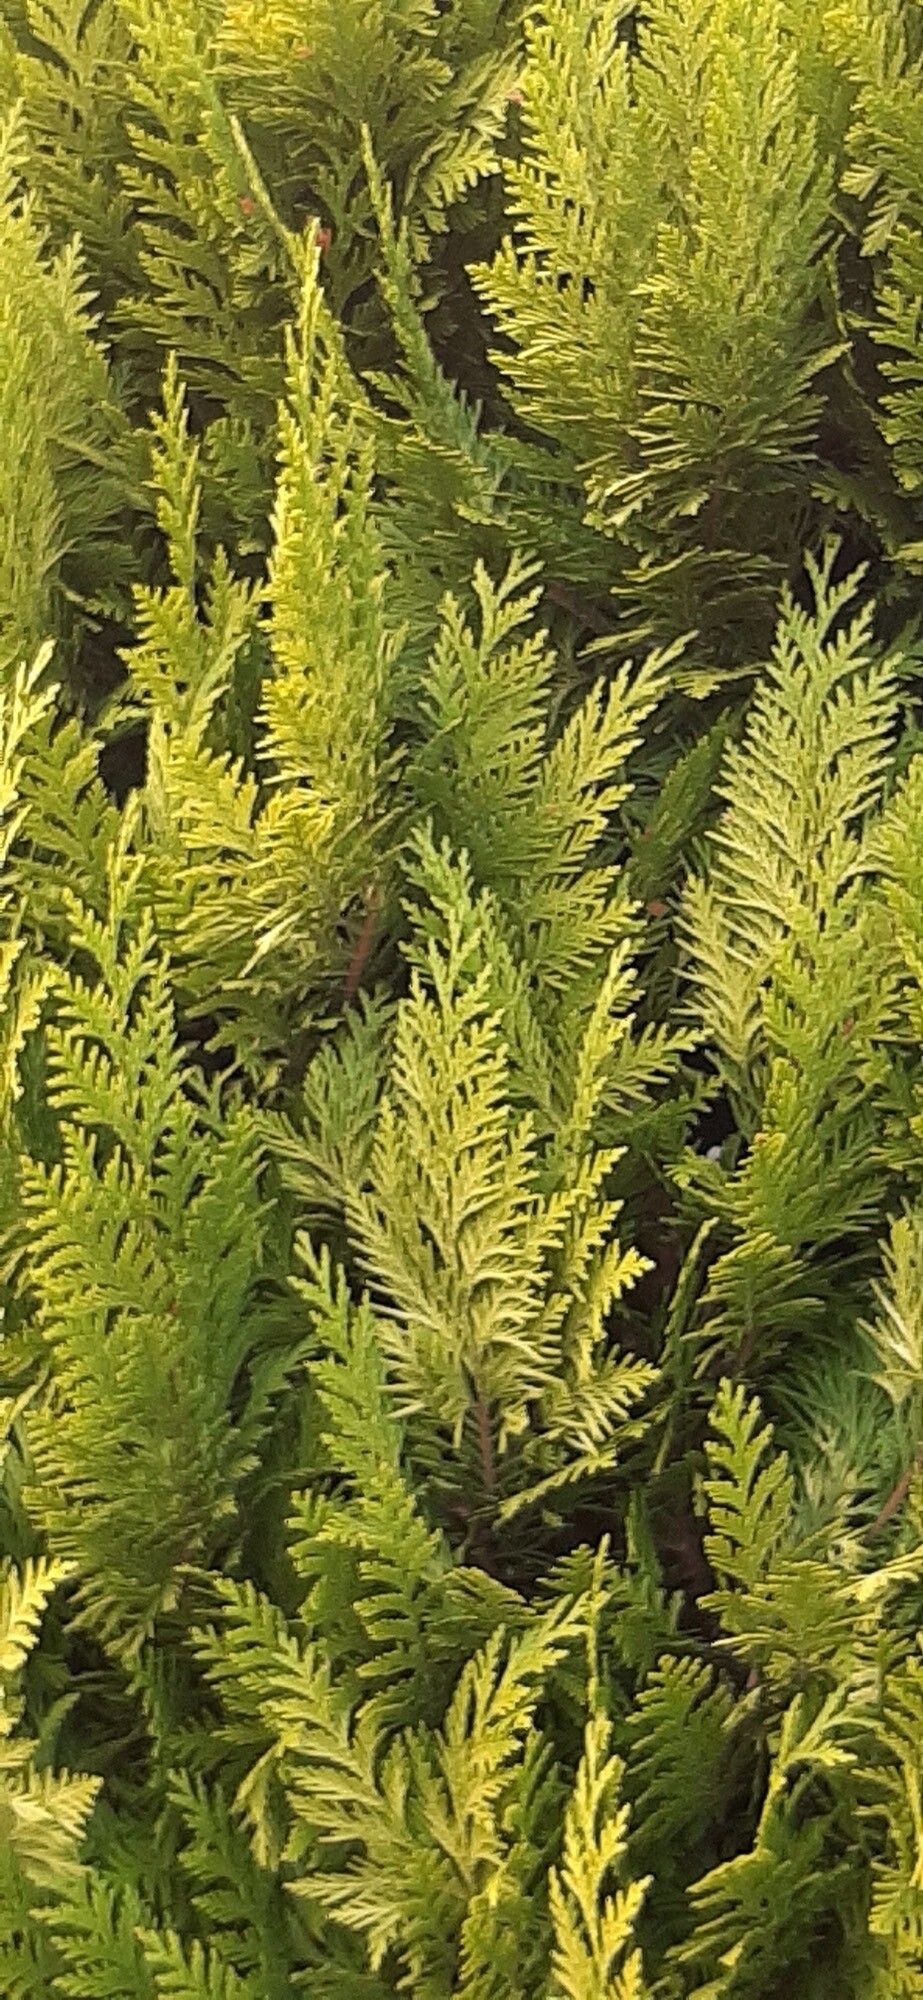
2. Choosing the right cutting: Select healthy, vigorous shoots that are 4-6 inches long and from the current year’s growth.
3. Preparing the cutting: Using clean, sharp pruning shears, make a cut just below a leaf node (where the leaves emerge from the stem). Remove the lower leaves from the cutting, leaving only a few at the top.
4. Encouraging root development: Dip the cut end of the cutting in rooting hormone powder to stimulate root growth.
5. Planting the cutting: Fill a small pot with a well-draining potting mix. Make a hole in the mix with your finger or a pencil, and gently insert the bottom inch or two of the cutting into the hole. Firm the mix around the cutting.
6. Creating a humid environment: Cover the pot with a clear plastic bag or humidity dome to maintain moisture around the cutting. Place the pot in a bright location, but out of direct sunlight.
7. Patience is a virtue: It may take several weeks or even months for roots to develop. Check the soil moisture regularly, and water when the top inch feels dry. Once new growth appears, you’ll know your cutting has rooted!
Method 2: Starting from Seed (For the Adventurous Gardener)
While propagating Thuja occidentalis from seed takes longer, it can be a rewarding experience. Keep in mind that trees grown from seed may not be identical to the parent plant.
1. Collect the seeds: In late summer or early fall, collect mature cones from the Thuja occidentalis.
2. Extract the seeds: Spread the cones out in a dry, warm location to allow them to open and release the seeds.
3. Stratification (Mimicking winter): Thuja occidentalis seeds require a period of cold stratification to break dormancy and germinate. Place the seeds in a moist paper towel, seal them in a plastic bag, and store them in the refrigerator for 6-8 weeks.
4. Sowing the seeds: In spring, fill seed trays or pots with a seed-starting mix. Sow the seeds about ¼ inch deep and lightly cover them with the mix.
5. Providing the right environment: Water the seeds gently and place the trays/pots in a bright location, out of direct sunlight. Maintain a temperature of around 70°F (21°C).
6. Transplanting the seedlings: Once the seedlings have developed a few sets of true leaves and are large enough to handle, transplant them into individual pots or outside into a prepared bed.
Caring for Your Thuja Occidentalis:
Whether you choose to propagate from cuttings or seeds, proper care is essential for healthy growth. Ensure your Thuja occidentalis receives adequate sunlight (at least 6 hours per day) and well-drained soil. Water them regularly, especially during dry periods, and fertilize them in spring with a balanced fertilizer.
Propagating your own Thuja occidentalis is a gratifying way to expand your garden and create a lush landscape. With patience and care, you’ll enjoy the beauty and resilience of these evergreen treasures for years to come.