Sun Spots on Repeat: Propagating the Delightful Hoary Frostweed
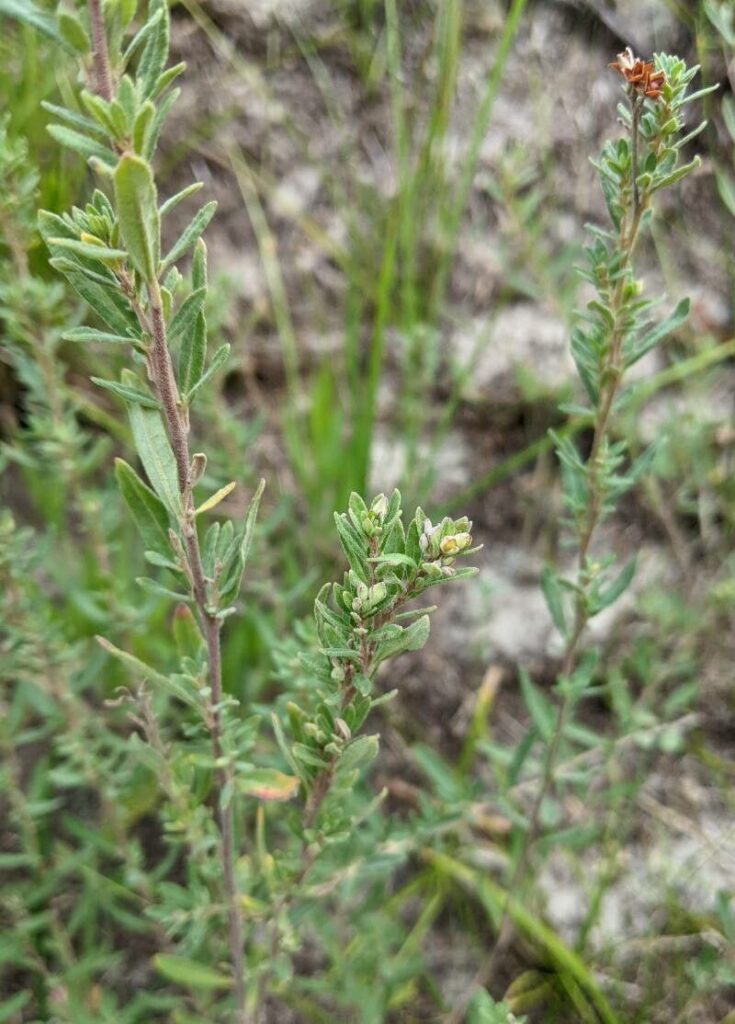
The Hoary Frostweed (Crocanthemum bicknellii), with its charming, sun-kissed blooms, can be a delightful addition to any sunny garden. This North American native, known for its resilience and delicate beauty, isn’t just a feast for the eyes; it’s also surprisingly easy to propagate, allowing you to multiply your floral bounty without breaking the bank (or your back!). Let’s explore the most effective ways to propagate this sun-loving beauty.
Seeds: Sowing the Future of Your Frostweed Patch
The most common method for propagating Hoary Frostweed is through seeds. Here’s a step-by-step guide:
- Collection: After flowering, the Hoary Frostweed produces small, round seed capsules. Allow these capsules to dry on the plant completely. Once dry, they will easily split open, revealing tiny black seeds.
- Storage: Store collected seeds in a cool, dry place until you’re ready for sowing.
- Sowing Time: Aim to sow your seeds either in late fall for natural outdoor stratification (the process of subjecting seeds to cold temperatures to encourage germination) or indoors 6-8 weeks before the last expected frost.
- Soil and Sunlight: Hoary Frostweed thrives in well-draining soil. If sowing indoors, use a seed-starting mix and provide ample sunlight or grow lights.
- Transplanting: Once seedlings are a few inches tall and the danger of frost has passed, harden them off (gradually acclimate them to outdoor conditions) and transplant them to your desired location.
Cuttings: Cloning Your Favorite Blooms
For a faster and more controlled propagation method, consider taking stem cuttings. Follow these simple steps:
- Timing is Key: The ideal time to take cuttings is in the spring when the plant is actively growing.
- Making the Cut: Using a clean, sharp knife or pruning shears, take 4-6 inch cuttings from healthy, non-flowering stems.
- Preparation is Key: Remove the lower leaves from the cutting, leaving 2-3 leaves at the top.
- Rooting Hormone (Optional): Dip the cut end of the stem in rooting hormone to encourage faster root development.
- Planting the Cutting: Plant the cutting in a well-draining potting mix, burying the leaf nodes (bumps where leaves were attached).
- Humidity and Warmth: Provide a warm and humid environment for your cuttings. You can achieve this by covering the pot with a plastic bag or using a humidity dome.
- Patience: After several weeks, gently tug on the cutting to check for root development. Once roots have formed, you can transplant the cutting into a larger pot or your garden.
Dividing Established Plants: Sharing the Bounty
For mature Hoary Frostweed plants, division is an excellent propagation technique. Here’s how to do it:
- Early Spring is Ideal: Divide plants in early spring before new growth begins.
- Digging Up: Carefully dig up the entire plant, ensuring you get as much of the root system as possible.
- Dividing the Clump: Use a sharp knife or spade to divide the plant into smaller sections, each with a good amount of roots and shoots.
- Replanting: Replant the divisions at the same depth they were originally growing and water them thoroughly.
Propagating your own Hoary Frostweed is a rewarding experience for gardeners of all skill levels. Whether you choose seeds, cuttings, or division, you’ll be rewarded with more of these captivating plants to brighten your landscape. So go ahead, get propagating, and let your sunshine garden flourish!