
Unlocking the Secrets of Crotalaria Pumila: A Guide to Propagation
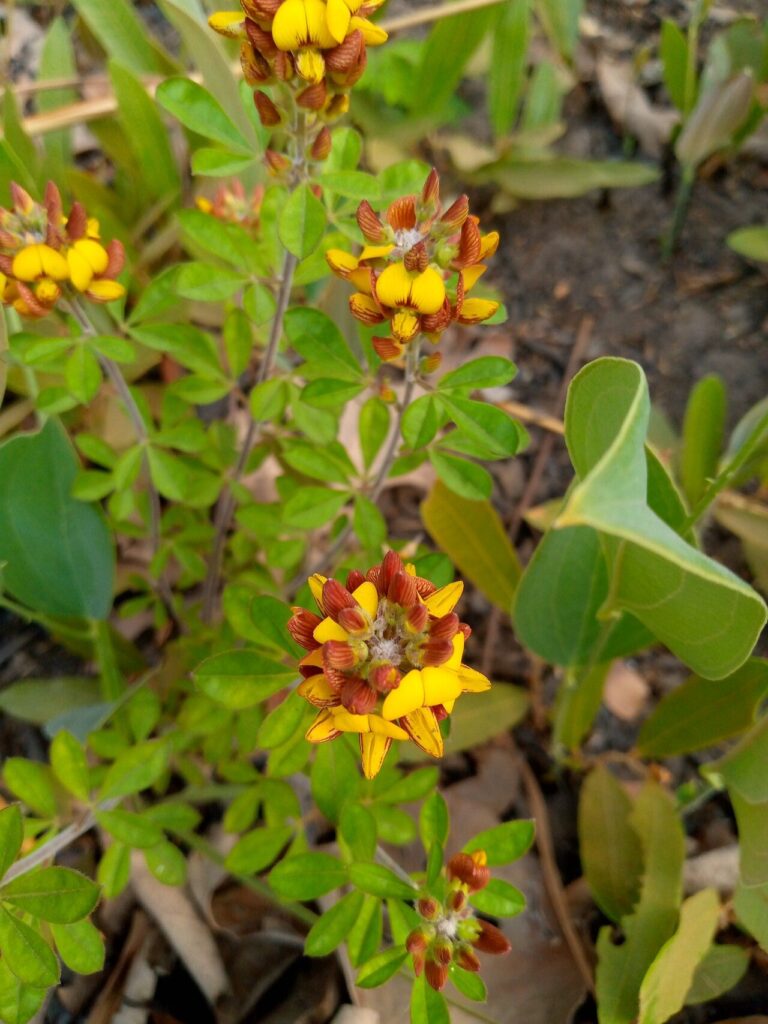
Crotalaria pumila, more charmingly known as the Low Rattlebox or Dwarf Rattlebox, is a delightful plant boasting vibrant yellow blooms that resemble tiny butterflies. This North American native, reaching a modest height of one to two feet, isn’t just easy on the eyes, it’s also incredibly beneficial for the environment. As a legume, it fixes nitrogen in the soil, enriching it and benefitting surrounding plants. But how do you introduce this charming and helpful plant to your own garden? Let’s delve into the world of Crotalaria pumila propagation!
Seeds: Your Gateway to Crotalaria Pumila Success
The most common and reliable method for propagating Crotalaria pumila is through seeds. Here’s a step-by-step guide:
-
Seed Collection: As the vibrant yellow flowers fade, they give way to small, pod-like seed heads. Once these pods turn brown and dry out, gently collect them. You can often hear the mature seeds rattling inside, hence the “rattlebox” moniker.
-
Scarification Secrets: Crotalaria pumila seeds have a hard outer coating that can be a barrier to germination. To encourage sprouting, we need to employ a little trick called scarification:
- Hot Water Treatment: Place the seeds in a heat-safe container and pour boiling water over them. Let them soak overnight.
- Mechanical Scarification: Carefully nick or sand the seed coat, just enough to break the surface.
-
Sowing Time: You have two choices for sowing:
- Direct Sowing: After the last frost, sow your scarified seeds directly into your garden bed. Choose a location with full sun to partial shade and well-draining soil.
- Indoor Sowing: Start seeds indoors 4-6 weeks before the last frost. Use a seed starting mix and provide ample sunlight or grow lights.
-
Planting Depth: Plant seeds about ¼ inch deep in the soil and water gently.
- Patience is Key: Depending on the method and conditions, germination can take anywhere from 1 to 3 weeks.
Transplanting Your Seedlings
If you started your seeds indoors, once they have at least two sets of true leaves, they are ready to be transplanted outside after the last frost. Carefully harden them off over a week before planting them in their permanent location.
Beyond Seeds: Exploring Other Propagation Methods
While seeds reign supreme for Crotalaria pumila propagation, some gardeners have reported success with cuttings:
- Take Cuttings: Select healthy, non-flowering stems. Cut a 4-6 inch section, removing the lower leaves.
- Rooting Hormone (Optional): Dip the cut end in rooting hormone to encourage root development.
- Plant in Moist Medium: Plant the cutting in a well-draining potting mix.
- Create a Humid Environment: Cover the cutting with a plastic bag or humidity dome to trap moisture.
- Patience is Crucial: Rooting can take several weeks. Monitor for new growth as a sign of successful rooting.
Caring for Your Crotalaria Pumila
Once established, Crotalaria pumila is relatively low maintenance. Water regularly until established, especially during dry periods. Fertilizing is generally not necessary due to the plant’s nitrogen-fixing abilities. Deadheading spent flowers can encourage more blooming.
Spreading the Joy (and Seeds!)
As your Crotalaria pumila thrives, you’ll likely find yourself wanting to share its beauty and benefits. Save seeds from your plants to share with fellow gardening enthusiasts or to expand your own patch of these charming, eco-friendly blooms. By mastering the art of propagation, you can help ensure that Crotalaria pumila continues to brighten gardens and enrich the environment for years to come.