
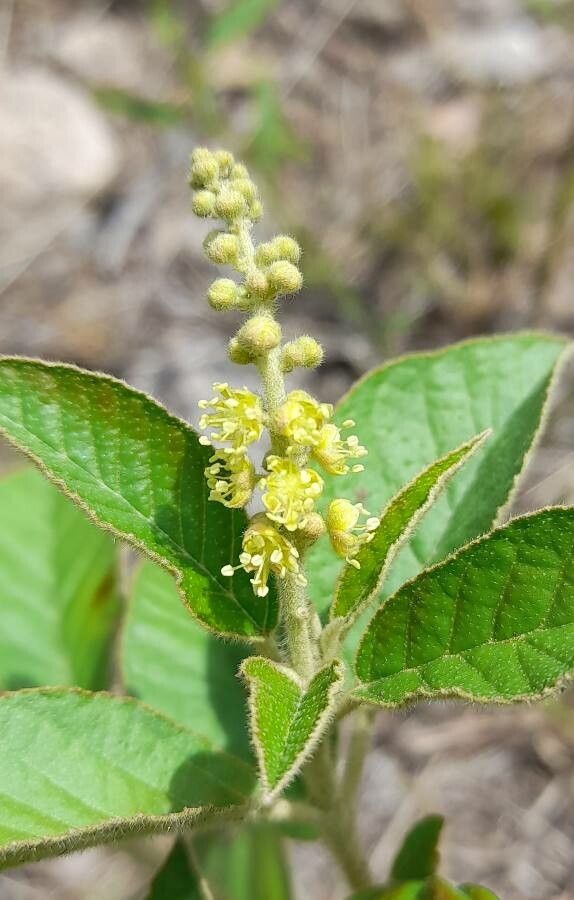
Unleashing the Fiery Beauty of Croton Fulvus: A Guide to Propagation
Croton Fulvus, also known as the woolly croton, captivates with its vibrant foliage, boasting shades of orange, red, and yellow like flames dancing on its leaves. If you’re yearning to expand your collection or share this fiery beauty with friends, propagation is the way to go! Here’s a comprehensive guide to successfully propagate Croton Fulvus and ignite your gardening success:
Understanding the Basics
Croton Fulvus, primarily propagated through stem cuttings, offers a rewarding experience for both novice and seasoned gardeners. The key to success lies in providing the right environment and care for the cuttings to develop roots and flourish.
Step-by-Step Propagation Guide:
-
Timing is Key: Spring and early summer, when the plant is actively growing, are the optimal times for successful propagation.
-
Gather Your Tools: You’ll need:
- Sharp, sterilized pruning shears or a knife
- Small pots (2-4 inches in diameter)
- Well-draining potting mix specifically formulated for cuttings
- Rooting hormone (optional but beneficial)
- A spray bottle filled with water
-
Taking the Cutting:
- Choose a healthy stem with at least 3-4 nodes (small bumps on the stem where leaves emerge).
- Cut a 4-6 inch section from the tip of the stem just below a node, ensuring a clean cut.
- Remove the leaves from the bottom inch of the cutting.
-
Prepare the Cutting:
- Dip the cut end of the stem in rooting hormone (optional).
- Make a small hole in the center of the prepared pot with your finger or a pencil.
- Gently insert the cut end of the stem into the hole, ensuring at least one node is buried.
-
Potting and Care:
- Water the cutting thoroughly, allowing excess water to drain.
- Place the pot in a warm, bright location, avoiding direct sunlight which can scorch the delicate cutting.
- Maintain a humid environment by covering the pot with a clear plastic bag or a humidity dome, misting regularly to prevent the soil from drying out.
-
Patience is a Virtue:
- Rooting typically takes 4-8 weeks.
- Gently tug on the cutting to check for resistance. Resistance indicates root development.
- Once roots are established, gradually acclimate the new plant to normal humidity levels by removing the plastic covering for increasing periods each day.
- Transplanting:
- Once the cutting shows significant growth, transplant it into a larger pot (6-8 inches) using a well-draining potting mix.
- Place the pot in a bright location, gradually increasing exposure to sunlight over a week or two.
Tips for Successful Propagation:
- Select healthy, disease-free stems for cuttings.
- Use sterile tools to prevent the spread of diseases.
- Provide bottom heat using a seedling heat mat to accelerate root development.
- Avoid overwatering, which can lead to root rot.
- Be patient and persistent; sometimes, it takes several attempts for cuttings to root successfully.
Propagating Croton Fulvus is an enjoyable and rewarding experience. With a little patience and the right care, you can multiply your collection and share the vibrant beauty of this captivating plant with fellow plant enthusiasts. So, why wait? Unleash your inner gardener and propagate your way to a fiery, foliage-filled paradise!