Unveiling the Secrets of Velvet Laurel Propagation: A Guide for Growing Cryptocarya velutinosa
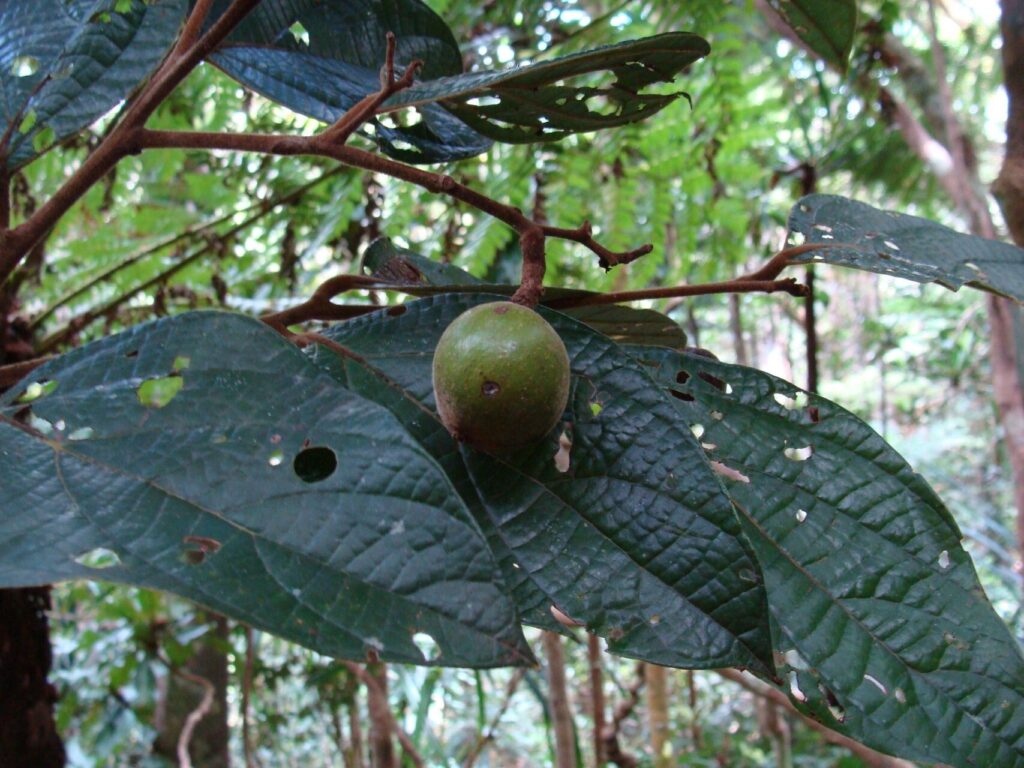
The Velvet Laurel (Cryptocarya velutinosa), an Australian native boasting lush, velvety foliage and an alluring cinnamon-like scent, is a hidden gem in the world of ornamental plants. Whether you’re an experienced gardener or a curious beginner, you might be wondering: how can I add this beauty to my own green space?
While not readily found in nurseries, propagating your own Velvet Laurel is a rewarding endeavor. This guide will delve into the two common methods, highlighting tips and tricks for success.
Method 1: Seed Propagation – Embracing the Gift of Patience
1. Sourcing the Seeds: Patience is key with Velvet Laurel seeds, as they can take anywhere from a couple of months to a year to germinate! Ideally, source fresh seeds from a mature tree, as viability decreases over time.
2. Simulating Nature: In its natural habitat, Velvet Laurel seeds rely on the clearing action of bushfires to germinate. To mimic this, try these pre-treatment methods:
- Smoke Treatment: Use a commercially available smoke water solution or create your own by soaking wood chips in water overnight and using the liquid to soak the seeds for 24 hours.
- Hot Water Treatment: Pour boiling water over the seeds and let them soak for 24 hours, allowing the water to cool naturally.
3. Planting the Seeds: Use a well-draining seed-raising mix and plant the seeds about 1 cm deep. Maintain consistent moisture and humidity, using a propagation dome or plastic wrap to create a greenhouse-like environment.
4. The Waiting Game: Place the pot in a warm, bright location out of direct sunlight. Be patient! Germination can be erratic, with some seeds sprouting much later than others.
Method 2: Cutting Propagation – A Quicker Route with Patience Still Required
1. Timing is Key: Take cuttings from healthy, mature branches in late spring or early summer when the plant is actively growing.
2. Selecting the Right Cuttings: Look for semi-hardwood cuttings, which are slightly flexible but not brittle, about 10-15 cm long. Remove the leaves from the lower half of the cutting.
3. Hormonal Boost: While not strictly necessary, dipping the base of the cuttings in a rooting hormone powder can significantly increase the success rate.
4. Creating a Cozy Home: Plant the cuttings in a pot filled with a well-draining mix of peat moss and perlite. Maintain moisture and humidity, using a propagation dome or plastic bag to create a humid environment.
5. Patience, Once Again: Place the cuttings in a warm, bright location out of direct sunlight. It may take several weeks or even months for roots to form. Once new growth appears, you can gradually acclimate your cuttings to outdoor conditions.
Nurturing Your Velvet Laurel:
Once your new Velvet Laurel plants are established, they are relatively easy to care for. Choose a location with well-drained soil and dappled sunlight to partial shade. They prefer regular watering, especially during dry periods, and appreciate a layer of organic mulch around the base.
A Rewarding Endeavor:
Propagating your own Velvet Laurel might require some patience and care, but the rewards are worth the effort. Imagine the satisfaction of nurturing a seedling into a thriving plant, gracing your garden with its unique beauty and alluring fragrance. So why wait? Embark on this satisfying journey of propagation and welcome the exquisite Velvet Laurel into your green haven!