Unleashing the Power of the Sun: Propagating Curculigo pilosa
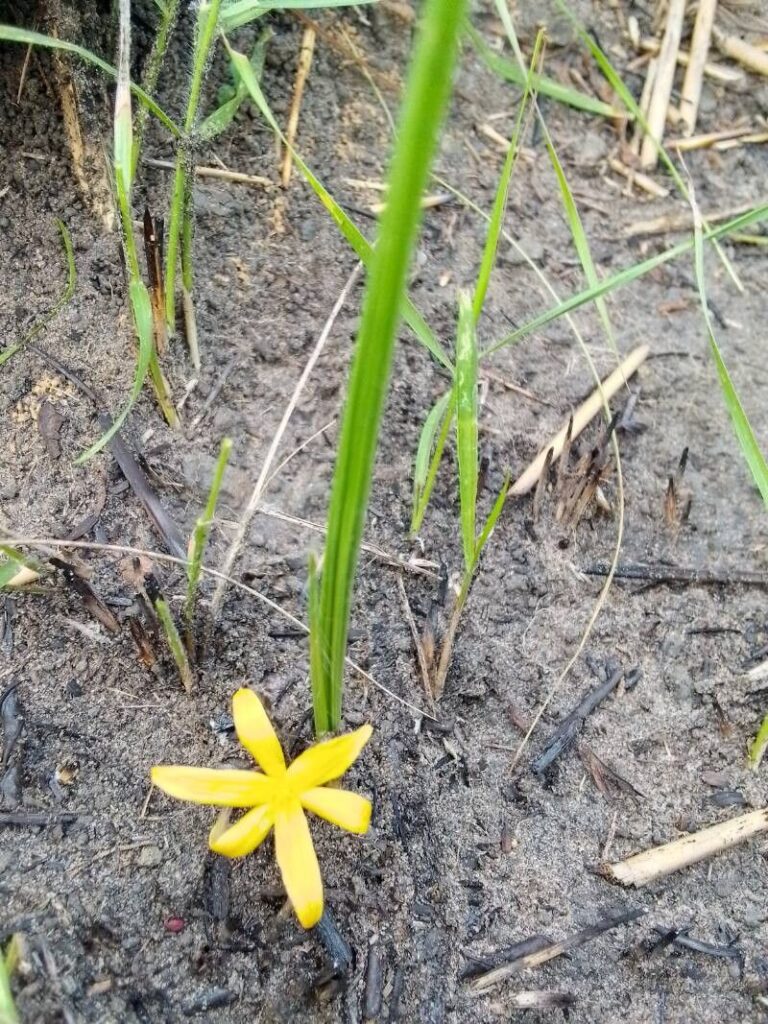
Curculigo pilosa, also known as the “Golden Glory” or “Weeping Anthericum”, is a captivating plant prized for its unique foliage and charming flowers. Its long, lance-shaped leaves, reminiscent of palm fronds, arch gracefully outwards, adding a touch of tropical elegance to any space. If you’re lucky enough to have this beauty gracing your garden, you might be wondering how to propagate it and share its beauty with others.
The good news is, propagating Curculigo pilosa is surprisingly straightforward. You can create new plants from seeds or by dividing established clumps, and with a little patience, you’ll soon have new plants thriving under your care. Let’s delve deeper into both methods:
Method 1: Sowing the Seeds of Success
-
Harvesting and Preparing the Seeds: Curculigo pilosa produces small, black seeds after its flowering period. Collect the seeds when the seed pods turn brown and dry. You can sow the seeds immediately or store them in a cool, dry place until you’re ready.
-
Sowing the Seeds: Choose a well-draining potting mix and fill a seed tray or small pots. Moisten the mix thoroughly. Sprinkle the seeds evenly over the surface, taking care not to sow them too deep – a light covering of soil is enough.
-
Providing the Right Environment: Cover the tray or pots with a clear plastic wrap or a humidity dome to create a warm, moist environment that encourages germination. Place the tray in a bright location, but out of direct sunlight.
-
Germination and Care: The seeds should germinate within 4-6 weeks. Remove the plastic covering once the seeds sprout. Water regularly, keeping the soil consistently moist but not waterlogged.
- Transplanting: Once the seedlings develop a few true leaves, they are strong enough to be transplanted into individual pots or directly into your garden.
Method 2: Dividing and Conquering
For a quicker and more guaranteed method, dividing established Curculigo pilosa plants is ideal. This method is best done in early spring before the plant enters its active growing season.
-
Preparing for Division: Water the plant thoroughly a day before you intend to divide it. Prepare a new pot or planting area with well-draining soil.
-
Lifting and Dividing the Plant: Carefully lift the entire plant from its pot or the ground, loosening the soil around the roots. Use a clean, sharp knife or gardening shears to divide the plant into clumps, ensuring that each section has a good amount of roots and leaves.
- Repotting or Replanting: Plant the divisions immediately into their new pots or planting holes, making sure they are at the same depth they were previously growing. Water them in well to settle the soil.
Caring for Your New Propagations:
Curculigo pilosa thrives in partial shade to full shade and prefers well-drained, humus-rich soil. Water regularly, allowing the soil to dry slightly between waterings. Applying a balanced fertilizer a few times during the growing season will help promote healthy growth.
Propagating your own Curculigo pilosa is a rewarding experience that allows you to expand your plant collection while enjoying the satisfaction of nurturing new life. With a little effort and the right knowledge, you’ll be admiring the beauty of these captivating plants throughout your garden or home in no time!