Taming the Wild Carrot: Propagating Daucus glochidiatus
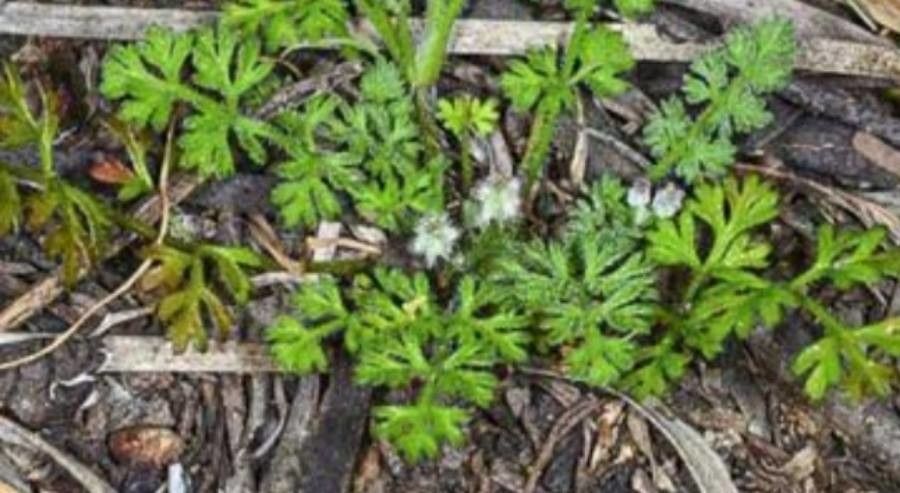
Daucus glochidiatus, commonly known as the Australian carrot or native carrot, may not be the carrot you’re picturing with its bright orange root. Instead, this wild cousin boasts delicate foliage and lacy white flowers, adding a touch of understated beauty to the landscape. Interested in inviting this native Australian into your garden? Propagating Daucus glochidiatus is a rewarding experience achievable for gardeners of all levels.
Two Roads to Success: Seeds and Cuttings
Daucus glochidiatus can be propagated through two primary methods: seeds and cuttings. Each approach offers its own set of advantages and considerations.
1. Seed Starting: A Journey of Patience
- Sourcing Your Bounty: Seeds can often be found at specialist nurseries or online retailers dedicated to Australian native plants. Harvesting seeds from existing plants in the wild is possible but always prioritize ethical practices and ensure you’re not disturbing a protected species.
- Sowing the Seeds: Daucus glochidiatus seeds have a reputation for being a bit temperamental. Direct sowing in the garden is possible, but starting them indoors in seed trays gives you greater control. Use a well-draining seed raising mix and sprinkle the seeds sparsely on the surface, pressing them in gently. A light misting is all they need until germination.
- Patience is Key: Germination can be erratic, taking anywhere from a few weeks to a couple of months. Keep the seed tray consistently moist but not waterlogged. Providing warmth (around 20-25°C) can help speed things along.
- Transplanting Triumph: Once the seedlings have developed a few true leaves, they can be carefully transplanted into individual pots or directly into the garden.
2. Cuttings: A Faster Path to Plants
- Timing is Everything: The best time to take cuttings is in the spring or early summer when the plant is actively growing.
- Making the Cut: Using clean, sharp secateurs, take cuttings about 10-15cm long from healthy, non-flowering stems. Remove the lower leaves, leaving about 2-3 leaves at the top.
- Encouraging Root Development: Dipping the cut end in rooting hormone is optional but can increase the success rate. Plant the cuttings in a well-draining potting mix, burying at least one node (where the leaves were attached) beneath the soil.
- Creating a Humid Environment: Cover the pot with a clear plastic bag or use a propagation dome to create a humid environment that promotes root development.
- Signs of Success: After a few weeks, gently tug on the cuttings. Resistance indicates roots are forming.
Caring for Your Daucus glochidiatus
Whether you’ve nurtured seedlings or coaxed roots from cuttings, your Daucus glochidiatus will thrive in a sunny to partially shaded location. They prefer well-drained soil and are relatively drought-tolerant once established. Lightly fertilize during the growing season for a boost.
A Rewarding Addition
Propagating and growing Daucus glochidiatus is an enriching journey for any plant enthusiast. With a little patience and care, you can introduce this charming Australian native to your garden, enjoying its delicate beauty and contributing to the preservation of local biodiversity.