From One to Many: A Beginner’s Guide to Propagating Dianella tasmanica
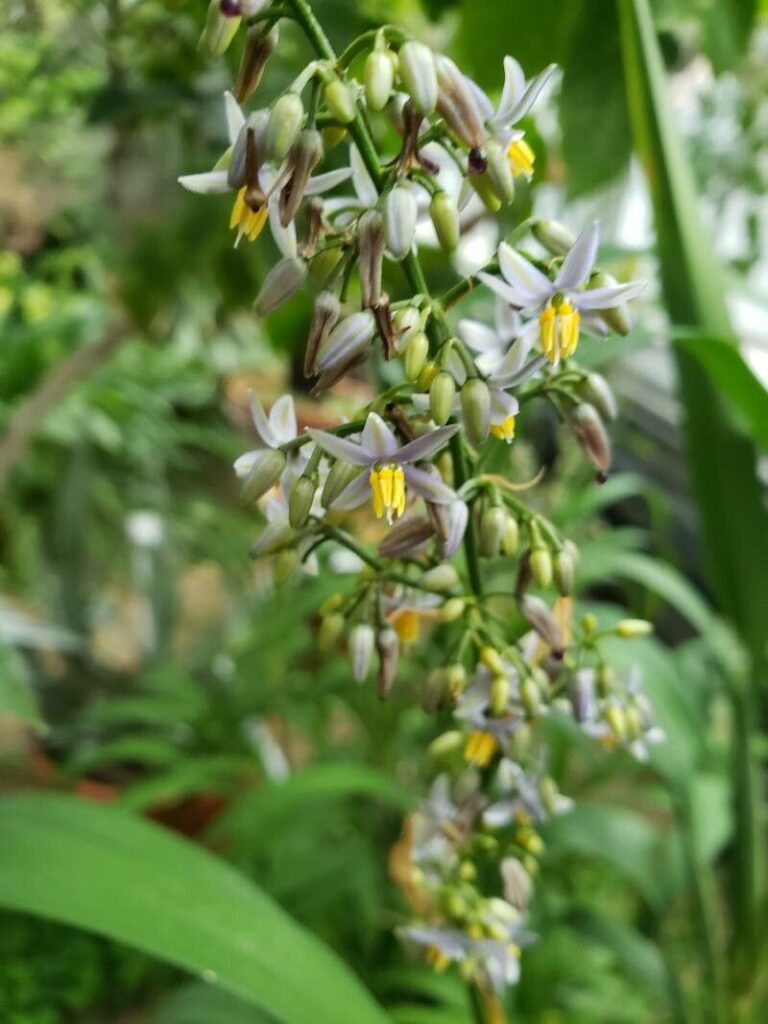
Dianella tasmanica, with its graceful arching foliage and stunning blue berries, is a popular choice for low-maintenance gardens. But did you know you can easily multiply your existing plants and create a whole new patch of these beauties?
Propagating Dianella tasmanica, also known as the Tasmanian Flax Lily, is a simple and rewarding process, even for those new to plant propagation. Whether you want to fill empty spaces in your garden, share with friends, or start a new garden from scratch, this guide will equip you with the knowledge to successfully expand your Dianella tasmanica collection.
The Two Main Propagation Methods
There are two main ways to propagate Dianella tasmanica:
1. Seed Propagation:
This method involves collecting ripe seeds and sowing them in a suitable medium. Here’s a step-by-step guide:
- Collect Seeds: Gather ripe berries from your Dianella tasmanica plant. The berries will be a deep blue color when mature.
- Remove Seeds: Carefully remove the seeds from the berries, and gently clean them with water.
- Prepare Seed Tray: Fill a seed tray with a well-draining seed-starting mix.
- Sow Seeds: Plant the seeds approximately ¼ inch deep and space them about 2 inches apart.
- Water and Light: Keep the soil consistently moist but not soggy. Place the tray in a brightly lit area, but out of direct sunlight.
- Germination: The seeds should germinate in 2-4 weeks.
2. Division:
This method involves separating established plants into smaller, independent units, each with its own root system. Here’s how you can divide Dianella tasmanica:
- Choose the Right Time: The best time for division is during spring or early summer, when the plant is actively growing.
- Dig Up the Plant: Gently dig around the Dianella tasmanica plant to loosen the roots.
- Prepare for Division: Carefully examine the plant and identify the growth points where new shoots arise.
- Divide the Plant: Use a sharp, sterile knife or garden shears to cut sections of the plant, ensuring each section has roots and a growth point.
- Repotting: Pot each divided section in a well-draining potting mix and water thoroughly.
- Placement: Place the newly potted plants in a shady location for a week to allow them to settle in.
Tips for Success
- Use Sterilized Tools: Ensure your tools are clean and sterilized to prevent the spread of diseases.
- Select Healthy Plants: For division, choose healthy Dianella tasmanica plants with good foliage and root systems.
- Provide Consistent Watering: Keep the soil consistently moist, especially during the initial stages after planting or division. Avoid overwatering, as this can lead to root rot.
- Fertilize Regularly: Feed your Dianella tasmanica plants with a balanced fertilizer during the growing season.
Enjoy the Fruits of Your Labor
Growing your own Dianella tasmanica from seed or by division is an immensely satisfying experience. You will not only increase your plant’s numbers but also gain a deeper understanding of its life cycle. As your propagated Dianella tasmanica plants mature, you can enjoy their beauty in your garden or share them with others, spreading the joy of this wonderful plant.