
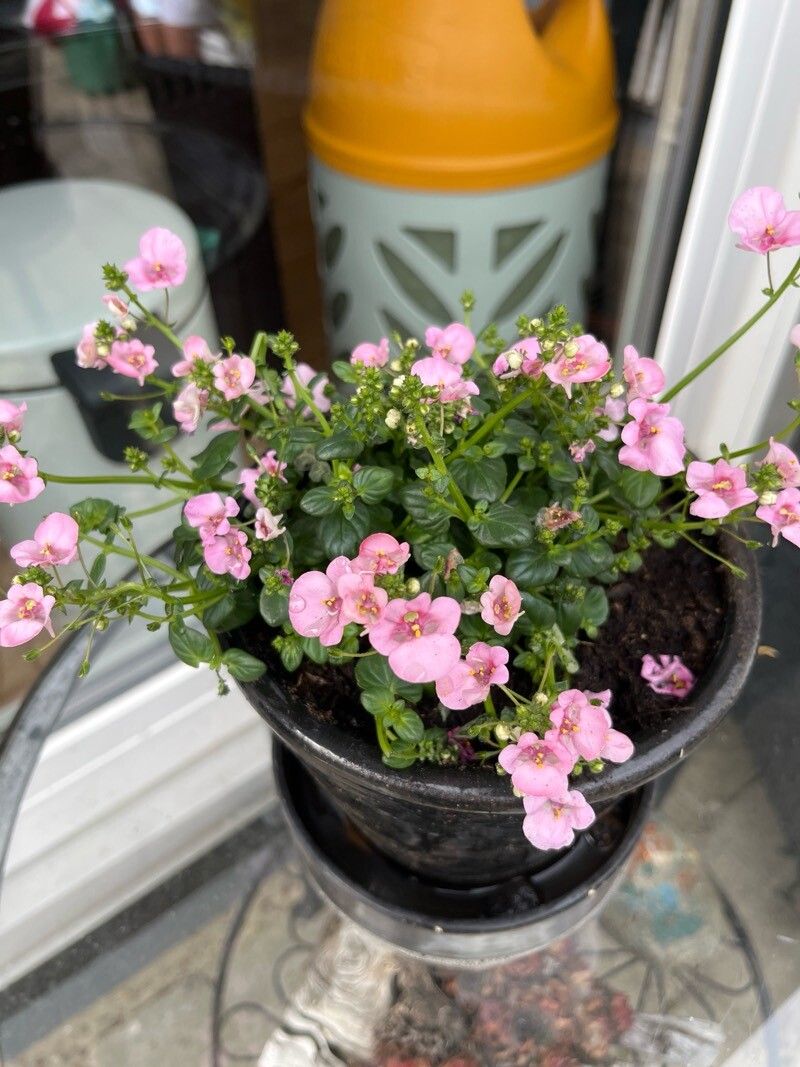
Multiply Your Joy: The Complete Guide to Propagating Diascia barberae
Diascia barberae, with its charming, heart-shaped blooms, is a delightful addition to any garden. This South African native, also known as the twinspur, bursts forth in vibrant pinks, oranges, and reds, attracting pollinators and adding cheerful color from spring to fall. Whether you’re looking to expand your existing Diascia display or share the joy with friends, propagation is surprisingly easy! Let’s dive into the two main methods to multiply your Diascia barberae.
Method 1: Seed Starting – A Rewarding Journey
Propagating from seed offers the thrill of witnessing the entire life cycle of your Diascia. While it requires slightly more patience than cuttings, the process is straightforward:
- Timing is Key: Sow Diascia seeds indoors 6-8 weeks before the last expected frost. This ensures they have a head start and are ready to burst into bloom come spring.
- Sowing the Seeds: Use a well-draining seed starting mix and sprinkle the fine seeds on the surface. Don’t bury them; Diascia seeds need light to germinate.
- Warmth and Moisture: Maintain a temperature of around 70°F (21°C) and keep the soil consistently moist but not soggy. A seedling heat mat or placing the tray near a warm spot can aid germination.
- First Sprouts: In 10-14 days, you’ll be greeted with tiny seedlings. Once they have a few sets of true leaves, thin them out, leaving the strongest ones to flourish.
- Hardening Off: Before planting outdoors, gradually acclimate your seedlings to the elements. Introduce them to direct sunlight and wind for progressively longer periods each day over a week.
- Transplanting: Once the danger of frost has passed, transplant your seedlings to their final location in well-drained soil and a sunny spot. Water well and enjoy the show!
Method 2: Taking Cuttings – For Quick and Easy Clones
If you want near-instant gratification, propagating Diascia from cuttings is the way to go:
- Cuttings Time: Take cuttings in spring or early summer from healthy, non-flowering stems.
- The Perfect Snip: Using clean, sharp scissors or pruning shears, cut a 3-4 inch (7-10 cm) section just below a leaf node. Remove the lower leaves, leaving only a few at the top.
- Rooting Hormone (Optional): Dipping the cut end in rooting hormone can speed up the process, but it’s not strictly necessary.
- Planting the Cuttings: Insert the cuttings into a pot filled with a well-draining potting mix. You can also use a mix of perlite and vermiculite for optimal drainage.
- Creating a Humid Environment: Cover the pot with a plastic bag or use a propagation dome to maintain high humidity, encouraging root development.
- Patience is a Virtue: Within a few weeks, your cuttings should develop roots. Gently tug on them; if you feel resistance, they’re ready!
- Potting Up: Once rooted, transplant the cuttings into individual pots or directly into your garden.
Whichever method you choose, propagating your Diascia barberae is a rewarding experience. Soon you’ll have an abundance of these cheerful blooms to brighten your garden and share with fellow plant enthusiasts!