
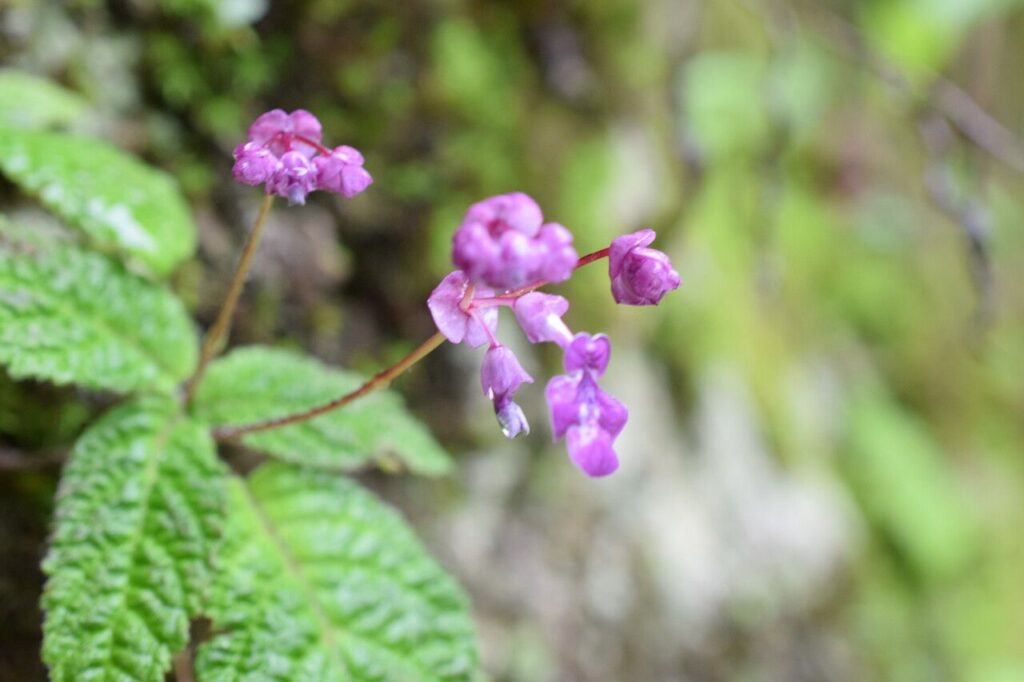
Unlocking the Secrets of Didymocarpus Oblongus Propagation: A Guide to Growing This Enchanting Plant
Didymocarpus oblongus, with its vibrant flowers and captivating foliage, is a hidden gem in the plant world. This Southeast Asian native, also known as the “Blue Rock Flower” or “Malaysian Rock Violet,” brings a touch of exotic beauty to any home or garden. While admiring its beauty is easy, you might be wondering – how can I get my hands on more of these beauties? This is where propagation comes in!
Luckily, propagating Didymocarpus oblongus is remarkably achievable, even for beginner gardeners. Let’s explore two effective methods:
1. Stem Cuttings: A Journey of Cloning
Think of stem cuttings as tiny clones of the parent plant, carrying its exact genetic blueprint. Here’s how to do it:
- Timing is Key: The best time for taking cuttings is during the growing season (spring or summer) when the plant is bursting with energy.
- Selecting the Cuttings: Look for healthy, non-flowering stems that are about 3-4 inches long.
- Making the Cut: Using a clean, sharp knife or pair of scissors, make a cut just below a leaf node (the point where a leaf emerges from the stem).
- Prepping the Cutting: Remove the lower leaves, leaving only a couple at the top. This minimizes water loss and encourages root development.
- Rooting Hormone (Optional): While not essential, dipping the cut end in rooting hormone powder can significantly improve success rates.
- Planting the Cutting: Plant the cutting in a well-draining potting mix. A mixture of peat moss and perlite works well.
- Creating a Humid Environment: Cover the pot with a clear plastic bag or use a humidity dome to create a greenhouse-like environment. This helps retain moisture.
- Patience is a Virtue: Place the pot in a warm, bright location, but out of direct sunlight. Keep the soil consistently moist but not waterlogged. Root development can take several weeks.
- Transplanting: Once you see new growth, it’s a good sign roots have developed. You can now carefully transplant your new Didymocarpus oblongus plant into its permanent pot or garden bed.
2. Leaf Cuttings: From Single Leaf to Flourishing Plant
Amazingly, Didymocarpus oblongus can be propagated from a single leaf! Here’s the process:
- Choose Your Leaf: Select a healthy, mature leaf from the parent plant.
- Preparing the Leaf: You have two options here:
- Whole Leaf Cutting: Cut the entire leaf with a short petiole (the stalk that attaches the leaf to the stem).
- Sectioned Leaf Cutting: Cut the leaf into sections, ensuring each section includes a prominent vein.
- Planting the Cuttings: Dip the cut ends in rooting hormone (optional) and then lay the cuttings flat on top of a moist, well-draining potting mix.
- Creating a Humid Environment: Cover the pot or tray with a humidity dome or clear plastic to lock in moisture.
- Patience and Observation: Keep the soil consistently moist and place the pot in bright, indirect light. Tiny plantlets will eventually emerge from the leaf cuttings.
- Separating the Plantlets (Optional): Once the plantlets are large enough, you can carefully separate them and pot them individually.
A Final Word:
Propagating Didymocarpus oblongus is an exciting and rewarding experience. While success isn’t always guaranteed, following these methods significantly increases your chances of growing new plants. With patience and care, you’ll soon have a thriving collection of these stunning beauties to brighten up your world.