Unleash the Power of Propagation: Grow Your Own Hopseed Bush (Dodonaea viscosa)!
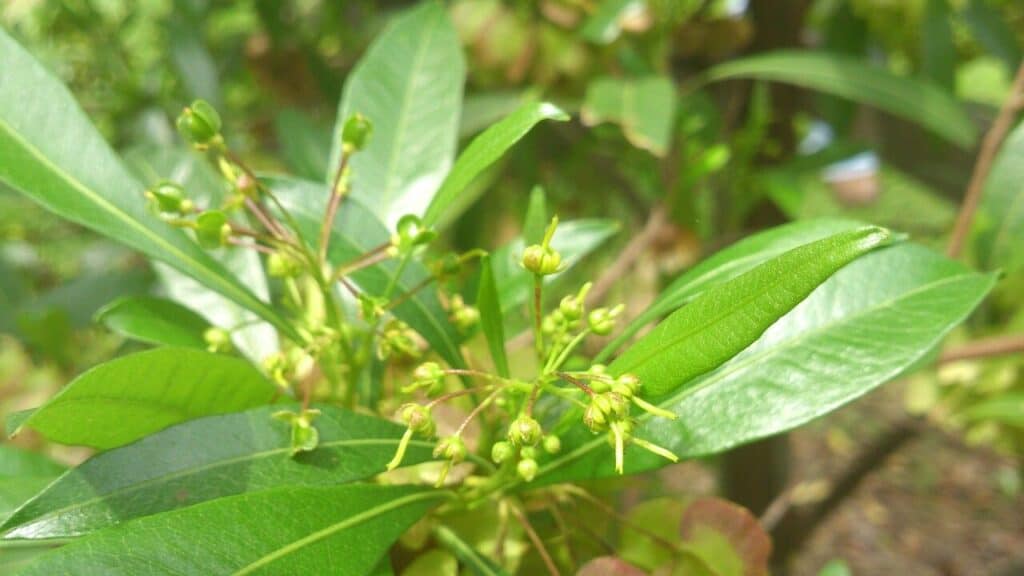
The Hopseed Bush, or Dodonaea viscosa, is a versatile and resilient plant celebrated for its attractive foliage, captivating seed pods, and adaptability to various landscapes. If you’re looking to add this beauty to your garden, propagating your own plants is a rewarding and cost-effective approach.
Let’s explore two primary methods to propagate the Hopseed Bush:
1. Seed Propagation: A Journey of Patience and Reward
Starting Hopseed Bush from seeds offers a sense of accomplishment and often results in numerous plants. Here’s how to embark on this rewarding journey:
-
Seed Collection and Preparation: Harvest mature seed pods, identifiable by their papery texture and brown hue, typically in late summer or fall. Gently crush the pods to release the seeds. For best germination rates, cold-stratify the seeds by storing them in a sealed bag filled with slightly damp vermiculite in the refrigerator for 4-6 weeks.
-
Sowing: In spring, sow the seeds in a well-draining seed starting mix. Scatter them evenly and cover them lightly with the mix. Maintain consistent moisture without oversaturating.
-
Germination and Growth: Germination may take several weeks; patience is key! Once the seedlings emerge and have developed a few sets of true leaves, thin them out to provide ample space for growth.
- Transplanting: When the seedlings are a few inches tall and the threat of frost has passed, gradually harden them off by introducing them to outdoor conditions for increasingly longer periods. Once acclimated, transplant them to their permanent location in the garden.
2. Cutting Propagation: A Faster Track to New Plants
For quicker results and to preserve the characteristics of a specific cultivar, propagating Hopseed Bush from cuttings is the way to go:
-
Taking Cuttings: In late spring or early summer, select healthy, non-flowering stems from a mature plant. Using a sharp, sterilized pruning shear or knife, take cuttings about 4-6 inches long, making a clean cut just below a leaf node.
-
Preparing Cuttings: Remove the leaves from the bottom third of each cutting. To encourage root development, dip the cut end in a rooting hormone powder (optional but beneficial).
-
Planting and Rooting: Insert the prepared cuttings into a well-draining potting mix, burying the bottom node. Water thoroughly and maintain humidity by covering the cuttings loosely with a plastic bag or placing them under a humidity dome.
- Transplanting: After several weeks, gently tug on the cuttings to check for root development. Resistance indicates successful rooting. Once the cuttings are well-rooted, gradually acclimate them to outdoor conditions before transplanting them to their permanent location in the garden.
Essential Tips for Success:
- Well-draining soil: Hopseed Bush thrives in well-drained soils. Amend heavy clay soil with organic matter to improve drainage.
- Sun-loving Plants: Choose a location that receives full sun to partial shade.
- Watering Wisely: While relatively drought-tolerant once established, water regularly during the first growing season to support root development.
- Minimal Fertilization: Hopseed Bush doesn’t require heavy feeding. A light application of a balanced fertilizer in spring is sufficient.
- Pruning for Shape: Prune lightly after flowering to maintain shape and encourage bushier growth.
By following these propagation techniques, you can cultivate an abundance of Hopseed Bush, adding vibrant foliage, unique seed pods, and an easy-care charm to your garden haven. Happy gardening!