Unlocking the Secrets of Dombeya Pilosa Propagation: Grow Your Own Pink Wild Pear!
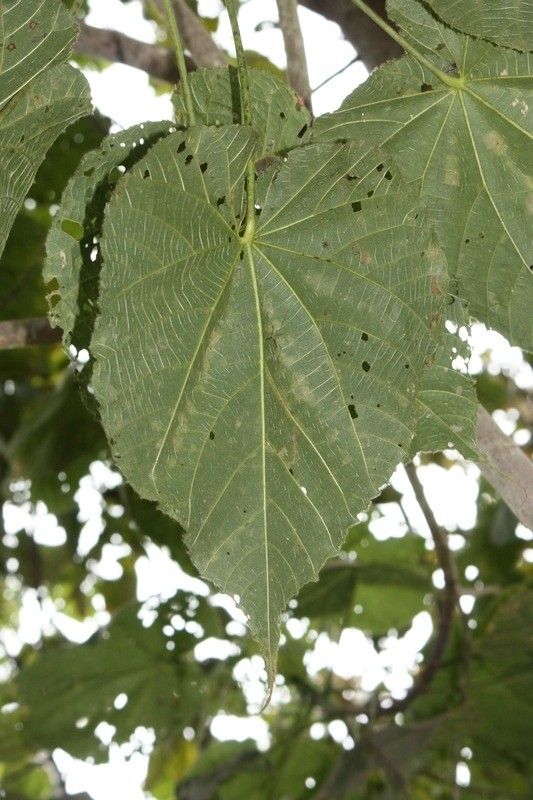
The Dombeya pilosa, affectionately known as the pink wild pear or pink dombeya, is a sight to behold. This South African native charms with its clusters of dainty pink flowers, reminiscent of delicate orchids, and lush green foliage. If you’re lucky enough to have one gracing your garden, you might dream of multiplying your floral bounty. Well, dream no more! Propagating Dombeya pilosa is surprisingly accessible, allowing even novice gardeners to share the joy of this exquisite plant.
Two Paths to Propagation: Seeds vs. Cuttings
When it comes to propagating Dombeya pilosa, you have two primary methods at your disposal:
1. Seed Starting: A Journey of Patience and Reward
While it requires a bit more time and patience, growing Dombeya pilosa from seed offers a unique satisfaction. Here’s what you need to know:
- Harvesting Seeds: Keep an eye out for the small, dry capsules that appear after the flowers fade. Collect them once they turn brown and start to split open, revealing tiny, brown seeds.
- Preparing for Sowing: Lightly scarify the seeds by gently rubbing them between two pieces of sandpaper. This minor abrasion helps moisture penetrate the hard outer shell, encouraging germination.
- Sowing the Seeds: Fill seed trays with a well-draining seed-starting mix. Sow the seeds shallowly and mist them with water. Cover the tray with a plastic dome or wrap to create a warm, humid environment.
- Patience is Key: Seed germination can take anywhere from a few weeks to a couple of months. Keep the soil consistently moist but not waterlogged, and provide bright, indirect light.
2. Propagating from Cuttings: A Faster Route to Success
For a quicker and often more reliable method, propagating from cuttings is the way to go. Here’s how:
- Timing is Everything: The ideal time for taking cuttings is during the active growing season, from spring to early summer.
- Selecting the Right Cuttings: Look for healthy, non-flowering stems that are about 4-6 inches long. Choose stems with at least two sets of leaves.
- Preparing the Cuttings: Using a sharp, sterilized knife or pruning shears, make a clean cut just below a leaf node. Remove the lower leaves, leaving only 2-3 at the top.
- Planting the Cuttings: Dip the cut end in rooting hormone to encourage root development. Plant the cuttings in a pot filled with a well-draining potting mix.
- Creating a Humid Environment: Cover the pot with a plastic bag or humidity dome to trap moisture and promote rooting. Place the pot in a warm, brightly lit area, out of direct sunlight.
- Monitoring Progress: Rooting typically takes 4-6 weeks. You’ll know roots have formed when you see new growth on the cuttings.
Caring for Your Dombeya Pilosa Progeny
Regardless of your chosen propagation method, remember that your young Dombeya pilosa plants need extra care and attention. Ensure they receive adequate light, water, and humidity. Once the plants are well-established, transplant them into larger pots or directly into your garden, enjoying the fruits of your propagation labor.
Propagating your own Dombeya pilosa is a rewarding experience that connects you to the fascinating world of plant reproduction. With a little time, patience, and care, you can fill your garden with these enchanting floral beauties, sharing the joy with friends and family for years to come.