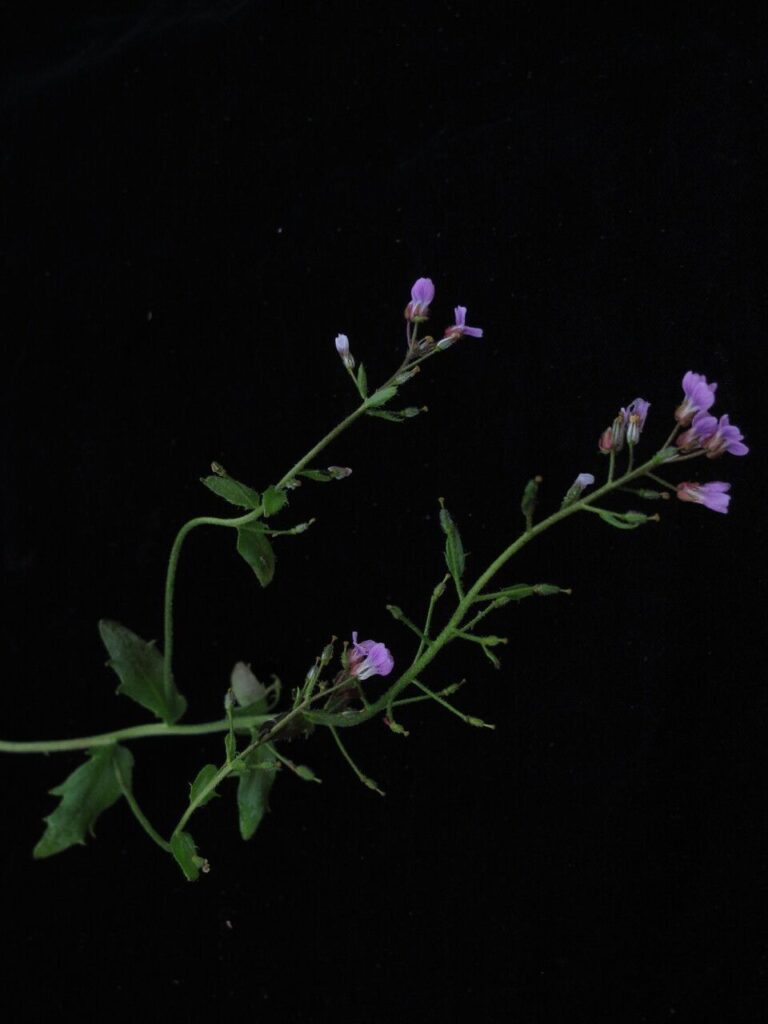
Unveiling the Secrets of Draba Amoena Propagation: A Guide to Cultivating this Alpine Gem
Draba amoena, with its charming clusters of tiny yellow flowers and endearingly fuzzy leaves, brings a touch of alpine magic to any garden. While this resilient plant thrives in rock gardens and alpine troughs, many enthusiasts find propagating it a delightful challenge. Don’t let this deter you! This guide will demystify the process and equip you with the knowledge to successfully cultivate new Draba amoena plants.
Two Paths to Propagation
Draba amoena primarily propagates through two methods: seed sowing and cuttings. Both have their unique advantages, allowing you to choose the method that best suits your gardening style and resources.
1. Seed Sowing: Embracing the Journey of Growth
Propagating Draba amoena from seed is an incredibly rewarding experience. It requires patience and a gentle touch, but the sight of those first true leaves emerging makes it all worthwhile. Here’s a breakdown of the process:
- Timing is Key: Sow the seeds in late summer or early fall, allowing them to experience the natural cold stratification process over winter, which is crucial for germination.
- Creating the Perfect Nursery: Use a well-draining seed starting mix and sow the seeds thinly on the surface. Gently press them in, ensuring good contact with the soil, but avoid burying them deep.
- Patience is a Virtue: Keep the seed tray moist but not waterlogged, and place it in a cool, sheltered location outdoors. Germination can take anywhere from a few weeks to a couple of months.
- Transplant with Care: Once the seedlings are large enough to handle, carefully transplant them into individual pots or directly into your garden, ensuring they have ample space to grow.
2. Cuttings: Fast-Tracking Your Alpine Garden
Taking cuttings offers a quicker propagation method, particularly if you want to replicate the characteristics of a specific Draba amoena plant. Follow these steps for success:
- Choosing the Right Moment: The ideal time for taking cuttings is late spring or early summer, when the plant is actively growing.
- Making the Cut: Select healthy, non-flowering stems and use a sharp, sterilized knife or shears to take 3-4 inch cuttings, just below a leaf node.
- Preparing the Cuttings: Remove the lower leaves, leaving 2-3 pairs at the top. Dip the cut end in rooting hormone (optional but beneficial) to encourage root development.
- Nurturing New Roots: Plant the cuttings in a well-draining potting mix and place them in a warm, bright location out of direct sunlight. Mist regularly to maintain humidity.
- Signs of Success: In a few weeks, roots should develop, and you’ll notice new growth. Once the cuttings are well-rooted, you can transplant them to their final location.
Creating the Ideal Environment for Your Draba Amoena
Regardless of your chosen propagation method, providing the right growing conditions is essential for your new Draba amoena plants to flourish:
- Well-Drained Soil: Draba amoena thrives in gritty, well-drained soil, mimicking their natural alpine habitat. Amend your soil with sand or gravel to improve drainage.
- Sunshine is Golden: Choose a location with full sun to partial shade. Ample sunlight encourages healthy growth and vibrant blooms.
- Watering with Care: Once established, Draba amoena is relatively drought tolerant. However, regular watering during the growing season, allowing the soil to dry slightly between waterings, is essential.
Propagating Draba amoena may seem like venturing into uncharted territory, but with a little patience, care, and the guidance provided here, you’ll soon be rewarded with a thriving colony of these enchanting alpine beauties. Happy propagating!