Unlocking the Secrets of Dracophyllum ramosum: A Guide to Propagation
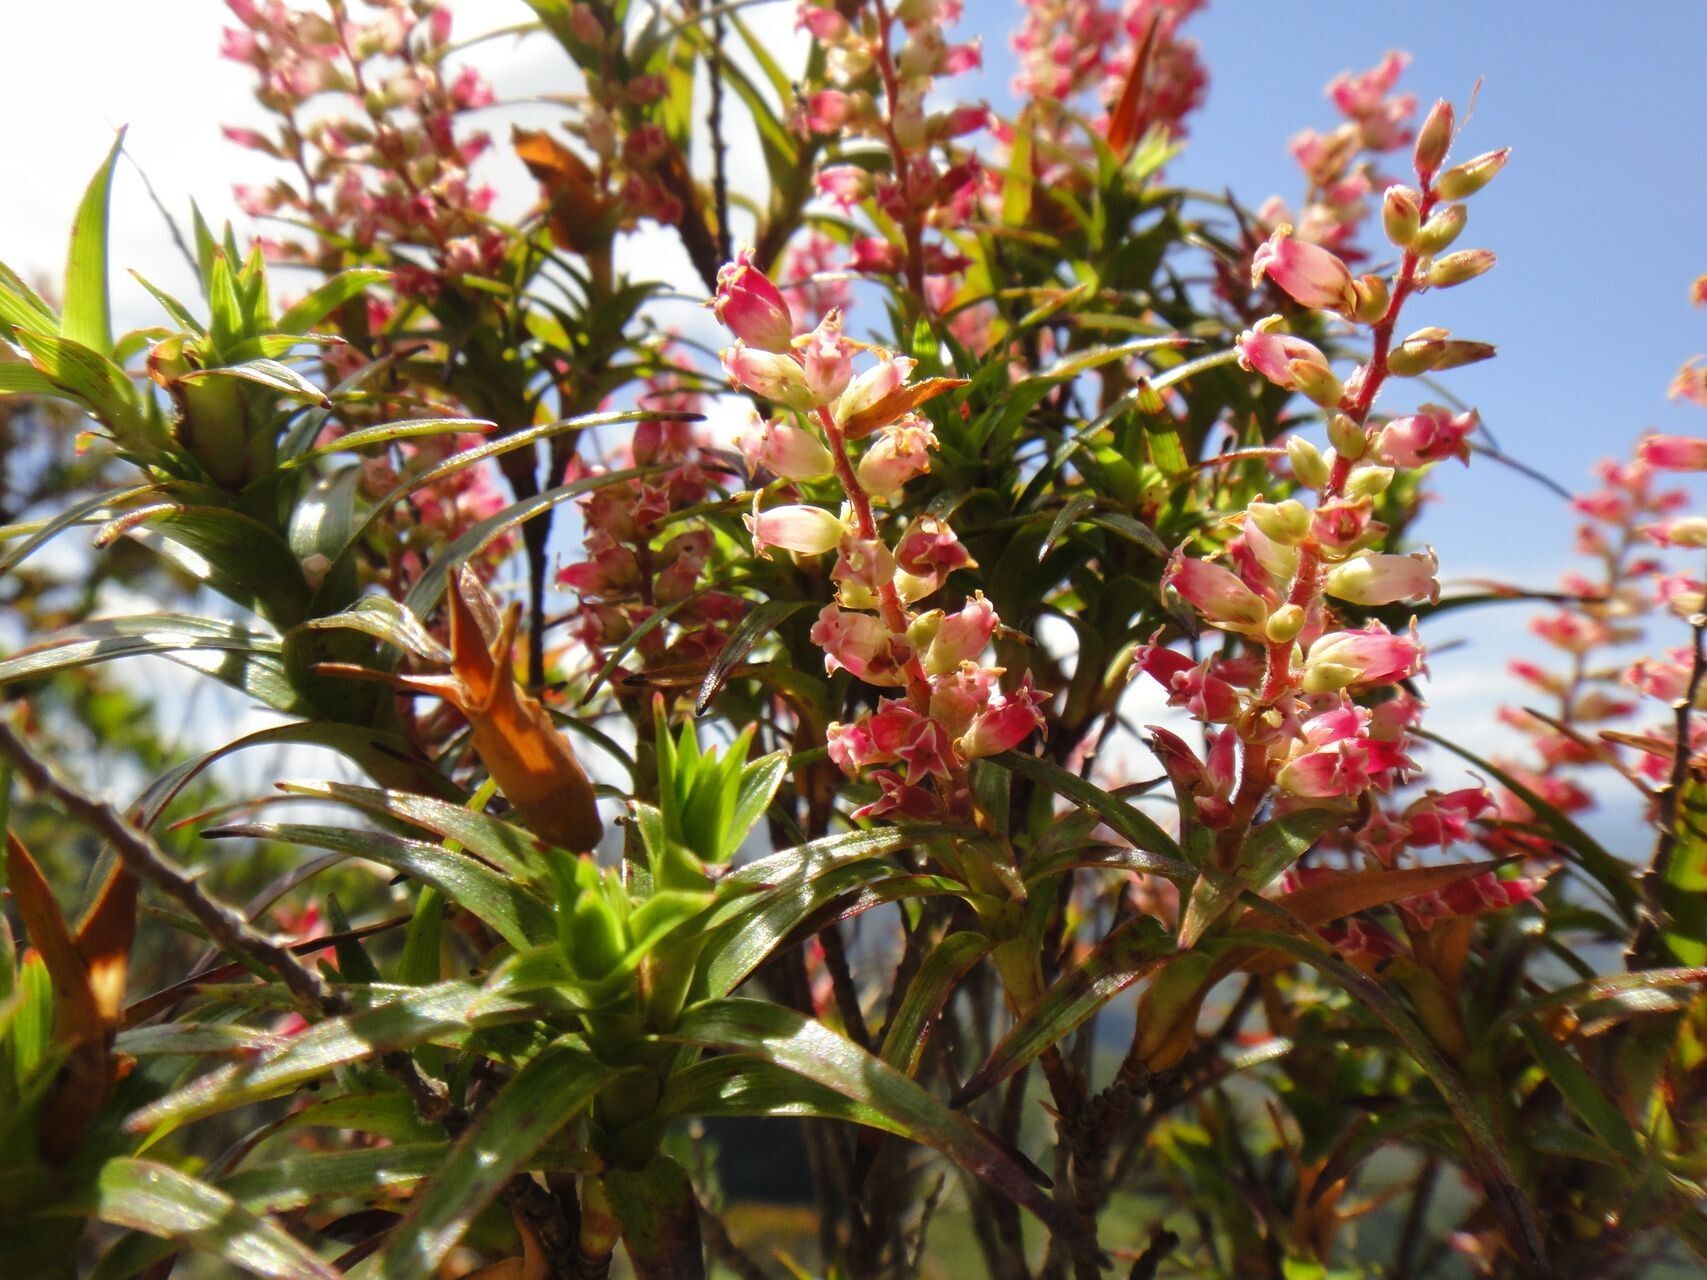
The Dracophyllum ramosum, with its striking, upright habit and delicate, bell-shaped flowers, is a beauty that demands a place in any garden enthusiast’s collection. But for many, the thought of acquiring this unique plant can be daunting. Fear not, fellow plant lovers! This article will demystify the process of propagating Dracophyllum ramosum, giving you the knowledge to confidently grow your own collection from cuttings.
Understanding the Basics:
Dracophyllum ramosum, often called the “Mountain Toothed Tree,” is a native of New Zealand. Unlike many other plants, it doesn’t propagate easily from seeds. Instead, the most successful method lies in taking cuttings. This involves harvesting a piece of the plant and encouraging it to grow roots, eventually becoming a new independent plant.
The Right Time and the Right Cut:
Spring and summer are the ideal times for propagating Dracophyllum ramosum. During these seasons, the plant is actively growing, making it more receptive to rooting. Choose healthy stems from the current or previous year’s growth, aiming for semi-hardwood cuttings. Ideally, these should be about 4-6 inches long, with at least 2-3 nodes (the points where leaves grow).
Prepare for Success:
Before taking cuttings, it’s essential to have the right supplies. You’ll need a sharp, clean knife or pruning shears for a clean cut, a rooting hormone to stimulate root growth, and a suitable propagation mix. A mix of perlite and peat moss or a commercial rooting mix provides good drainage and aeration, essential for root development.
The Cutting Process:
- Cut Cleanly: Make a sharp, angled cut just below a node. This promotes water uptake and helps the cutting recognize the base.
- Remove Lower Leaves: Remove the leaves on the lower half of the cutting, leaving only a few at the top. This reduces water loss and allows the plant to focus its energy on root development.
- Dip in Rooting Hormone: Dip the cut end of the cutting in a rooting hormone powder or liquid. This encourages the formation of roots.
Creating the Perfect Environment:
Once your cuttings are prepared, it’s time to plant them in a suitable environment. Choose a pot or tray with drainage holes and fill it with your chosen propagation mix. Make a small hole in the mix and insert the cutting, ensuring the nodes are buried in the medium.
Nurturing Your New Plants:
To ensure the cuttings root successfully, they need a humid, warm environment. Cover the pot with a plastic dome or a clear plastic bag to create a mini-greenhouse effect. This traps moisture and helps maintain the temperature.
- Light: Provide indirect light, avoiding direct sunlight.
- Misting: Keep the medium consistently moist but not soggy. Misting regularly can boost humidity levels.
- Patience: Rooting can take several weeks to a couple of months. Be patient and give your cuttings the best possible environment.
Time to Transplant:
Once your cuttings have developed a healthy root system (you’ll see new growth), you can carefully transplant them into individual pots with a well-draining potting mix. Gradually acclimate them to full sun over a few weeks and continue to water regularly.
Propagation Tips:
- Keep it clean: Sterilize your tools before and after use to prevent disease.
- Avoid overwatering: Allow the soil to dry slightly between watering.
- Check for root rot: Carefully look for signs of root rot (wilting, blackening, slimy roots) and remove any affected sections.
- Patience is key: Propagating Dracophyllum ramosum takes time and care. Enjoy the process and celebrate each successful plant!
By following these steps, you can confidently propagate your own Dracophyllum ramosum and expand your green haven with these enchanting New Zealand natives. So, grab your tools, embrace the process, and enjoy the rewarding journey of cultivating your own beautiful Dracophyllum ramosum!