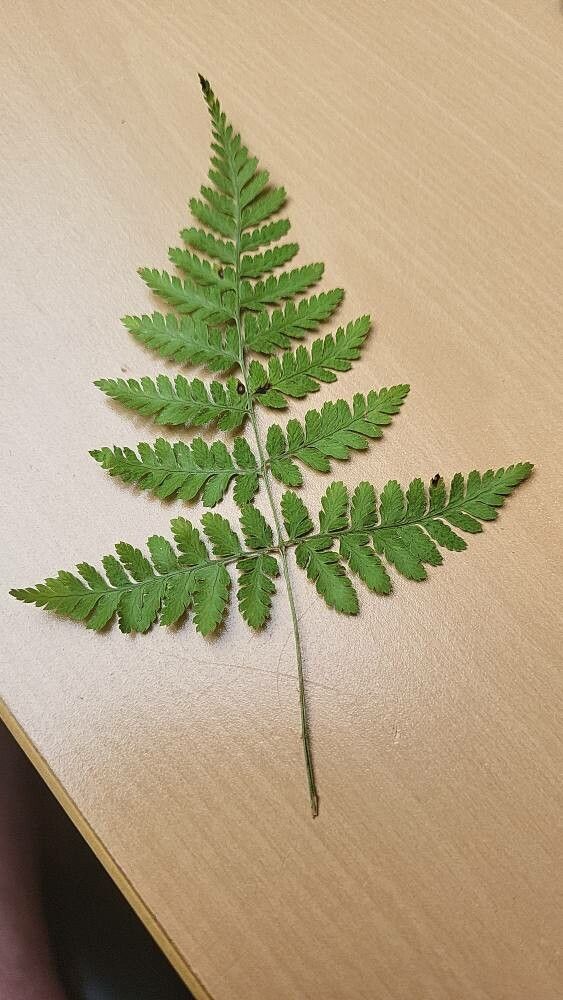
Unlocking the Secrets of Spinulose Wood Fern Propagation: A Guide to Dryopteris carthusiana
The Dryopteris carthusiana, more commonly known as the Spinulose Wood Fern, is a sight to behold. Its delicate, yet robust fronds bring an air of elegance and tranquility to any shady garden. If you, like many plant enthusiasts, have fallen for its charm, you might be wondering about the secrets to propagating this graceful fern. Fear not, for we’re about to delve into the fascinating world of Dryopteris carthusiana propagation!
Understanding the Fern Lifecycle:
Before we get our hands dirty (or rather, green!), it’s crucial to understand a bit about how ferns reproduce. Unlike most plants that rely on seeds, ferns propagate through spores, tiny dust-like particles found on the undersides of their fronds. These spores develop in structures called sporangia, often grouped together in clusters known as sori.
The Art of Spore Collection:
Timing is everything when it comes to spore collection. Look for mature sori, which will appear brown and slightly fuzzy. Gently scrape the sori with a clean, dry knife onto a piece of white paper. You’ll see the fine, dust-like spores collecting. Allow the spores to dry completely for a day or two in a cool, dry location.
Creating the Perfect Spore Nursery:
Now comes the exciting part – creating a suitable environment for your fern spores to germinate. The key is to mimic their natural environment, which is moist, humid, and shaded.
Here’s what you’ll need:
- Container: A shallow seed tray or even a plastic container with drainage holes will work perfectly.
- Growing Medium: A sterile, well-draining mix is crucial. A peat-based seed starting mix or a blend of peat moss and perlite is ideal.
- Humidity Dome: Maintaining high humidity is key to success. A clear plastic cover, a humidity dome, or even a simple plastic bag placed over the container will do the trick.
The Spore Sowing Process:
- Sterilize: Before you begin, ensure your container and growing medium are sterilized to prevent fungal growth.
- Moist Medium: Moisten the growing medium thoroughly, making sure it’s damp but not waterlogged.
- Sow the Spores: Sprinkle your collected spores evenly over the surface of the growing medium. Don’t bury them; light is essential for germination.
- Warmth and Patience: Place your container in a warm, shaded location, ideally with temperatures around 70°F (21°C). Be patient, as fern spore germination can take anywhere from a few weeks to a few months.
From Spores to Fernlets:
Once your spores germinate, you’ll notice tiny, heart-shaped structures called gametophytes appearing on the surface. These are not yet ferns but a separate stage in the fern lifecycle. As the gametophytes mature, they’ll develop both male and female reproductive organs, eventually leading to fertilization and the development of tiny ferns known as sporophytes.
Transplanting Your Fernlets:
Once your fernlets develop a few sets of true leaves and are large enough to handle, it’s time to transplant them into individual pots filled with a well-draining potting mix. Keep the young ferns in a shady location and maintain consistent moisture as they continue to grow.
A Fern for Generations to Come:
Propagating Dryopteris carthusiana from spores can be a rewarding experience, connecting you to the ancient lifecycle of these fascinating plants. With a little patience and the right care, you’ll soon have a lush display of these graceful ferns to grace your garden for years to come. So why not give it a try and unlock the captivating world of fern propagation today?