Unlocking the Secrets of Autumn Fern Propagation: A Step-by-Step Guide
The Dryopteris erythrosora, more affectionately known as the Autumn Fern, is a sight to behold. Its captivating fronds, unfurling in vibrant copper tones before transitioning to lush green, bring a touch of magic to any garden. But did you know that multiplying your Autumn Fern doesn’t require a green thumb or a magic wand?
Whether you’re a seasoned gardener or just starting your plant journey, propagating your own Dryopteris erythrosora is a rewarding and entirely achievable endeavor. This guide will walk you through the simple steps of expanding your fern family, focusing on the most effective method: division.
Understanding the Anatomy of an Autumn Fern
Before we delve into the propagation process, it’s helpful to understand the basic structure of the Autumn Fern. Unlike plants that propagate through seeds or cuttings, ferns reproduce through spores and rhizomes.
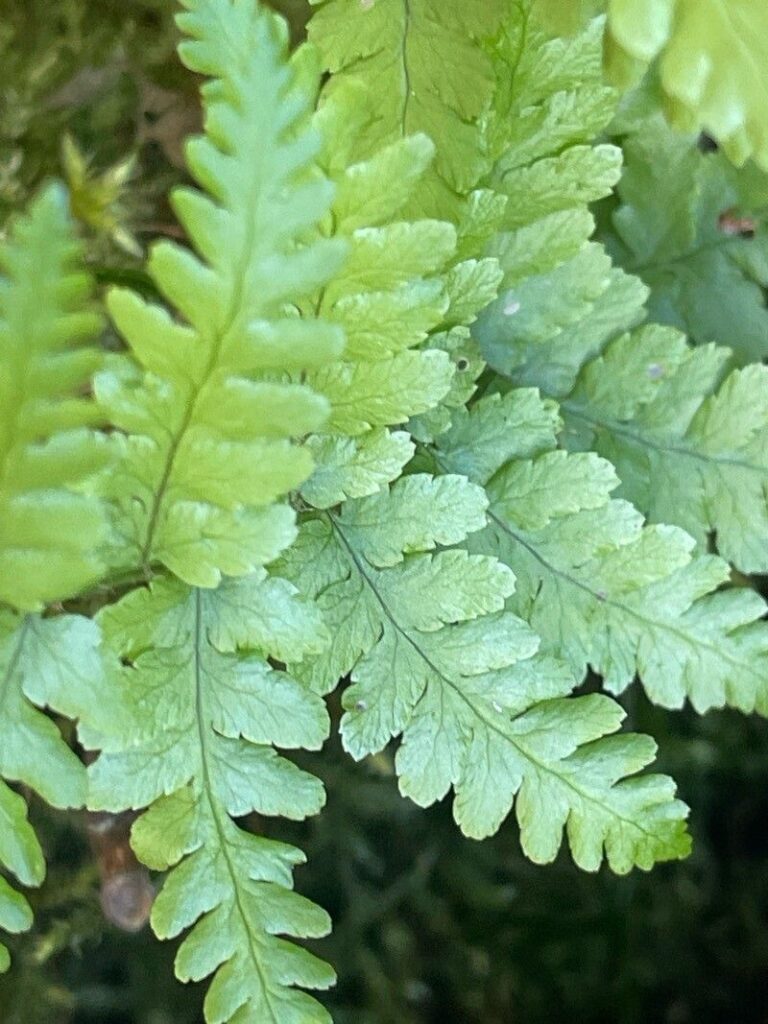
- Spores: These tiny, dust-like particles are located on the undersides of the fronds and require a specific environment to germinate, making them less reliable for home propagation.
- Rhizomes: These are the horizontal underground stems of the fern, responsible for sending out new roots and shoots. Dividing these rhizomes is the simplest and most effective method for propagating your Autumn Fern.
The Best Time to Divide
Timing is key when it comes to successful division. The optimal time to propagate your Autumn Fern is during its early spring growth spurt, just as new fronds begin to emerge. This ensures the divided sections have ample time to establish themselves before the winter months.
Step-by-Step Guide to Dividing Your Autumn Fern
- Prepare Your Tools: You’ll need a sharp, clean knife or garden spade, a watering can, and pots filled with well-draining potting mix.
- Carefully Lift the Fern: Gently dig around the base of your mature Autumn Fern and carefully lift the entire plant from the ground or pot.
- Identify Rhizome Sections: Inspect the root ball and identify healthy sections of rhizome with a good amount of roots and at least 2-3 fronds attached.
- Divide the Rhizomes: Using your sharp knife or spade, carefully separate the chosen rhizome sections. Make sure each division has a good chunk of roots attached for optimal growth.
- Pot Your Divisions: Plant each divided section into its own pot, ensuring the crown of the rhizome (where the fronds emerge) is level with the soil surface. Water thoroughly.
- Provide Optimal Conditions: Place your newly potted divisions in a shaded area, protected from harsh sunlight. Maintain consistently moist soil, but avoid overwatering.
Patience is Key
It takes time for divided ferns to establish themselves. Be patient and continue providing consistent care. With time, your divided sections will flourish into beautiful, mature Autumn Ferns, adding a touch of prehistoric elegance to your garden for years to come.