Unfurling the Secrets: Propagating the Lush Dryopteris expansa Fern
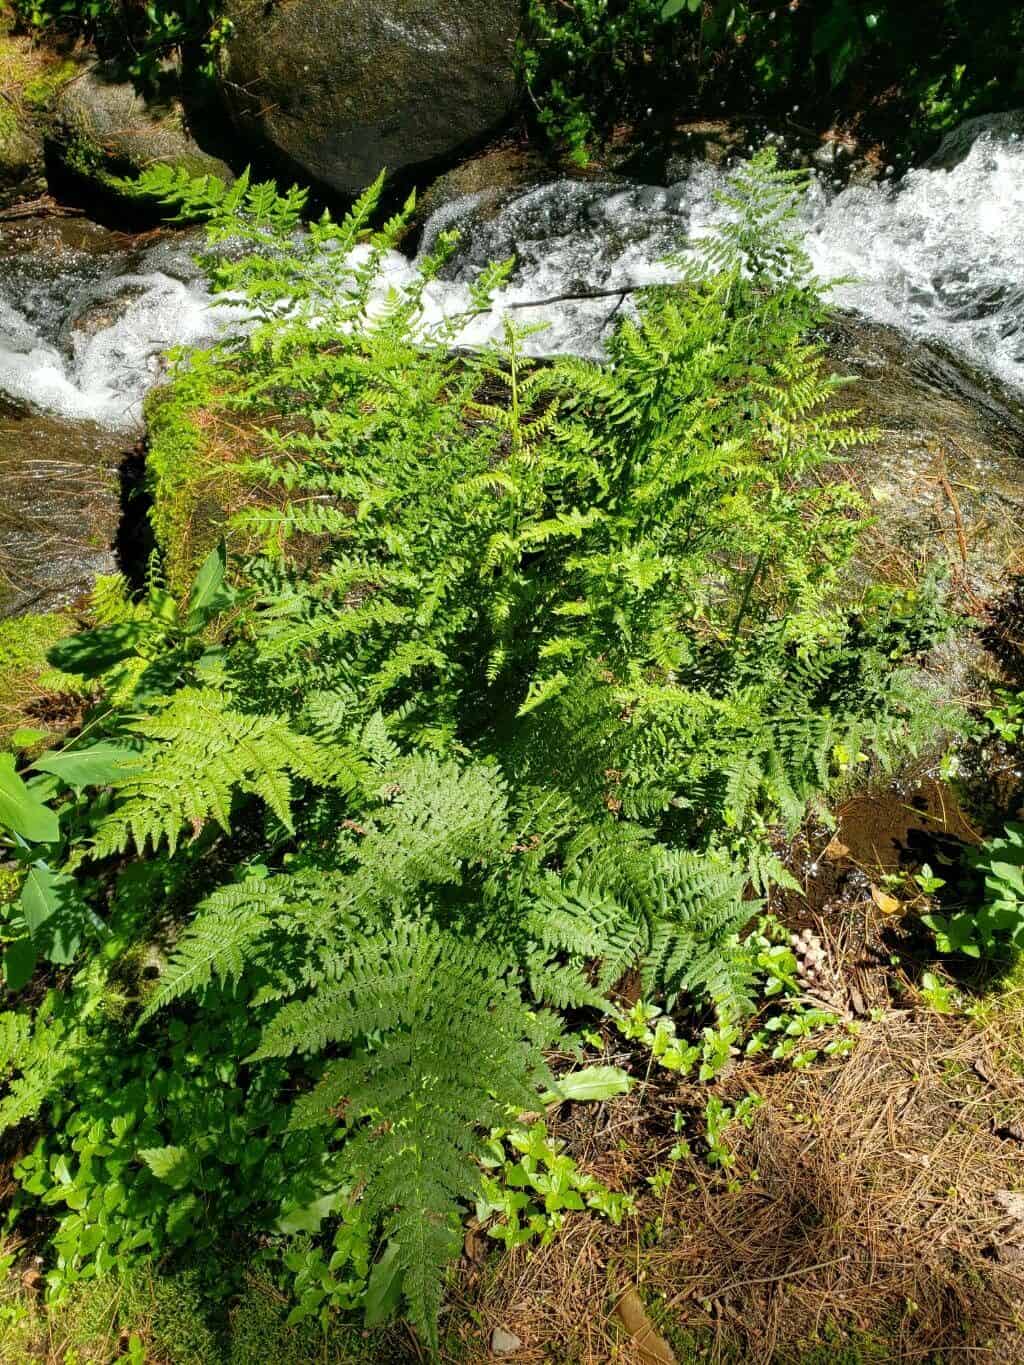
The Dryopteris expansa, commonly known as the spreading wood fern, is a sight to behold. Its vibrant green fronds, with their intricate lace-like patterns, bring a touch of woodland magic to any shady corner. But did you know that propagating this stunning fern is easier than you might think? Whether you’re a seasoned gardener or just starting out, this guide will equip you with the knowledge to multiply your Dryopteris expansa and share its beauty.
Understanding the Basics
Before we delve into the techniques, let’s understand how this fern reproduces. Unlike flowering plants that produce seeds, Dryopteris expansa relies on spores located on the undersides of its fronds. These tiny, dust-like particles are housed within structures called sori, which often appear as brown or black dots.
Method 1: Spore Propagation
For the patient gardener seeking a rewarding challenge, spore propagation is the way to go. Here’s a step-by-step guide:
- Spore Collection: When the sori on the fronds turn dark and feel powdery to the touch, it’s time to collect spores. Carefully cut a frond and place it in a paper bag, spore-side down. Leave it in a dry, warm place for a few days. The spores will naturally release and collect at the bottom of the bag.
- Sowing: Prepare a seed tray or small pots with a sterile seed starting mix. Moisten the mix evenly. Sprinkle the collected spores thinly over the surface, avoiding overcrowding. Don’t bury the spores as they need light to germinate.
- Creating a Humid Environment: Cover the tray or pots with a clear plastic lid or cling film to create a humid environment, mimicking the natural habitat of ferns. Place the setup in a warm, shady location out of direct sunlight.
- Patience is Key: Spore germination can take several weeks to months. Be patient and maintain consistent moisture by misting the soil regularly. Once the spores sprout, forming small heart-shaped structures called prothalli, continue providing humidity until they develop into recognizable fernlets.
- Transplanting: Once the fernlets are large enough to handle, carefully separate them and transplant them into individual pots filled with a well-draining potting mix.
Method 2: Division
For a quicker and less involved approach, division is the preferred method. This is best done in early spring:
- Prepare the Plant: Water your Dryopteris expansa thoroughly a day or two before division.
- Dividing the Rhizome: Carefully dig up the plant and shake off excess soil. Using a sharp, clean knife or pruning shears, divide the rhizome (the underground stem) into sections, ensuring each section has a healthy set of fronds and roots.
- Repotting: Plant the divided sections in individual pots or directly into your garden, maintaining the same soil depth as they were originally growing. Water thoroughly and provide shade until the divisions establish themselves.
Caring for Your Propagated Ferns
Whether you choose spores or division, your newly propagated Dryopteris expansa ferns thrive in moist, well-drained soil and shaded locations. Protect them from harsh sunlight and keep the soil consistently moist but not waterlogged. Applying a layer of mulch helps retain moisture and suppress weed growth.
Propagating your Dryopteris expansa allows you to multiply these elegant ferns, turning a single plant into a lush, green tapestry. So, roll up your sleeves, choose your preferred method, and embark on this fulfilling journey of plant propagation!