Unleashing the Ancient Beauty of Dryopteris sieboldii: A Guide to Propagation
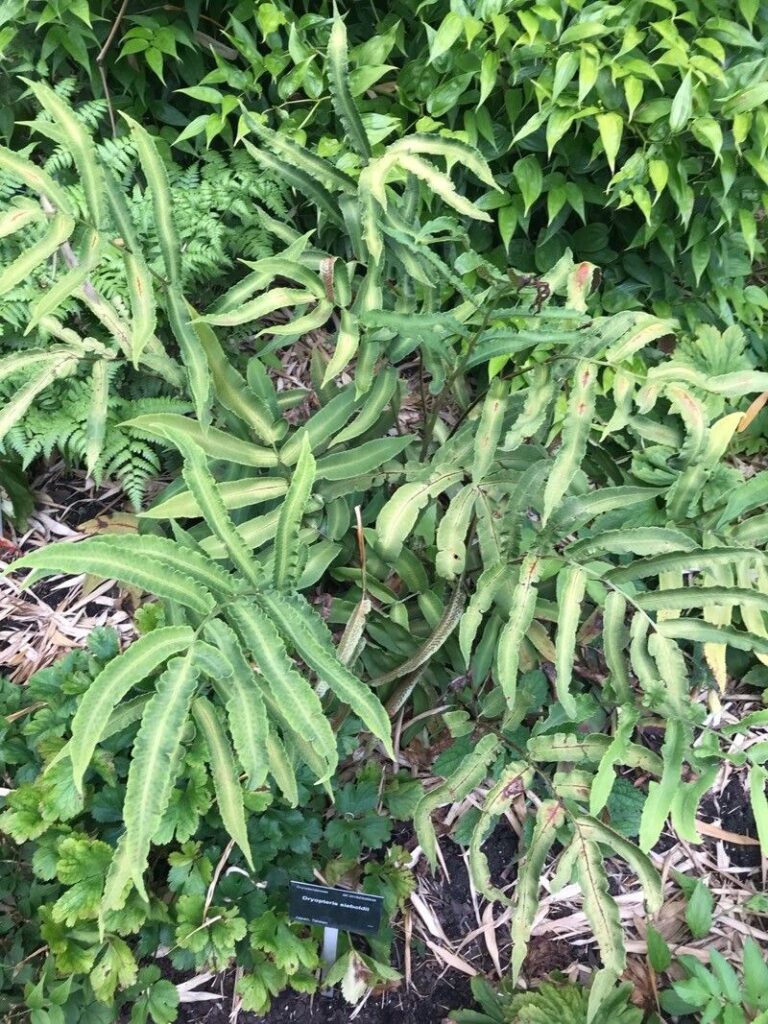
Dryopteris sieboldii, also known as the Fortune’s Holly Fern, is a captivating plant with its prehistoric-looking fronds and air of tranquility. Unlike most ferns that boast delicate, lacy foliage, D. sieboldii stands out with its leathery, upright fronds reminiscent of holly leaves, hence the common name. If you’re captivated by its unique charm and want to multiply your collection or share its beauty, propagating this intriguing fern is a rewarding endeavor.
Understanding the Propagation Options
While Dryopteris sieboldii doesn’t produce flowers or seeds like many plants, it offers two primary methods for propagation:
-
Division: This is the most straightforward and widely practiced method, ideal for mature plants. D. sieboldii naturally grows in clumps, making it easy to divide and create new plantlets.
- Spores: This method, while slightly more complex, offers a glimpse into the fascinating life cycle of ferns. It involves collecting and germinating spores from the undersides of the fronds.
Division: The Simplest Approach
When to Divide: Spring or early fall is the optimal time for division, allowing the divided plants ample time to establish themselves before extreme temperatures set in.
How to Divide:
- Preparation: Water the plant thoroughly a day or two before division to minimize stress. Prepare pots with well-draining potting mix, keeping in mind that D. sieboldii prefers slightly acidic soil.
- Lifting and Dividing: Carefully lift the plant from its pot, gently loosening the root ball. Identify natural divisions within the clump. Using a sharp, clean knife or garden shears, separate the plant into sections, ensuring each section has a healthy set of roots and fronds.
- Potting: Plant the divided sections in their new pots, ensuring the crown (where the fronds meet the roots) is level with the soil surface. Water thoroughly and place in a shady location.
Spore Propagation: A Rewarding Challenge
Collecting Spores:
- Identify Mature Spores: Look for mature spores on the undersides of fronds. They appear as small, brown dots (sporangia) that turn fuzzy when the spores are ready.
- Collecting: Carefully cut a frond with mature spores and place it in a paper bag, spore side down. Leave it undisturbed for a few days, allowing the spores to release into the bag.
Sowing Spores:
- Prepare a Sterile Environment: Use a sterile seed starting mix and a clean, shallow container. Moisten the mix evenly.
- Sowing: Dust a thin layer of spores onto the surface of the mix. Do not bury the spores, as they require light to germinate.
- Creating Humidity: Cover the container with a clear lid or plastic wrap to maintain high humidity, mimicking the fern’s natural environment. Place the container in a warm, shady location.
Patience is Key: Germination can take several weeks to months. Once the spores germinate, you’ll notice tiny, heart-shaped structures (prothalli) appearing on the soil surface. As they mature, small ferns will develop.
Caring for Your New Fern Offspring
Whether you’ve chosen division or spore propagation, provide your new Dryopteris sieboldii plants with consistent care. Keep the soil evenly moist but not waterlogged. Choose a location with dappled shade or indirect light, replicating their preferred forest floor habitat.
Propagating Dryopteris sieboldii might seem daunting at first, but with a little patience and care, you can successfully multiply these captivating ferns, transforming your space with their timeless elegance.