
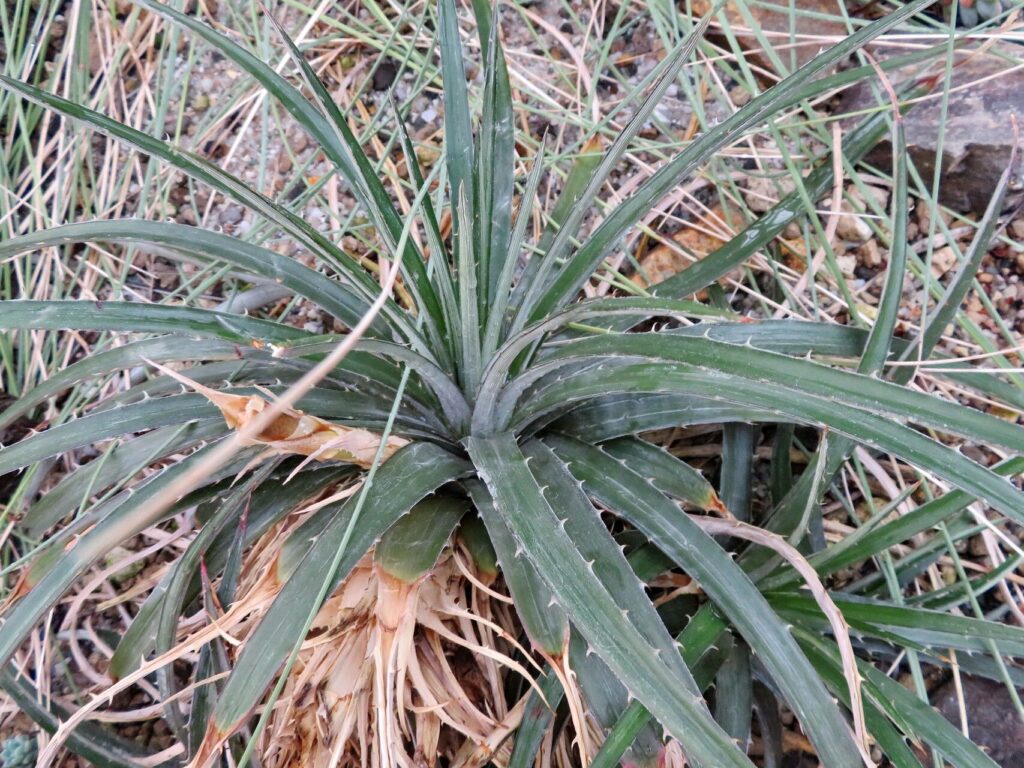
Unlocking the Secrets of Dyckia Rariflora Propagation: A Guide to Multiplying Your Spiky Friend
Dyckia rariflora, with its mesmerizing rosette of spiky leaves and vibrant blooms, is a true gem among succulent enthusiasts. But did you know that this hardy Brazilian native is also surprisingly easy to propagate? Whether you’re looking to expand your collection, share the joy with fellow plant lovers, or simply ensure the longevity of your beloved Dyckia, understanding the art of propagation is key.
This comprehensive guide delves deep into the world of Dyckia rariflora propagation, revealing the secrets to success and empowering you to grow these stunning plants with confidence.
Two Paths to Propagation: Offsets and Seeds
Dyckia rariflora primarily propagates in two ways: through offsets (pups) and seeds. Each method comes with its own set of advantages and challenges:
1. Offsets: The Gift that Keeps on Giving
Easily the most common and beginner-friendly method, offset propagation utilizes the plant’s natural tendency to produce “pups” – miniature versions of itself – around the base of the mother plant.
- When to Propagate: Look for pups that are at least a third the size of the mother plant and have developed their own root system. This typically occurs in spring or early summer.
- How to Propagate: Using a clean, sharp knife or pair of shears, carefully separate the pup from the mother plant, ensuring you retain as much of the pup’s root system as possible. Allow the cut end of both the pup and mother plant to callus over for a day or two before potting.
- Potting and Care: Plant the pup in a well-draining succulent or cacti mix, burying the roots and just the base of the rosette. Water sparingly, allowing the soil to dry out completely between waterings.
2. Seeds: Embracing the Patience of Nature
Propagating Dyckia rariflora from seeds offers a more adventurous route, requiring patience and a touch of green-thumb magic.
- Sourcing Seeds: You can purchase Dyckia rariflora seeds online or from reputable nurseries. Alternatively, if your plant blooms and you’re lucky enough to have it pollinated, you can collect seeds from the seed pods once they dry and split open.
- Sowing the Seeds: Sow the seeds on the surface of a well-draining seed starting mix, barely pressing them in. Mist the soil with water and cover the container with a humidity dome or plastic wrap to create a warm, humid environment.
- Patience is Key: Germination can take anywhere from a few weeks to several months. Once the seedlings have developed a couple of sets of true leaves, you can carefully transplant them into individual pots.
Factors Influencing Propagation Success
Regardless of the chosen method, several factors can influence your propagation success:
- Well-Draining Soil: Dyckia rariflora are highly susceptible to root rot, making a well-draining soil mix vital.
- Adequate Light: These sun-loving plants thrive in bright, indirect light. However, be cautious of intense, direct sunlight, especially for young plants, as it can scorch their delicate leaves.
- Proper Watering: As a general rule, it’s best to underwater than overwater. Allow the soil to dry out completely between waterings, and always water deeply, ensuring excess water drains freely.
Propagating your own Dyckia rariflora is an immensely rewarding experience, offering a deeper connection with these fascinating plants. With a little patience and care, you’ll soon be surrounded by a flourishing collection of your own spiky wonders, ready to share the joy with fellow plant enthusiasts.