Multiply Your Scalloped Beauty: Echeveria Crenulata Propagation Made Easy
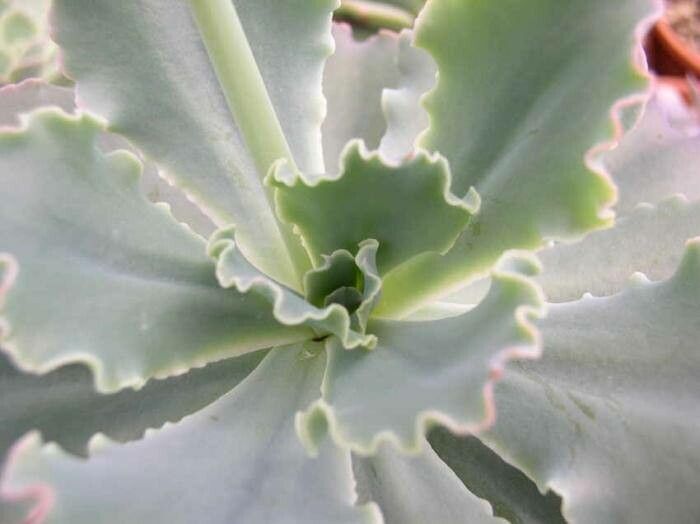
Echeveria crenulata, with its charmingly scalloped leaves and blushing hues, is a succulent superstar perfect for adding a touch of desert chic to your home. And the best part? It’s surprisingly easy to propagate, allowing you to multiply your collection without spending a fortune.
Let’s dive into the world of Echeveria crenulata propagation and explore two popular methods:
1. Leaf Cuttings: From Single Leaf to Rooting Success
Leaf propagation, the ultimate test of patience and a touch of magic, is a rewarding way to grow new Echeveria crenulata plants. Here’s how it’s done:
- Choosing the right leaf: Opt for healthy, plump leaves from a mature plant. Avoid leaves that are damaged, wilting, or too young.
- Gentle Removal: Gently twist the leaf from the stem, ensuring the entire leaf detaches with its base intact. Damaged bases can hinder root development.
- Callus Over: Let the leaves rest in a cool, dry place for a few days until the wound at the base forms a callus. This prevents rot once you introduce moisture.
- Planting Time: Place the calloused leaves on top of well-draining soil (a mix of cactus potting soil and perlite works well). Don’t bury the leaves – just ensure good contact with the soil.
- Light and Water: Position your cuttings in bright, indirect sunlight. Water sparingly, just enough to keep the soil slightly moist. Overwatering is a rookie mistake that can lead to rotting.
- Patience is Key: Tiny pink roots and eventually baby plants (pups) will emerge from the base of the leaves, usually within a few weeks. This process can take anywhere from a few weeks to a couple of months. Once the pups are established, you can gently separate them and pot them up individually.
2. Offsets: Separating the Sibling Squad for a Growing Family
Echeveria crenulata often produces offsets, also known as chicks or pups – miniature versions of themselves that sprout around the base of the mother plant.
- Identify the Right Time: Look for offsets that are at least an inch or two in diameter with their own root system.
- Separation Anxiety (for the plants!): Gently remove the mother plant from its pot and carefully detach the offsets. If the roots are intertwined, use a clean, sharp knife or shears to separate them.
- Potting Up: Plant the offsets in individual pots using well-draining soil, ensuring the base of the plant sits slightly above the soil line.
- Care Routine: Follow the same light and water guidelines as you would for mature Echeveria crenulata plants.
Troubleshooting Tips for Success:
- Rotting Leaves: Ensure your soil mix is well-draining and avoid overwatering. If you notice rotting, remove the affected leaves immediately.
- No Roots or Pups: Don’t despair! Propagation can be a bit finicky. Sometimes, restarting the process with fresh leaves or trying a different location with more or less light can help.
Propagating your Echeveria crenulata is a rewarding experience that turns your plant love into a growing collection. So grab those leaves, divide those offsets, and watch your succulent family flourish!