Unveiling the Secrets of Elaeocarpus Pulchellus Propagation: A Guide to Growing Your Own Fairy Petticoats
Elaeocarpus pulchellus, more charmingly known as the Fairy Petticoat Tree, is a sight to behold. This captivating evergreen boasts glossy green leaves and delicate, bell-shaped flowers that cascade down like miniature petticoats, hence the enchanting moniker. While admiring its beauty in nurseries is one thing, wouldn’t it be magical to grow your own Fairy Petticoat Tree? While this species can be a bit tricky to propagate, don’t fret! This comprehensive guide will equip you with the knowledge and confidence to successfully propagate your very own Elaeocarpus pulchellus.
Method 1: Propagation from Seed – A Test of Patience
Propagating Fairy Petticoat Trees from seed requires patience, as the seeds are known to be slow and sometimes erratic in their germination. However, the reward of nurturing a tree from its very beginning is undeniably satisfying.
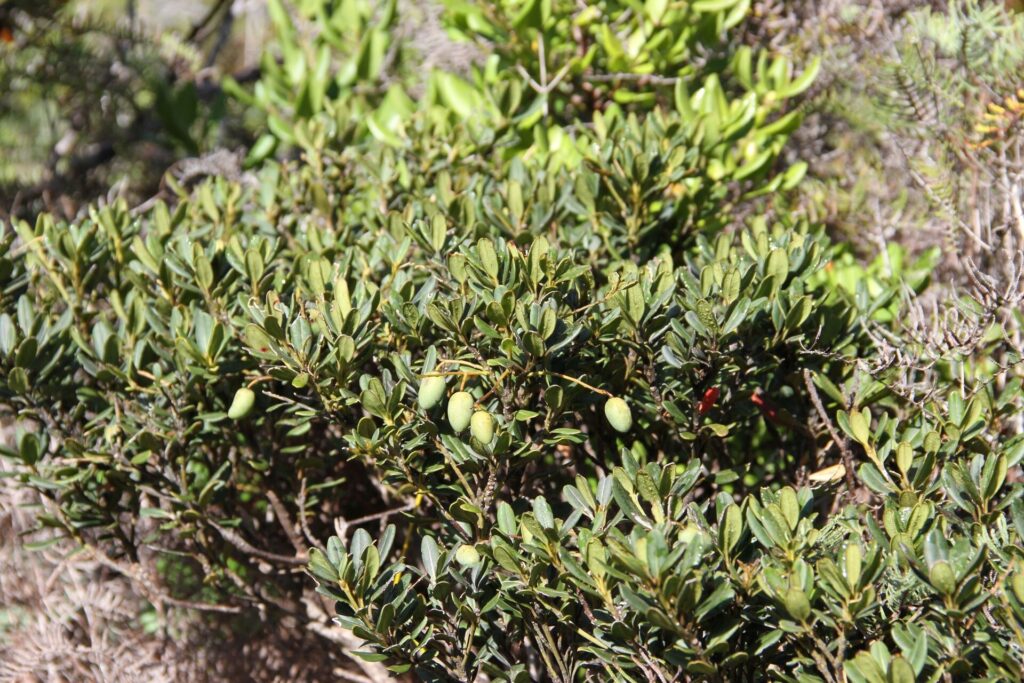
- Seed Collection and Preparation: Gather ripe fruits directly from the tree. Extract the seeds and clean off any leftover fruit pulp. Soak the cleaned seeds in lukewarm water for 24 hours to encourage germination.
- Sowing: Choose a well-draining seed raising mix and fill small pots or seedling trays. Sow the seeds about an inch deep and water them gently.
- Environment and Care: Place the pots in a warm, bright location, out of direct sunlight. Maintain a consistently moist environment, never letting the soil dry out completely.
- Germination: Be patient! Germination can take anywhere from a few weeks to several months. Once the seedlings emerge and have a few sets of true leaves, you can thin them out, leaving the strongest one in each pot.
Method 2: Propagation from Cuttings – A Quicker Approach
Propagating from cuttings is generally faster than starting from seed but requires a bit more finesse.
- Timing is Key: Take cuttings during the active growing season, ideally in spring or early summer. Choose healthy, semi-hardwood stems that are not flowering.
- Preparing the Cuttings: Using a sharp, sterilized knife or pruning shears, take cuttings about 4-6 inches long. Remove the leaves from the bottom half of the cutting.
- Hormone Treatment (Optional): Dip the cut end of the stem in rooting hormone powder to increase the chances of successful rooting.
- Planting the Cuttings: Plant the cuttings in a well-draining potting mix formulated for cuttings. Ensure at least two nodes are buried in the mix.
- Creating Humidity: Cover the cuttings with a plastic bag or a humidity dome to lock in moisture and encourage rooting.
- Monitoring and Care: Place the cuttings in a warm, bright location out of direct sunlight. Keep the potting mix consistently moist but not waterlogged.
- Rooting: Rooting can take several weeks. Gently tug on the cuttings to check for resistance, indicating root development. Once roots are established, you can transplant the cuttings into individual pots.
Caring for Your Young Fairy Petticoats
Whether you propagated your Elaeocarpus pulchellus from seed or cuttings, consistent care is crucial for their successful growth:
- Light: Provide bright, indirect light.
- Water: Water regularly, keeping the soil moist but not soggy.
- Humidity: Maintain moderate humidity, misting occasionally, especially during dry periods.
- Fertilizer: Feed during the growing season with a balanced liquid fertilizer diluted to half strength.
Propagating your own Elaeocarpus pulchellus might require some patience and care, but the rewards are undoubtedly worth it. By following these tips, you’ll be well on your way to enjoying the captivating beauty of the Fairy Petticoat Tree in your own backyard.