Unleash the Beauty: Propagating Your Elaphoglossum aubertii
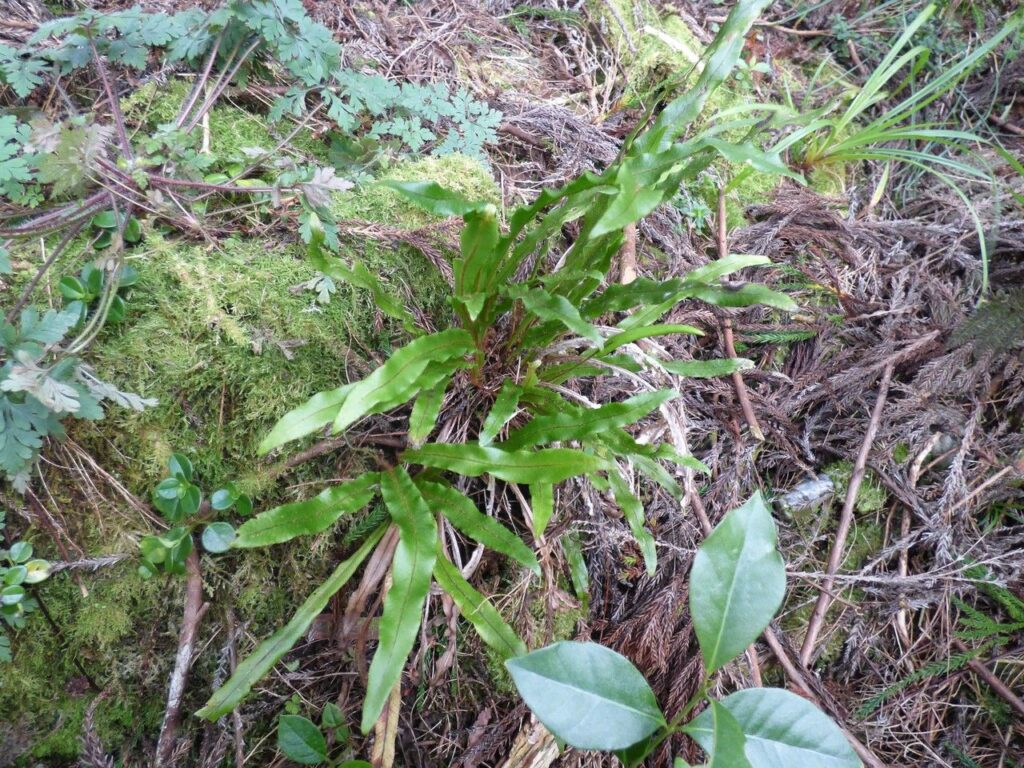
The Elaphoglossum aubertii, with its cascading fronds and stunningly intricate foliage, is a plant that instantly captures the heart. But did you know that sharing this beauty is as simple as a little bit of care and a sprinkle of plant magic? Propagating your Elaphoglossum aubertii doesn’t have to be a mystery, and this guide will walk you through the process, ensuring you have a thriving jungle of these elegant ferns in no time.
The Magic of Spores:
Elaphoglossum aubertii, like many ferns, relies on spores for reproduction. These tiny, dust-like particles are hidden on the underside of the fern leaves, nestled within structures called sporangia. Unlike seeds, these spores don’t contain a tiny plant embryo but instead hold the genetic blueprint for a new fern.
The Spore-to-Fern Journey:
Propagating from spores is a journey of patience and a bit of botanical finesse. Here’s a step-by-step guide:
-
Gathering Spores: Look for mature fronds with brown, powdery patches on the underside. Carefully scrape these patches onto a piece of paper, ensuring they’re free from debris.
-
Preparing the Medium: A sterile potting mix designed for seeds or a mix of peat moss and perlite provides the perfect environment for spore germination. Fill a shallow container with the medium and sterilize it using boiling water or a microwave.
-
Sowing the Spores: Sprinkle the collected spores evenly over the surface of the sterile medium. Don’t bury them! Light is essential for germination.
-
The Greenhouse Effect: Cover the container with a transparent plastic dome or wrap it with plastic cling film, creating a humid environment. Place the container in an indirectly lit location where temperatures remain around 70-75°F (21-24°C).
-
Patience is Key: Germination can take weeks, even months. Keep the medium consistently moist but not soggy, and maintain the greenhouse conditions.
-
The Prothalli: Eventually, tiny green, heart-shaped structures known as prothalli will emerge. These are the first stage of the fern’s life cycle, responsible for generating the new plant.
- The Young Fern: After a few more weeks, tiny fern fronds will begin to emerge from the prothalli. Once they are about an inch tall, carefully transplant them into individual pots with a well-draining potting mix.
Don’t Forget the Care:
Once you have your baby ferns, provide them with the right care to ensure their healthy growth:
- Light: Elaphoglossum aubertii thrives in bright, indirect light. Avoid direct sunlight, which can scorch their delicate fronds.
- Watering: Keep the soil consistently moist, but never waterlogged. Allow the top inch of soil to dry out before watering again.
- Humidity: Ferns love humidity. Consider placing the pot on a tray of pebbles filled with water or misting the leaves regularly.
- Fertilizer: Feed your ferns with a diluted liquid fertilizer during their active growing season (spring and summer).
Beyond Spores:
While spore propagation is a rewarding journey, you can also propagate Elaphoglossum aubertii using division. Carefully separate a clump of plants by dividing the rhizomes, ensuring each division has healthy roots and fronds. Plant the divisions in individual pots, providing them with the same care as above.
The Beauty of Sharing:
Elaphoglossum aubertii is a delightful plant to share with others. Use the techniques discussed here to propagate your beloved fern and transform your home into a lush jungle, or share the magic of this stunning species with friends and family. Remember, patience, care, and the right environment are the key ingredients to cultivating a thriving collection of Elaphoglossum aubertii, ensuring that its beauty continues to grace homes for generations to come.