Unleashing the Ancient Grain: Propagating Ragi (Eleusine coracana) at Home
Ragi, also known as finger millet or Eleusine coracana, is an ancient grain experiencing a modern revival. Prized for its nutty flavor, impressive nutrient profile, and resilience in arid climates, ragi is becoming increasingly popular. Whether you’re a seasoned gardener or just starting, growing your own ragi is a rewarding experience. This guide will delve into the different methods of propagating this super grain, empowering you to bring its goodness to your own backyard.
Sowing Seeds: The Direct Approach
The most straightforward way to propagate ragi is by sowing seeds directly into the ground. Here’s how:
- Timing is Key: Ragi thrives in warm weather, so the ideal sowing time is after the last frost when soil temperatures reach at least 65°F (18°C).
- Preparing the Bed: Choose a sunny location with well-drained soil. Incorporate compost or aged manure to enrich the soil before planting.
- Sowing the Seeds: Rake the soil smooth and broadcast the seeds evenly, aiming for a depth of about ½ – 1 inch (1-2.5 cm). Gently rake the soil to cover the seeds.
- Water Wisely: Keep the soil consistently moist, especially during germination which takes about 5-7 days. Once established, ragi is relatively drought-tolerant.
- Thinning Out: As seedlings emerge, thin them out to maintain a spacing of 4-6 inches (10-15 cm). This allows for optimal air circulation and prevents overcrowding.
Transplanting Seedlings: A Head Start
For a head start on the growing season, consider starting ragi indoors:
- Seed Starting Mix: Use a well-draining seed starting mix and sow seeds about ½ inch (1 cm) deep in seedling trays or pots.
- Warmth and Light: Place the trays in a warm, sunny location or under grow lights. Maintain consistent moisture.
- Harden Off: Before transplanting outdoors, gradually acclimate the seedlings to outdoor conditions by exposing them to increasing amounts of sunlight and wind over a week.
- Transplanting: Once the seedlings are sturdy and the weather has warmed, transplant them into the prepared garden bed with a spacing of 4-6 inches (10-15 cm).
Divisions: Expanding Existing Plants
Ragi plants tend to clump and spread, making them easy to propagate through division:
- Ideal Time: Early spring or after harvesting are the best times to divide ragi plants.
- Digging and Dividing: Carefully dig up a mature clump, ensuring you dig wide to avoid damaging the roots. Using a sharp knife or garden spade, divide the clump into smaller sections, ensuring each section has a good root system and multiple healthy shoots.
- Replanting: Replant the divisions immediately at the same depth they were previously growing, spacing them 12-18 inches (30-45 cm) apart. Water thoroughly.
Nurturing Your Ragi
Ragi is a relatively low-maintenance crop, but a little care goes a long way:
- Watering: Water regularly during dry spells, but avoid waterlogging the soil.
- Weeding: Keep the area around your ragi plants weed-free, as weeds compete for nutrients and moisture.
- Pests and Diseases: Ragi is generally pest-resistant but keep an eye out for common garden pests and diseases.
Harvesting the Rewards
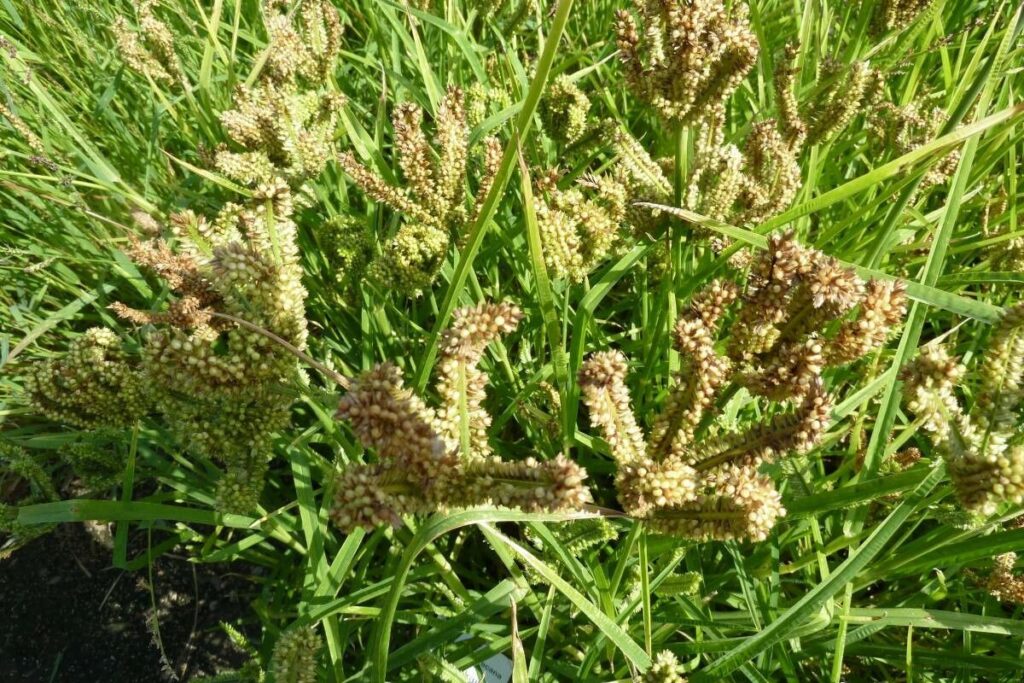
After approximately 3-4 months, the ragi plants will produce beautiful finger-like seed heads that turn from green to reddish-brown when mature. Harvest the seed heads by cutting them with pruning shears, then thresh and winnow them to separate the grains.
With a bit of attention and care, you can successfully propagate and grow your own ragi, enjoying the unique flavor and numerous health benefits of this ancient grain.