
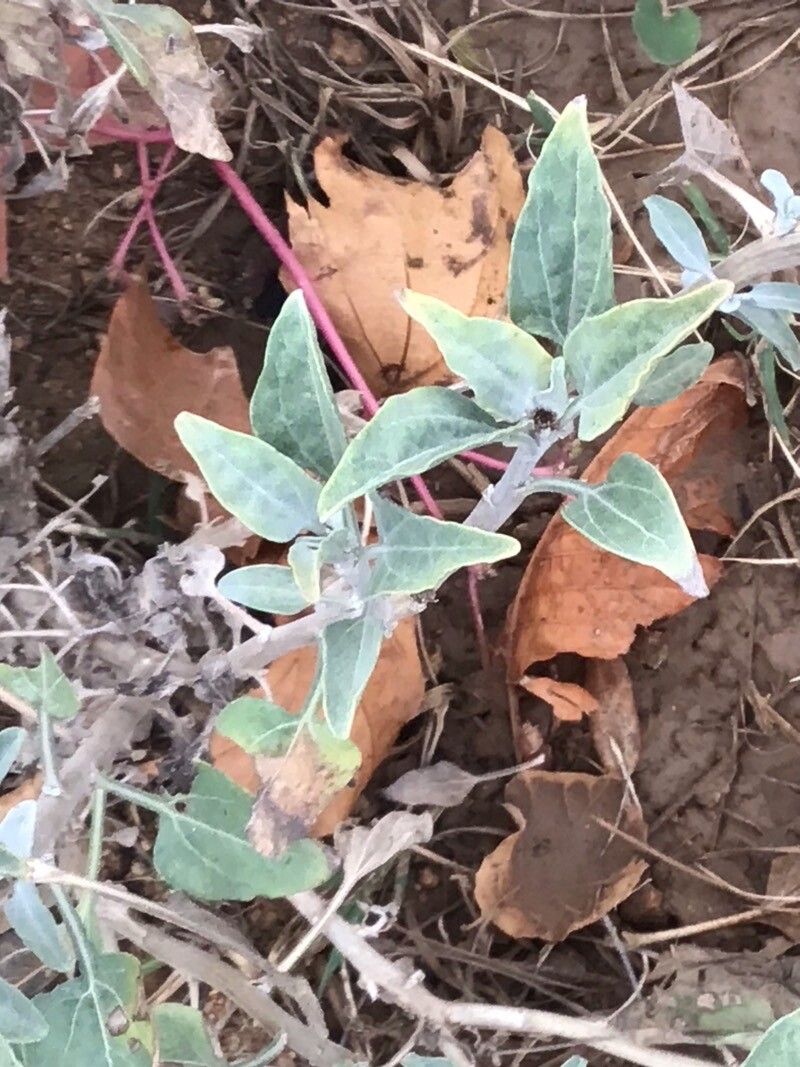
Sunshine on Demand: Propagating the California Encelia
The California Encelia, or Encelia canescens, is a burst of sunshine in any garden. This drought-tolerant beauty, with its cheerful yellow daisies and silvery-green foliage, thrives in hot, dry conditions, making it a favorite for low-water landscapes. But did you know that sharing this ray of sunshine with friends is easier than you think? Let’s explore the world of propagating Encelia canescens.
Two Roads to Golden Glory: Seeds vs. Cuttings
When it comes to propagating Encelia canescens, you have two primary options:
- Seed Propagation: This method takes advantage of the plant’s natural reproductive cycle. It’s an excellent choice for those who enjoy watching the entire growth process unfold.
- Propagation from Cuttings: This technique offers a quicker route to established plants and ensures you maintain the characteristics of a specific parent plant.
Sowing Seeds of Success:
- Timing is Key: Spring is the ideal time to sow Encelia canescens seeds after the threat of frost has passed.
- Prepare Your Seedbed: Use a well-draining seed starting mix and moisten it thoroughly.
- Sow with Care: Sprinkle the seeds on the surface and lightly press them into the mix. These seeds need light to germinate, so avoid burying them.
- Warmth and Moisture: Place the seed tray in a warm, sunny location and keep the soil consistently moist but not waterlogged.
- Germination Celebration: Within 1-3 weeks, you should start to see tiny green shoots emerging. Once they have a few sets of true leaves, you can transplant them into individual pots.
Cuttings: Cloning Your Golden Child:
- Choose Wisely: Select healthy, non-flowering stems from your Encelia canescens in the spring or early summer.
- Make the Cut: Using a sharp, clean knife or pruning shears, take cuttings that are about 4-6 inches long, just below a leaf node.
- Prepare the Cuttings: Remove any leaves from the bottom inch of the stem. You can also dip the cut end in rooting hormone to encourage root development (optional but helpful).
- Potting Up: Plant the cuttings in a well-draining potting mix, burying the bottom node.
- Patience is a Virtue: Maintain moisture and warmth, and within a few weeks, your cuttings should develop roots and show signs of new growth.
Transplanting: From Pot to Garden:
Once your seedlings or rooted cuttings are strong and healthy, transplant them into your garden after the last frost. Choose a sunny location with well-drained soil. Encelia canescens thrives in poor soil conditions, so amending with a lot of compost isn’t necessary.
A Garden Bathed in Gold:
Propagating Encelia canescens allows you to fill your garden with these sun-loving beauties. Whether you choose the satisfying process of seed starting or the efficient method of cuttings, you’ll be rewarded with a stunning display of golden blooms that attract pollinators and brighten your landscape year after year.