From One Orchid to Many: Unveiling the Secrets of Encyclia randii Propagation
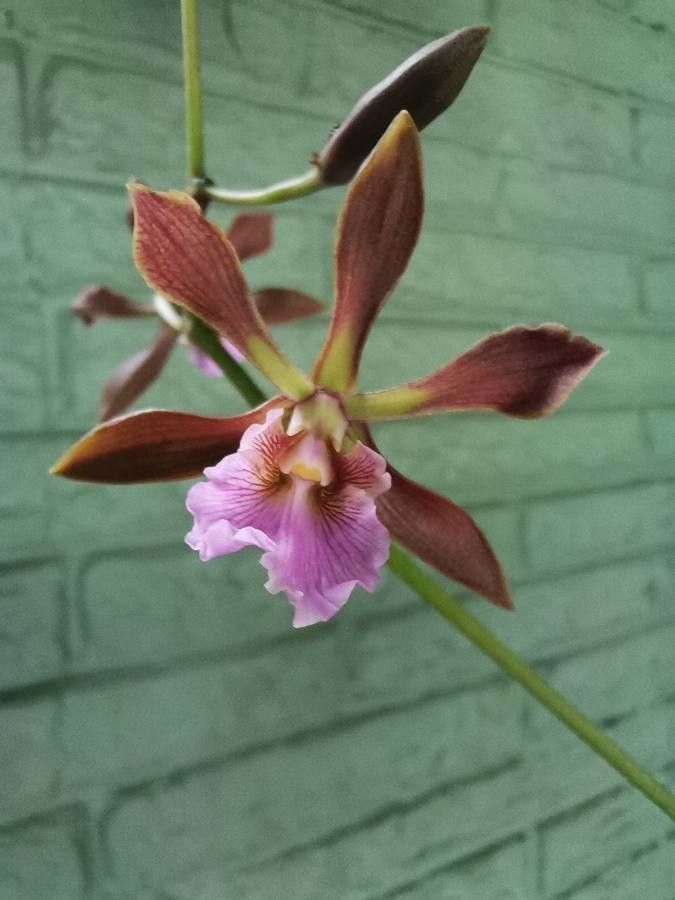
The Encyclia randii, with its vibrant, fragrant blooms and captivating foliage, is a true gem among orchid enthusiasts. But what if you could share this beauty with others or expand your own collection? Enter the fascinating world of orchid propagation!
While Encyclia randii is a popular choice, it’s not always readily available. Thankfully, propagation gives you the power to multiply your plant and share it with friends, or even build a thriving orchid sanctuary.
Dive into the Possibilities: Understanding Encyclia randii Propagation
Encyclia randii, like many orchids, can be propagated using a few methods:
Division: This method works best when your orchid has reached a certain maturity and has developed multiple pseudobulbs, those bulb-like structures that store water and nutrients. Carefully separate the plant, ensuring each section has at least two healthy pseudobulbs and roots.
Keiki: These miniature plantlets often form on the flower stalk or near the base of the orchid. They are essentially baby versions of the parent plant, complete with roots. Once the keiki has developed a good root system, you can carefully detach it and pot it separately.
- Seed propagation: While this method is technically possible, it is much more challenging and time-consuming for home growers. Seed pods need specific conditions and sterile environments to germinate, making it best left to professionals.
A Step-by-Step Guide to Encyclia randii Propagation:
Division:
- Timing is Key: The best time for division is during the spring or summer months when the plant is actively growing.
- Prepare the Tools: Gather a sharp, disinfected knife or pruning shears.
- Gentle Separation: Carefully separate the plant near the base, avoiding damage to the roots.
- Potting Up: Plant each section in a suitable pot filled with well-draining orchid potting mix.
- Promote Healing: Water the newly divided plants and place them in a bright, indirect light location to promote root growth.
Keiki Propagation:
- Wait for Detachment: Allow the keiki to develop a healthy root system, at least 2 inches long.
- Careful Removal: Gently detach the keiki from the parent plant, ensuring the roots are intact.
- Potting Up: Plant the keiki in a small pot filled with orchid potting mix.
- Moisture and Light: Water regularly, keeping the potting mix slightly moist. Place the keiki in a bright, indirect light location.
Tips for Success in Propagation:
- Sterilization: Always sterilize your tools before working with your orchids to prevent infections.
- Use a Well-Draining Mix: Encyclia randii likes a good airflow, so choose a potting mix designed specifically for orchids.
- Provide Adequate Light: Ensure your new plants receive bright, indirect light.
- Maintain Humidity: Orchis love humidity. Using a humidifier or pebble tray can help maintain a suitable environment.
- Patience is Key: Don’t expect immediate results – allow your newly propagated plants time to settle and establish themselves.
From Seedlings to Blooms: The Joy of Propagation
Propagation is an exciting journey. Witnessing your newly propagated Encyclia randii flourish is an incredibly rewarding experience. Not only will you have more orchids adorning your home, but you’ll also gain a deeper understanding of these fascinating plants. So go ahead, explore the world of propagation and enjoy the fruits of your labor—beautiful, blooming Encyclia randii!