Unlocking the Secrets of Epidendrum isthmi Propagation: A Guide to Multiplying Your Orchid Oasis
The Epidendrum isthmi, with its delicate charm and vibrant blooms, is a captivating addition to any orchid enthusiast’s collection. But did you know that this beautiful species can be readily multiplied at home? That’s right! Propagating Epidendrum isthmi is an achievable feat, even for beginners, allowing you to expand your orchid haven or share its beauty with fellow plant lovers. Let’s unravel the secrets of successfully propagating this fascinating species.
Understanding Epidendrum isthmi: A Quick Look
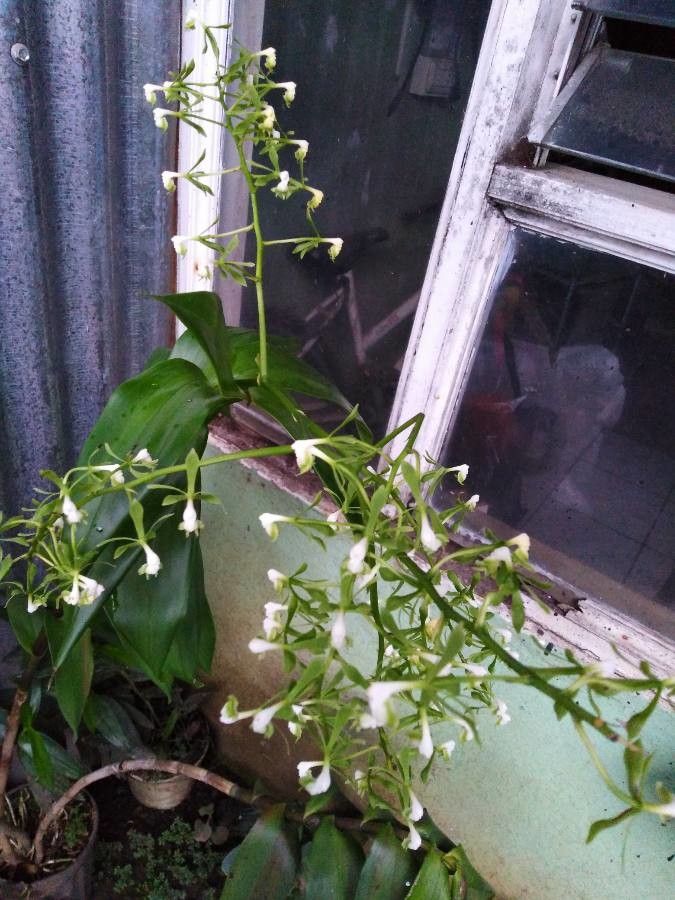
Before diving into propagation, it’s helpful to understand a bit about the plant itself. Epidendrum isthmi belongs to the Epidendrum genus, known for their reed-like stems (canes) and captivating floral displays. Native to Central America, Epidendrum isthmi thrives in warm, humid environments with bright, indirect sunlight.
Propagation Methods: Choosing Your Path
Two primary methods effectively propagate Epidendrum isthmi:
1. Division: The most common and straightforward technique, division involves separating mature plants into smaller sections, each containing healthy roots and canes.
2. Keikis: For a more hands-off approach, keep an eye out for keikis—baby plants that sprout from mature canes. These miniature orchids can be carefully detached and potted individually.
Division: Step-by-Step Guide
- Timing is Key: The optimal time for division is during spring or early summer when the plant is actively growing.
- Prepare Your Tools: You’ll need a sterilized, sharp knife or pruning shears, new pots with drainage holes, and a fresh orchid potting mix.
- Divide Carefully: Remove the Epidendrum isthmi from its pot and gently loosen the roots. Identify sections with at least 3-4 healthy canes and a robust root system.
- Clean Cut: Using your sterilized tool, carefully divide the plant into your desired sections.
- Potting Time: Plant each division in a separate pot with fresh orchid potting mix. Ensure the base of the canes is level with the top of the potting mix.
- Aftercare: Water thoroughly after potting and place divisions in a warm, humid location away from direct sunlight.
Keiki Propagation: Nurturing New Life
- Spotting Keikis: Look for small plantlets emerging from nodes along the canes. Once the keiki develops roots that are at least 2-3 inches long, it’s ready for separation.
- Gentle Removal: Carefully detach the keiki from the mother plant using a sterilized, sharp tool.
- Potting Your Keiki: Plant the keiki in a small pot with a fine-grade orchid mix, ensuring the roots are adequately covered.
- Patience is Key: Keep the newly potted keiki in a humid, warm environment and avoid overwatering.
Tips for Success
- Use a well-draining orchid potting mix specifically designed for epiphytic orchids like Epidendrum isthmi.
- Avoid overwatering, allowing the potting mix to dry out slightly between waterings.
- Provide bright, indirect light and maintain a warm, humid environment.
Propagating Epidendrum isthmi is a rewarding experience, allowing you to witness the miracle of plant life firsthand. By following these simple guidelines and approaching the process with patience and care, you’ll be well on your way to expanding your orchid collection and sharing the beauty of this remarkable species.