Taming the Wild Beauty: Propagating Eriogonum Caespitosum
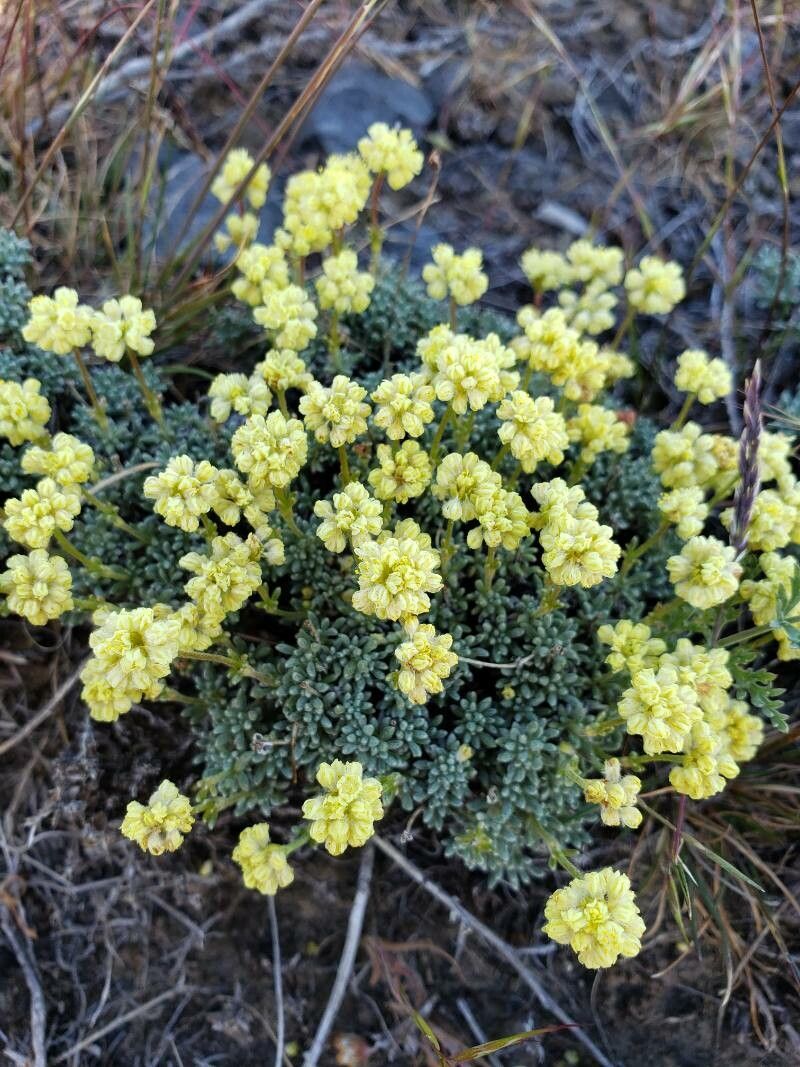
Eriogonum caespitosum, more affectionately known as the Mat Buckwheat or Cushion Buckwheat, is a low-growing wonder native to the western United States. Its compact, mounding form explodes with a profusion of delicate, pom-pom-like flowers in shades ranging from creamy white to vibrant pink. But taming this wild beauty and inviting it into your garden requires a bit of know-how. This guide dives into the world of Eriogonum caespitosum propagation, giving you the tools to cultivate these captivating plants yourself.
Seeds: Sowing the Future
Propagating Eriogonum caespitosum from seed is a rewarding experience, though it requires patience. The key lies in mimicking the plant’s natural lifecycle.
Timing is Everything:
- Fall Sowing (Outdoor): Mimic nature by directly sowing seeds in prepared garden beds in the fall. This allows the seeds to experience the natural winter chill needed for successful germination come spring.
- Winter Sowing (Indoor): If starting seeds indoors, mimic the cold stratification process by sowing seeds in a moist seed-starting mix and refrigerating them for 4-6 weeks before bringing them to a warm, bright location for germination.
Sowing Know-How:
- Prepare the Seedbed: Whether indoors or outdoors, use a well-draining seed starting mix or amend garden soil with sand or grit to improve drainage.
- Sow Seeds: Sprinkle seeds thinly across the surface and lightly press them in. Do not bury the seeds deeply, as they require light to germinate.
- Moisture is Key: Mist the seeds gently but thoroughly, ensuring the soil remains consistently moist but not soggy.
- Light and Warmth: Place the seed trays or pots in a brightly lit location, avoiding direct sunlight which can scorch the delicate seedlings. Maintain temperatures around 65-75°F (18-24°C).
Germination and Beyond: Germination can be erratic, taking anywhere from a few weeks to a couple of months. Once seedlings emerge and develop true leaves, thin them to provide adequate spacing.
Cuttings: Cloning Your Favorites
While seed propagation is rewarding, taking cuttings offers a quicker route to establishing new Eriogonum caespitosum plants, particularly if you want to replicate the specific characteristics of a prized specimen.
The Cutting Edge:
- Timing: Take cuttings in the spring or early summer from healthy, non-flowering stems.
- Tools of the Trade: Use sharp, sterilized pruning shears or a knife to prevent the spread of diseases.
- Making the Cut: Select a stem about 3-4 inches long and make a clean cut just below a leaf node (where the leaf joins the stem). Remove the lower leaves, leaving only 2-3 leaves at the top.
- Promoting Root Development: Dip the cut end of the stem in rooting hormone powder (optional but helpful).
- Planting the Cutting: Insert the cutting into a small pot filled with a well-draining rooting mix. Gently firm the mix around the stem.
- Creating a Humid Environment: Cover the pot with a clear plastic bag or humidity dome to trap moisture and promote root development.
- Patience is Key: Keep the rooting mix consistently moist but not soggy and place the pot in a brightly lit location, out of direct sunlight. Rooting typically takes 4-6 weeks.
Nurturing New Life: Post-Propagation Care
Regardless of your chosen propagation method, newly established Eriogonum caespitosum plants require attentive care. Provide them with:
- Well-Drained Soil: These plants are highly susceptible to root rot, so ensure excellent drainage.
- Sun-Kissed Location: Plant them in a location that receives at least 6 hours of direct sunlight per day.
- Water Wisely: Water deeply but infrequently, allowing the soil to dry out between waterings.
- Feed Lightly: Fertilize sparingly during the growing season with a balanced, slow-release fertilizer.
With a little patience and these practical tips, you can successfully propagate Eriogonum caespitosum and enjoy the captivating beauty of these resilient wildflowers in your garden for years to come.