
Reaching New Heights: A Guide to Propagating Erigonum elatum
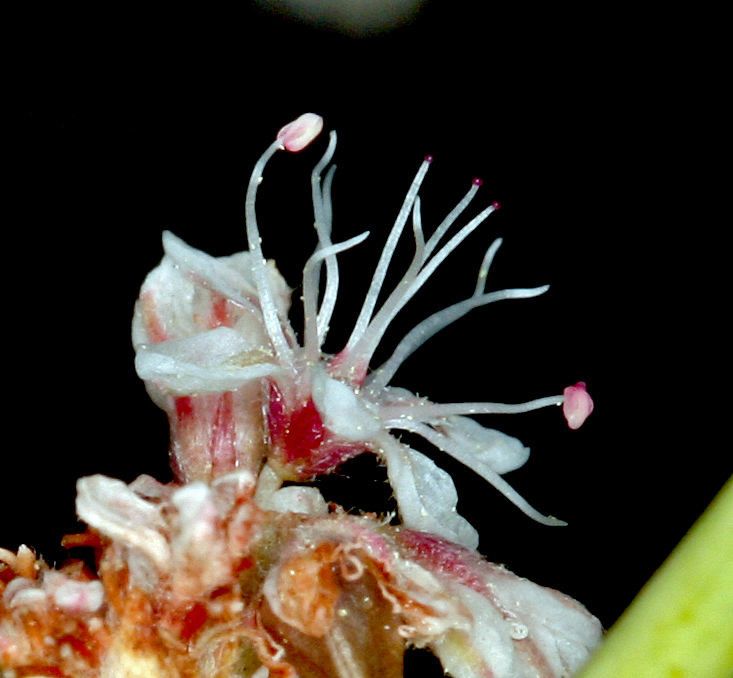
Eriogonum elatum, also known as the California buckwheat or tall buckwheat, is a stunning wildflower native to the western United States. Its tall, elegant stems topped with clusters of delicate, white to pale pink flowers add a touch of natural beauty and attract a plethora of pollinators to any garden. If you’re eager to bring this captivating plant to your own outdoor space, propagation is a rewarding way to expand your collection. Here’s a comprehensive guide to successfully propagating Eriogonum elatum:
Two Paths to Propagation: Seeds vs. Cuttings
When it comes to propagating Eriogonum elatum, you have two primary options:
- Seed Propagation: This method is favored for its ability to produce larger numbers of plants and is generally easier for beginners.
- Cuttings: While a bit trickier, cuttings offer a faster route to mature plants that will closely resemble the parent plant.
Method 1: Sowing the Seeds of Success
-
Timing is Key: Aim to sow Eriogonum elatum seeds in either late fall or early spring, ideally after a period of cold stratification (exposing the seeds to cold temperatures) which occurs naturally outdoors during winter.
-
Prepare for Planting: Choose a well-draining seed starting mix or create your own using a blend of peat moss, perlite, and vermiculite. Moisten the mix lightly.
-
Sow with Care: Sprinkle the tiny seeds over the surface of the mix, pressing them in gently. It’s not necessary to bury them deeply, light covering is sufficient.
-
Patience is a Virtue: Mist the soil regularly to keep it consistently moist but not waterlogged. Seedlings should emerge within 2-4 weeks.
- Transplanting Time: Once your seedlings have developed a couple of true leaves, they can be transplanted into individual pots or directly into your garden after the last frost.
Method 2: Mastering Propagation through Cuttings
-
The Right Cut: In spring, select a healthy, non-flowering stem from your Eriogonum elatum plant. Using clean, sharp pruning shears, make a cut about 4-6 inches long just below a node (where the leaves emerge).
-
Prepping the Cutting: Remove the leaves from the bottom inch or two of the cutting. Dip the cut end in rooting hormone powder (optional but recommended).
-
Potting Up: Plant the cutting in a small pot filled with a well-draining rooting mix, ensuring at least one node is buried.
-
Creating a Greenhouse Effect: Water the cutting gently and cover the pot with a clear plastic bag or humidity dome to trap moisture.
-
Root Development: Within 4-6 weeks, your cutting should have developed roots. You can test this by gently tugging on the cutting – if it resists, roots have likely formed.
- Transplanting the Rooted Cutting: Once roots are established, your new Eriogonum elatum plant can be transplanted into a larger container or your garden.
A Final Note on Success:
Regardless of the method you choose, providing the optimal environment for your new Eriogonum elatum is crucial. These plants thrive in full sun to partial shade and well-drained soil. Water them deeply but infrequently, allowing the soil to dry out between waterings.
By following these guidelines and cultivating a little patience, you’ll soon be rewarded with the elegant beauty of home-propagated Eriogonum elatum, gracing your landscape and attracting beneficial pollinators for seasons to come.