Taming the Seaside: Propagating Erodium maritimum
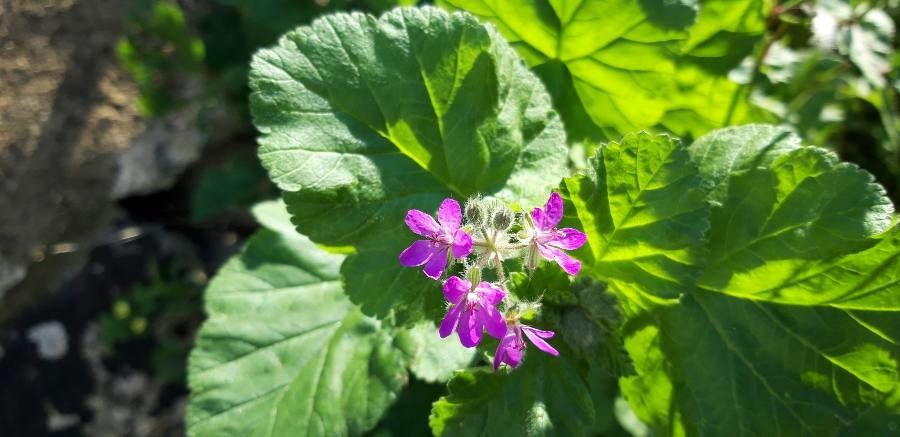
Erodium maritimum, the unassuming yet charming seaside Erodium, brings a touch of coastal charm to gardens. This low-growing, evergreen perennial, native to the shores of Europe and North Africa, offers delicate, feathery foliage and dainty pink flowers, making it a delightful addition to rock gardens, borders, or even containers. If you’re looking to invite this resilient beauty to your garden, propagation is key. Let’s dive into the different methods to multiply your Erodium maritimum.
1. Seed Starting: A Journey of Patience
Erodium maritimum readily produces seeds after its flowering period, usually in late spring to early summer. Here’s how to propagate it via seed:
- Seed Collection: Once the flowers fade, they’ll be replaced by elongated seed pods. Wait until these pods turn brown and start to dry out, then carefully collect them.
- Seed Preparation: Gently break open the dried pods to reveal the small, brown seeds within. These seeds benefit from a period of cold stratification to improve germination rates. You can achieve this by placing the seeds in a moist paper towel inside a sealed plastic bag and storing them in the refrigerator for about 4-6 weeks.
- Sowing: In early spring, sow the stratified seeds in seed trays filled with well-draining seed compost. Surface sow them, pressing them lightly into the compost, and mist them with water.
- Germination: Be patient, as Erodium maritimum seeds can take several weeks to germinate. Ensure the seed tray is kept in a bright location, out of direct sunlight, and maintain consistent moisture.
- Transplanting: Once the seedlings develop a few sets of true leaves and are large enough to handle, they can be carefully transplanted into individual pots or directly into your garden, spacing them about 12 inches apart.
2. Taking Cuttings: A Quicker Approach
For faster results, propagating Erodium maritimum from cuttings is a great alternative:
- Timing is Key: Take cuttings in the late spring or early summer from healthy, non-flowering stems.
- Making the Cut: Choose stems that are about 3-4 inches long and cut just below a leaf node (the point where a leaf emerges from the stem). Remove the lower leaves, leaving only a few pairs at the top.
- Hormone Encouragement: While not strictly necessary, dipping the cut end in rooting hormone powder can encourage faster and stronger root development.
- Planting the Cuttings: Plant the cuttings in small pots filled with a well-draining potting mix. Water gently and cover the pots with a plastic bag or use a propagator to create a humid environment.
- Rooting: Keep the cuttings in a bright location, out of direct sunlight. Rooting should occur within a few weeks. Once you see new growth, it indicates successful rooting. You can then gradually acclimatize the cuttings to outdoor conditions before transplanting them to their final location.
Caring for Your New Erodium Maritimums
Erodium maritimum thrives in well-drained soil and prefers a sunny spot in your garden. While relatively drought-tolerant once established, regular watering during the first growing season is crucial. Deadhead spent flowers to encourage more blooms and prevent self-seeding if desired.
Propagating Erodium maritimum is a rewarding experience for both novice and seasoned gardeners. By following these simple tips, you can successfully multiply your collection of this captivating coastal charmer and enjoy its beauty for years to come.