Unlocking the Secret to More Escallonia Alpina: A Propagation Guide
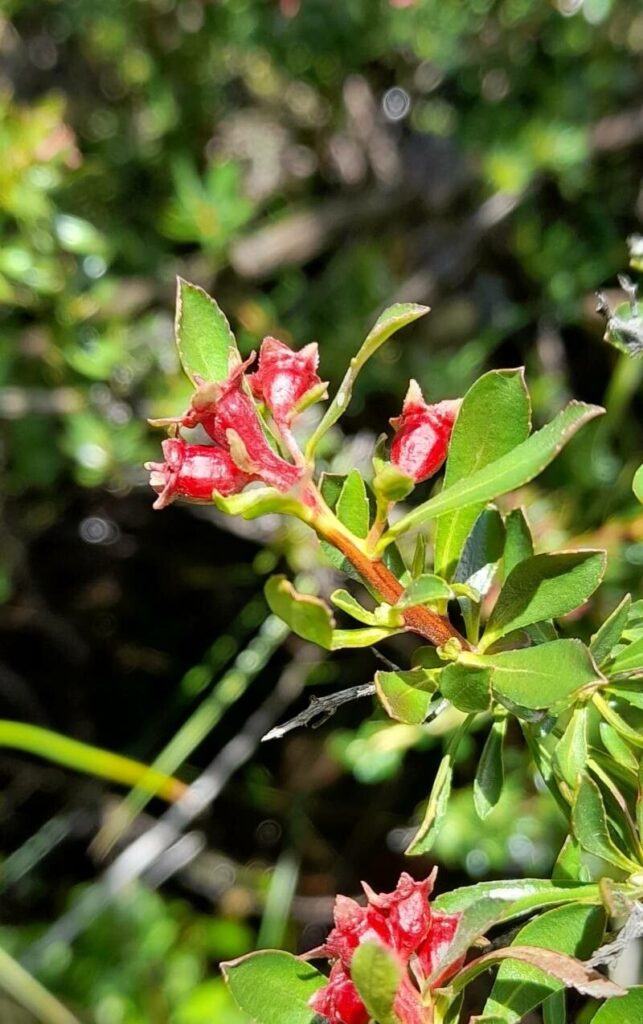
Escallonia alpina, with its charming clusters of pink or white blooms and glossy evergreen foliage, can be a showstopper in any garden. But did you know that multiplying this beauty doesn’t require a green thumb or a magic spell? With a little understanding and patience, you can propagate new Escallonia alpina plants and enjoy their charm for years to come.
This guide explores two effective methods: propagation from cuttings and growing from seed.
Method 1: Taking Cuttings
Propagation from cuttings, also known as vegetative propagation, is the most popular method for Escallonia alpina. This method guarantees plants genetically identical to the parent, preserving those desirable traits you love.
Here’s what you’ll need:
- Sharp, sterilized pruning shears or a knife: Clean tools prevent the spread of diseases to your cuttings.
- Hormone rooting powder (optional but recommended): This magical dust encourages faster and more successful root development.
- Seed starting mix or a well-draining potting mix: Choose a light, airy medium that retains moisture but doesn’t become waterlogged.
- Small pots or a seed tray: Ensure good drainage to prevent root rot.
- A clear plastic bag or a propagator: This creates a humid environment crucial for root development.
Step-by-Step Guide:
- Timing is Key: Take your cuttings in late summer or early autumn (August-September), when the plant’s energy is directed towards root growth.
- Select Healthy Shoots: Choose non-flowering, healthy stems that are around 4-6 inches long.
- Prepare the Cuttings: Remove the lower leaves, leaving only a few at the top. Make a clean cut just below a leaf node (the point where leaves emerge), as roots tend to sprout from these nodes.
- Apply Rooting Hormone (optional): Dip the cut end into the rooting hormone, gently tapping off any excess.
- Potting Up: Plant each cutting in a pot or cell filled with your chosen growing medium, burying the bottom node.
- Create a Humid Environment: Water the cuttings gently and cover them with a clear plastic bag or place them in a propagator.
- Patience is a Virtue: Place the cuttings in a bright location, out of direct sunlight. Avoid overwatering, as this can lead to rot.
- Signs of Success: After about 6-8 weeks, you should see new growth, indicating that roots have developed.
- Transplantation Time: Once the roots are well-established, you can transplant your new Escallonia alpina plants into larger pots or directly into your garden.
Method 2: Growing from Seed
While less common, growing Escallonia alpina from seed can be a rewarding, albeit slower, experience.
Here’s how:
- Collect Seeds: In late summer or autumn, gather ripe seed pods from your Escallonia alpina.
- Prepare the Seeds: Open the pods and extract the tiny seeds.
- Sowing the Seeds: Sow the seeds thinly on top of a seed starting mix, and cover them lightly with compost.
- Provide Warmth and Moisture: Water gently and place the seed tray in a warm, bright location.
- Germination Time: Be patient, as Escallonia alpina seeds can take several weeks to germinate.
- Transplanting: Once the seedlings are large enough to handle, carefully transplant them into individual pots.
Conclusion
Whether you choose to propagate your Escallonia alpina from cuttings or seeds, the process is a rewarding way to expand your garden and share the joy of this beautiful plant with others. Embrace the journey, and be prepared to welcome a new generation of these flowering wonders into your outdoor haven!