Unlocking the Secrets of Escallonia Laevis Propagation: Grow Your Own Flowering Hedge!
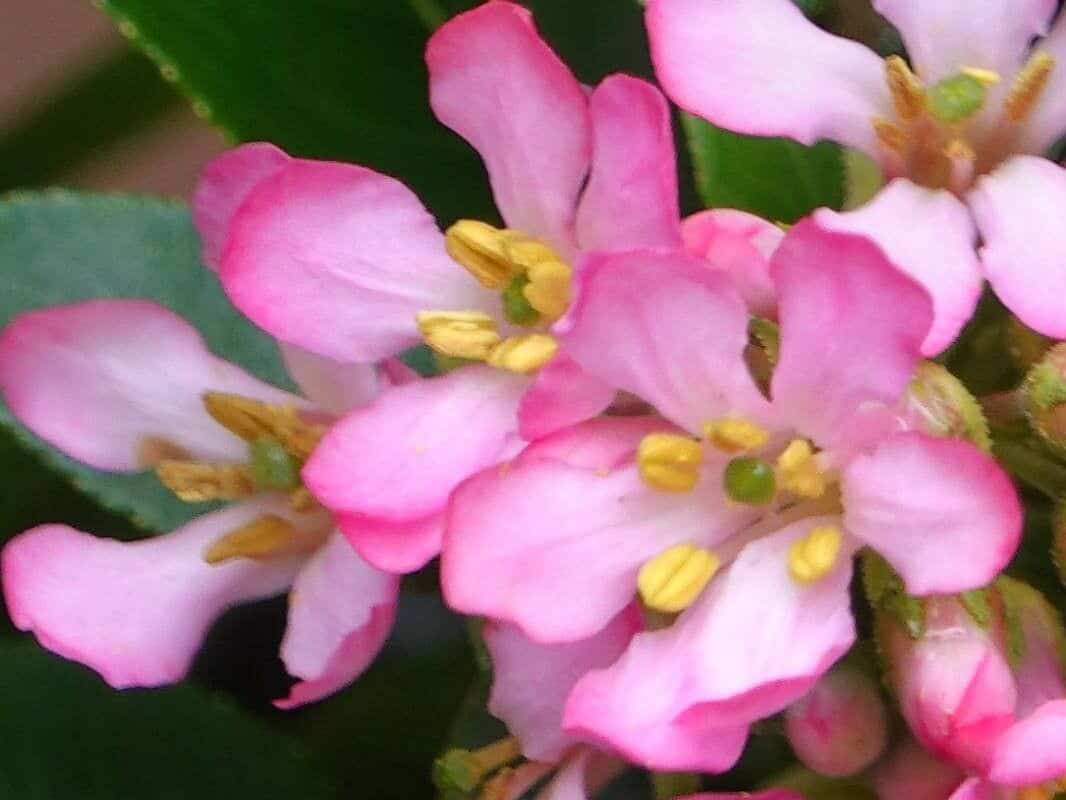
Escallonia laevis, with its glossy foliage and charming white blooms, makes a stunning addition to any garden. But did you know that propagating your own escallonia is easier than you might think? Whether you’re looking to expand your existing hedge or share this beauty with a friend, this guide will walk you through the simple techniques for successful escallonia propagation.
Why Propagate?
- Cost-effective: Skip the garden center price tag and grow new plants for free!
- Preserves desirable traits: Ensure your new plants inherit the same beautiful blooms and growth habits as the parent plant.
- It’s fun and rewarding! There’s nothing quite like nurturing a new plant from scratch.
The Best Time to Propagate:
While escallonia can be propagated at various times of the year, late summer to early autumn (August to September) offers the ideal conditions. During this period, the plants have finished flowering, and the new growth is semi-ripe, striking the perfect balance between flexibility and maturity for successful rooting.
Two Effective Methods:
- Semi-ripe Cuttings:
- Gather your tools: You’ll need clean, sharp secateurs or pruning shears, a pot with drainage holes, well-draining potting mix, and rooting hormone (optional but recommended).
- Select healthy shoots: Choose strong, healthy stems from the current year’s growth. Look for stems that are slightly firm but still bend easily.
- Prepare the cuttings: Make a clean cut just below a leaf node (where the leaf attaches to the stem), about 4-6 inches long. Remove the lower leaves, leaving just 2-3 at the top.
- Encourage rooting: Dip the cut end in rooting hormone to promote faster root development.
- Plant the cuttings: Make a hole in the potting mix and gently insert the cutting, burying the bottom node. Water thoroughly.
- Provide the right environment: Place the pot in a warm, bright location out of direct sunlight. Maintain a humid environment by covering the pot with a clear plastic bag or using a propagator.
- Layering:
- Choose a flexible branch: Select a low-growing, healthy branch on your existing escallonia.
- Prepare the branch: Lightly wound the underside of the branch by making a small cut or scraping off a layer of bark.
- Bury the wounded portion: Dig a shallow trench near the parent plant and carefully bend the branch down, burying the wounded portion in the trench.
- Secure and backfill: Use a landscape pin or rock to hold the buried section firmly in place. Cover the branch with soil, leaving the growing tip exposed.
- Maintain moisture: Water regularly to keep the soil around the layer moist.
- Separation: After a few months, gently tug on the layer to check for root development. Once roots have formed, carefully sever the layer from the parent plant and transplant it to its desired location.
Ongoing Care:
- Watering: Keep the potting mix or layered branch consistently moist but not waterlogged.
- Ventilation: Regularly air out covered cuttings to prevent fungal problems.
- Transplanting: Once the cuttings have established a robust root system (usually within a year), transplant them into individual pots or their permanent location in the garden.
With a little patience and these simple techniques, you’ll be rewarded with a bounty of new escallonia plants, ensuring years of flowering beauty in your outdoor space.