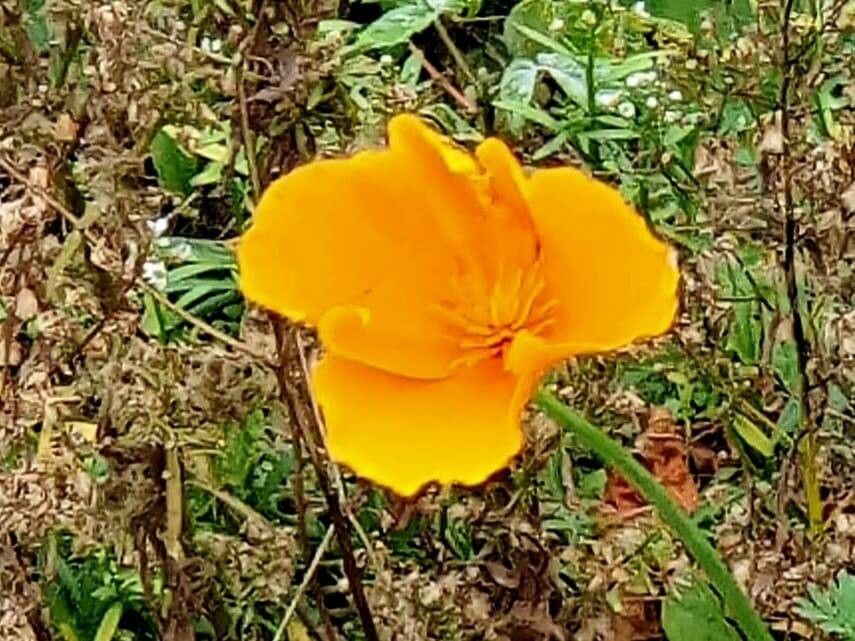
California Poppy Magic: How to Easily Grow Your Own Sunshine
The vibrant, cheerful California poppy (Eschscholzia californica) is a true garden delight. But beyond its striking beauty, this hardy annual is known for its ease of cultivation, making it perfect for beginners and veteran gardeners alike. And the best part? Propagating California poppies is a breeze!
This blog post will guide you through two simple methods: seed propagation and cuttings propagation. Let’s dive in and spread Californian sunshine across your garden!
1. Seed Propagation: A Seed of Sunshine
California poppies are prolific seed producers, making propagation a simple and rewarding process. Here’s how to sow those seeds of sunshine:
- Timing: Sow seeds directly in the ground in spring or fall, depending on your climate. Cooler climates favor fall sowing for spring blooms, while warmer climates allow for spring sowing.
- Location: California poppies thrive in full sun and well-drained soil. Choose a spot that receives at least six hours of sunlight daily.
- Sowing: Sprinkle seeds sparingly onto the soil surface, as they need sunlight to germinate. Cover them with a thin layer of soil or fine compost. Gently water the area, avoiding overwatering which can lead to rotting.
- Germination: Expect seeds to germinate in 7-14 days, sometimes even faster in warmer temperatures. If you’ve sown in spring, you should see blooms within 6-8 weeks.
2. Cuttings Propagation: Amplifying Your Sunshine
While California poppies are easily grown from seeds, you can also propagate them using cuttings taken from healthy, established plants.
- Timing: The ideal time to take cuttings is during the cooler, less stressful months of spring or autumn. Avoid hot summer months when plants are under stress.
- Selection: Choose healthy, non-flowering stem tips about 3-4 inches long. Make sure the chosen stem has several nodes (where leaves grow).
- Preparation: Cut just below a node, using a sharp knife or pair of shears. Remove the lower leaves so that only a few remain at the top of the cutting.
- Planting: Dip the cut end of the stem in rooting hormone to encourage root growth. Then, insert the cutting into a pot filled with well-drained potting mix. Keep the soil moist but not soggy, ensuring good drainage.
- Maintenance: Place the potted cuttings in a bright location, avoiding direct sunlight. Provide consistent moisture and keep the soil moist. Within a few weeks, you should see new growth, indicating successful rooting.
A Word on Thinning
If you’ve started with seeds, your plantlets will likely be closely spaced. This can lead to competition for resources. Don’t be afraid to thin out the seedlings by selectively removing the weakest plants, leaving the strongest ones to thrive. This will ensure that your California poppies grow tall and healthy, producing an abundance of blooms.
Enjoy the Sunshine
Propagating California poppies is a fun and rewarding experience. With a little effort and sunshine, you can easily create a vibrant display of these cheerful blooms in your garden. Choose your method, follow the steps, and watch as your California poppies bring a touch of sunshine to your life.