Unveiling the Secrets of Eugenia Cordata Propagation: Grow Your Own Ugni Molinae
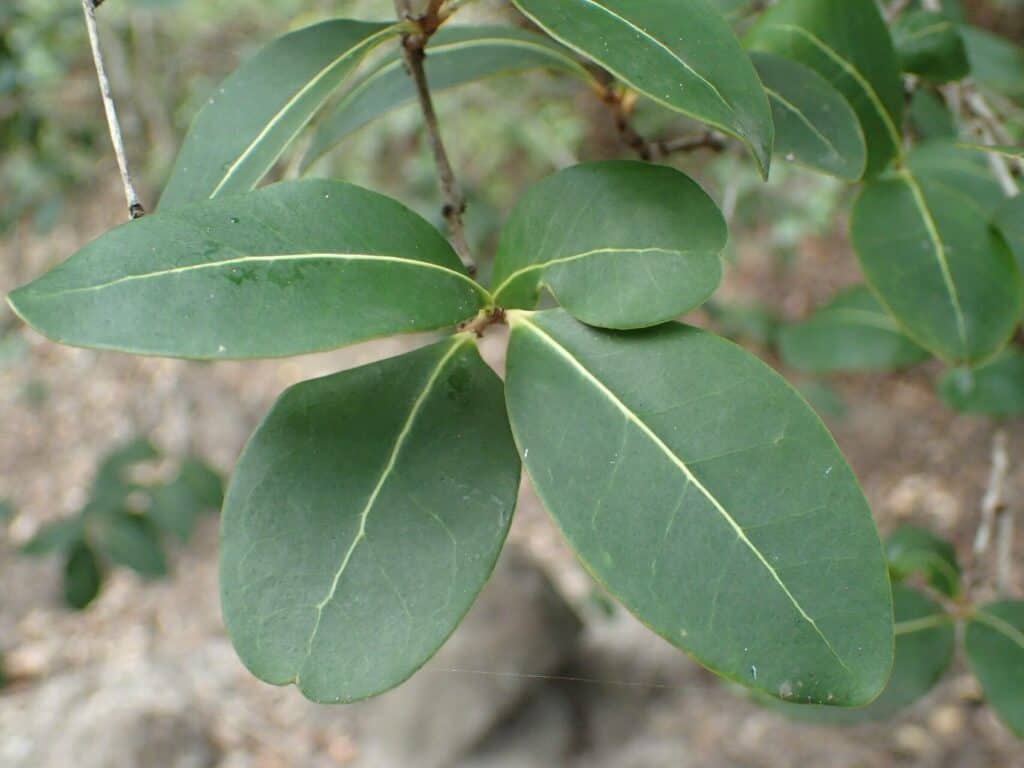
The Eugenia cordata, better known as the Ugni Molinae or Chilean guava, is a captivating evergreen shrub that captivates with its glossy leaves, delicate bell-shaped flowers, and sweet, flavorful berries. Native to Chile, this delightful plant is gaining popularity among home gardeners for both its ornamental appeal and its delicious fruits. If you’ve been charmed by the Ugni Molinae and wish to welcome more of these beauties to your garden, understanding its propagation methods is key. Let’s delve into the secrets of growing new Eugenia cordata plants and multiplying your harvests.
Seeds: A Test of Patience and Green Thumb Prowess
While propagating Eugenia cordata from seeds might seem like the most straightforward approach, it comes with its own set of challenges. Firstly, the seeds require a period of stratification, mimicking the natural winter conditions they need to germinate. This involves storing the seeds in a cold and moist environment (like your refrigerator) for several weeks.
Once stratified, the seeds need a well-draining seed starting mix and consistent moisture. Germination can be slow and erratic, taking anywhere from a few weeks to a couple of months. Patience is certainly a virtue when it comes to starting Ugni Molinae from seed.
Pros:
- Cost-effective: Seeds are generally less expensive than purchasing established plants.
- Rewarding experience: Successfully germinating seeds brings a sense of accomplishment.
Cons:
- Time-consuming: Seed propagation requires a significant time investment.
- Variable results: Germination rates can be unpredictable.
Cuttings: A Faster Route to Success
Propagating Eugenia cordata from cuttings offers a quicker and more reliable method. This technique involves taking a healthy stem cutting from an established plant and encouraging it to develop its own roots.
Here’s how you can propagate Ugni Molinae from cuttings:
- Select healthy, semi-hardwood cuttings: Choose stems that are not too new or too old, ideally from the current year’s growth.
- Prepare the cutting: Using a sharp, sterilized knife or pruning shears, make a clean cut just below a leaf node. Remove the lower leaves to prevent rotting.
- Hormone treatment (optional): Dip the cut end in rooting hormone powder to encourage faster root development.
- Plant the cutting: Insert the cutting into a pot filled with a well-draining potting mix.
- Create a humid environment: Cover the pot with a plastic bag or use a humidity dome to maintain moisture around the cutting.
- Provide indirect sunlight: Place the pot in a well-lit area but avoid direct sunlight.
- Be patient: Keep the soil consistently moist but not waterlogged. Root development can take several weeks.
Pros:
- Higher success rate: Cuttings generally root more consistently than seeds.
- Faster growth: Plants grown from cuttings tend to establish themselves more quickly.
- Retain parent plant characteristics: The resulting plant will have the same characteristics as the parent plant.
Cons:
- Requires a healthy parent plant: You’ll need access to a mature Eugenia cordata to take cuttings.
Layering: A Natural Approach
While less common, layering is another viable propagation method for Eugenia cordata. This technique involves bending a low-growing branch of the plant and burying a portion of it in the soil. Over time, the buried portion develops roots and can be separated from the parent plant.
Pros:
- High success rate: Layering generally has a high success rate, as the branch receives nutrients from the parent plant while developing roots.
Cons:
- Slow process: Layering can take several months to a year.
- Limited to low-growing branches: This method is only suitable for branches that are flexible enough to be bent to the ground.
Regardless of the method you choose, propagating Eugenia cordata can be a rewarding experience. By understanding the different techniques and exercising patience, you can enjoy the beauty and bounties of these charming Chilean guavas in your own backyard.