Unlocking the Secret to Growing More Facchinia grignensis: A Guide to Propagation
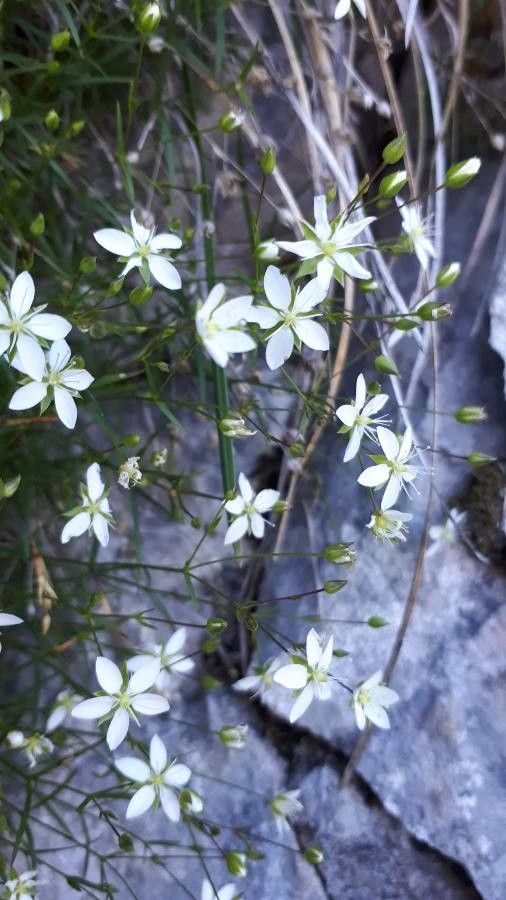
Facchinia grignensis, with its stunning vibrant blooms and compact, charming habit, is a favorite among plant enthusiasts. But what if you could enjoy even more of these beauties in your garden? The secret lies in propagation – the art of creating new plants from existing ones.
While Facchinia grignensis is known for its graceful cascading habit, it’s also a remarkably easy plant to propagate, adding a new level of horticultural satisfaction to owning these delightful specimens. Let’s explore the methods that will allow you to expand your Facchinia collection and share the joy with friends and fellow plant lovers.
1. The Power of Cuttings:
This method is the most popular and arguably the easiest for Facchinia grignensis. Follow these simple steps:
- Timing is Key: Take cuttings in early spring or late summer when the plant is actively growing but not in full bloom.
- Choose Your Cuttings: Select healthy, non-flowering stems from the current season’s growth. Cut them about 4-6 inches long, just below a node (where leaves emerge).
- Prepare for Success: Remove the bottom leaves and make a clean, angled cut at the base. Dip the cut end in rooting hormone powder for extra encouragement.
- Planting Time: Fill a pot with a well-draining potting mix. Make a hole and insert the cutting, ensuring at least two nodes are buried in the mix.
- Care & Patience: Place the pot in a bright, indirect location and keep the soil consistently moist. A clear plastic bag placed over the cuttings can create a mini-greenhouse, boosting moisture and warmth.
- The Wait is Over: Within 4-6 weeks, new roots should start to develop. Once the roots grow and new leaves emerge, you can gradually introduce the young plants to more direct sunlight.
2. Layering: A Low-Maintenance Approach
This method is perfect for those seeking beginner-friendly propagation techniques.
- Select a Branch: Choose a healthy, flexible branch near the base of the plant, where it touches the ground.
- Make the Cut: Carefully nick the bark on the chosen branch, about 1 inch in length.
- Encourage Growth: Using a piece of wire or a bent twig, gently bend the branch into the soil and secure it in place.
- Soil and Moisture: Cover the nicked area with a few inches of soil and keep it consistently moist.
- Patience Pays Off: Within a few months, roots will develop from the buried section of the branch. When the new plant is established, you can gently detach it from the mother plant.
3. Seeds: A Time-Consuming Yet Rewarding Option
For those with patience, seed propagation can be a rewarding way to cultivate Facchinia grignensis.
- Collect the Seeds: Allow the flower to fully mature and the seed pods to dry out. Then, harvest the seeds and store them in a cool, dry place.
- Sowing Time: Plant the seeds in a seed tray filled with a light, well- draining potting mix. Sow them shallowly and lightly cover with the mix.
- Patience and Patience: Keep the soil consistently moist and place the trays in a bright, warm location. Germination may take weeks.
Share the Joy
No matter which method you choose, propagation is a satisfying way to grow your Facchinia grignensis collection and share these beautiful plants with others. Whether gifted to family and friends or used to create a whole new corner of vibrant foliage in your garden, propagation enhances our connection to nature, strengthens our own green thumbs, and allows us to enjoy the beauty of these stunning bloomers in new and exciting ways.