From Seed to Success: Unlocking the Secrets of Propagating Faramea occidentalis
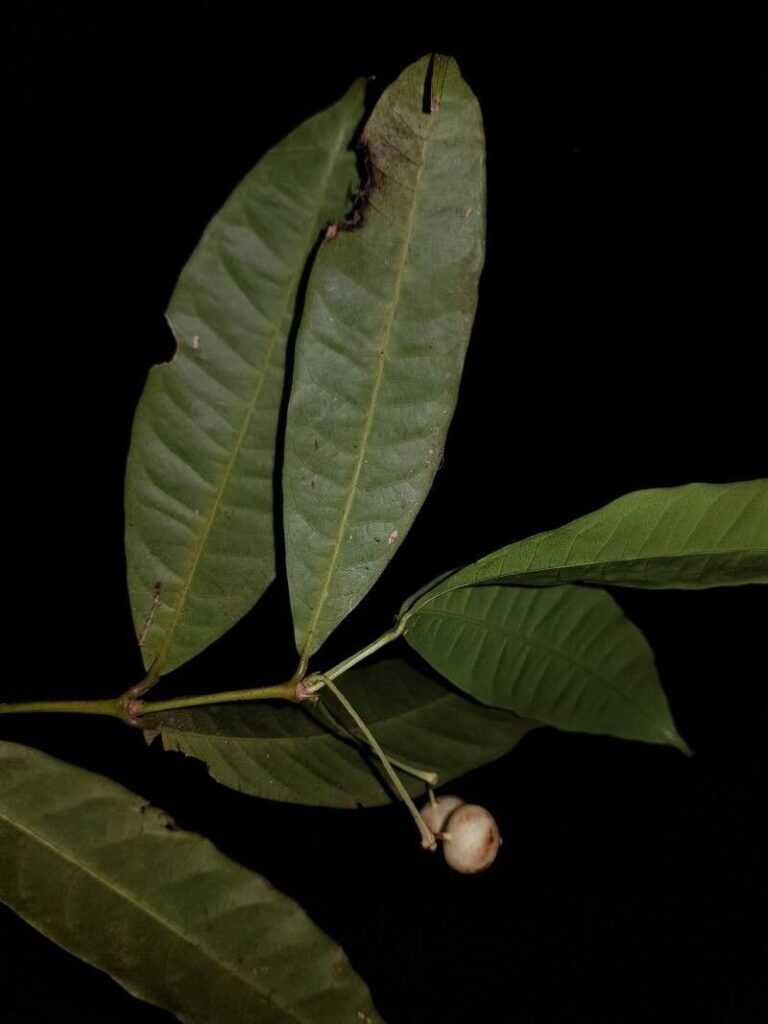
Have you ever gazed upon the lush, glossy foliage of a Faramea occidentalis, also known as the West Indian Coffee Bush, and wished you could add its beauty to your own garden? Well, with a bit of patience and the right techniques, you can! This beautiful, tropical shrub can be propagated through both seeds and cuttings, offering an exciting journey for any gardener.
Starting from Seeds: A Journey of New Beginnings
Cultivating Faramea occidentalis from seed is a rewarding experience that allows you to witness the entire life cycle of this captivating plant. Here’s how to do it:
-
Harvest the Seeds: Collect ripe, red berries from your existing plant or source them from a reputable nursery. Each berry contains several small seeds, perfect for starting your new plants.
-
Prepare the Soil: Use a well-draining potting mix, ensuring it’s sterile to prevent seedling diseases. Fill small pots or seed trays with the mix and gently press the seeds into the surface.
-
Embrace Patience: Keep the soil constantly moist and place the pots in a warm, sunny location. Faramea occidentalis seeds may take several weeks to germinate, so patience is key.
- Thin and Transplant: Once your seedlings have developed a few true leaves, thin them out to give each plant the space it needs to thrive. Once they’re big enough, you can carefully transplant them into larger pots.
Cuttings: Taking a Shortcut to Success
For those who prefer a faster approach, propagation through cuttings is an excellent option. Here’s what you’ll need to do:
-
Select the Right Cutting: Choose healthy, young stems from your Faramea occidentalis plant. Each cutting should be about 4-6 inches long, with at least two sets of leaves.
-
Prep the Cuttings: Using a sharp, clean knife or shears, make a diagonal cut at the bottom of the stem, just below a node (the point where leaves grow). Remove the lower leaves leaving only the top two sets.
-
Prepare the Rooting Medium: Fill small pots or seedling trays with a rooting medium like perlite, vermiculite, or a combination of both. Moisten the medium thoroughly.
-
Dip and Plant: Dip the cut ends of your cuttings into a rooting hormone solution, which will encourage root development. Gently insert them into the rooting medium, leaving the top set of leaves exposed.
-
Create a Greenhouse Environment: Ensure the cuttings have a warm, humid environment by covering them with a clear plastic dome or bag to trap moisture. Place them out of direct sunlight but keep them warm.
- Patience Pays Off: Depending on conditions it might take several weeks to a couple of months for the cuttings to develop roots. Maintain the humidity and warmth, and eventually, you’ll start to see new growth.
Essential Tips for Success
No matter which propagation method you choose, remember these key tips:
- Light is Key: Faramea occidentalis thrives in bright, indirect light. Avoid direct sunlight, especially for young plants.
- Watering Matters: Keep the soil consistently moist, but avoid overwatering which can lead to root rot.
- Nutrients are Essential: Once your plants are established, feed them with a balanced liquid fertilizer every few weeks.
- Pest and Disease Control: Keep an eye out for common pests like aphids and whiteflies, and treat accordingly.
Successfully propagating Faramea occidentalis is a journey of observation and care. By following these steps and paying attention to its needs, you can enjoy the beauty and charm of this exquisite plant in your garden for years to come. So, grab your tools, get ready for a rewarding experience, and start planting your new Faramea occidentalis today!