Blooming Beautiful: Multiplying Your Felicia Annectens with Ease
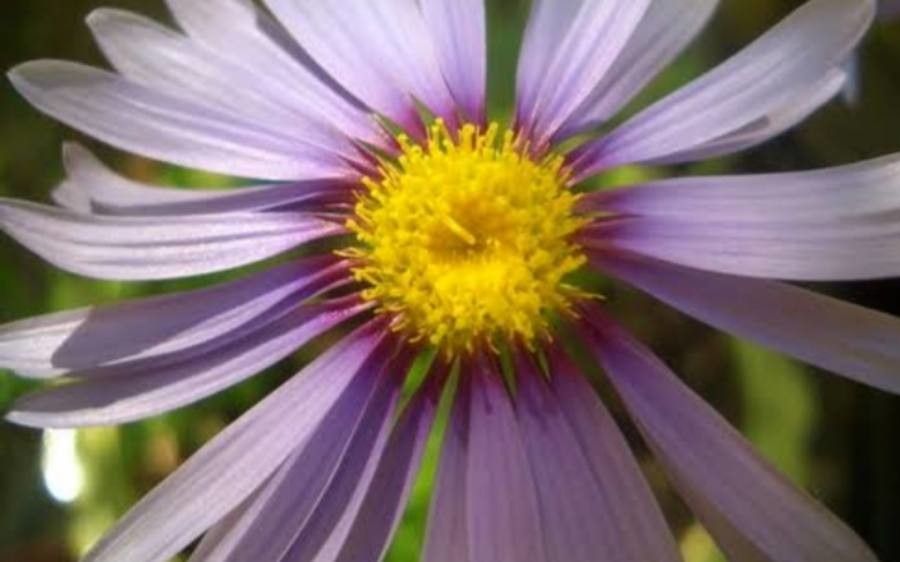
Felicia annectens, the charming “Blue Daisy” or “Kingfisher Daisy,” captivates with its profusion of sky-blue, daisy-like flowers that dance atop delicate foliage. But did you know that this South African beauty is surprisingly easy to propagate? That’s right, you can create a whole colony of these delightful daisies without breaking the bank. Let’s explore the two most effective methods:
1. Seed Starting: Sowing the Seeds of Success
For a truly gratifying experience, starting Felicia annectens from seed is rewarding and straightforward. Here’s how:
- Timing is Key: Begin sowing indoors 6-8 weeks before the last expected frost. Felicia annectens prefers warmth, so ensure a consistent temperature around 70-75°F (21-24°C).
- Sowing the Seeds: Use a well-draining seed starting mix. Sprinkle the fine seeds on the surface and lightly press them in – they need light to germinate.
- Providing Moisture and Light: Mist the soil regularly, keeping it consistently moist but not soggy. Place the seed tray under grow lights or on a sunny windowsill.
- Transplanting Time: After the seedlings develop a couple of true leaves (not the initial seed leaves), carefully transplant them into individual pots filled with well-draining potting mix.
- Hardening Off: Before planting outdoors, gradually acclimate your Felicia annectens seedlings to the elements. Place them outside in a sheltered spot for increasing amounts of time each day, over a period of 7-10 days.
- Planting Outdoors: Once the danger of frost has passed, transplant the seedlings into your garden, spacing them about 12 inches apart. Choose a sunny location with well-drained soil.
2. Cuttings: Creating Clones for Continuous Blooms
If you’re looking for a faster method to multiply your Felicia annectens, cuttings are a reliable option:
- Timing: Take cuttings in spring or early summer from healthy, non-flowering stems.
- Taking the Cuttings: Using a sharp, clean knife or pruners, cut a 3-4 inch section from the tip of a stem, just below a leaf node (the point where a leaf emerges).
- Preparing the Cuttings: Remove the lower leaves from the cutting, leaving 2-3 leaves at the top.
- Encouraging Root Development: Dip the cut end in rooting hormone (optional but helpful) and then place the cutting in a pot filled with a moist mixture of perlite and vermiculite or seed starting mix.
- Creating a Humid Environment: To retain moisture, enclose the pot and cutting in a clear plastic bag or use a propagation dome. Place the cutting in bright, indirect light.
- Transplanting: After 4-6 weeks, gently tug on the cutting – resistance indicates successful rooting. Once roots have developed, you can transplant the new Felicia annectens plant into a larger pot or your garden.
Caring for Your Progeny
Whether you choose to start your Felicia annectens from seed or cuttings, ensure it receives adequate water, especially during dry spells. Deadhead (remove) spent blooms regularly to encourage bushier growth and continuous flowering. With minimal care, your propagated Felicia annectens plants will delight you with their vibrant blue blossoms, bringing cheerful color to your garden for seasons to come.