Unleash the Fennel Frenzy: A Guide to Propagating Foeniculum Vulgare
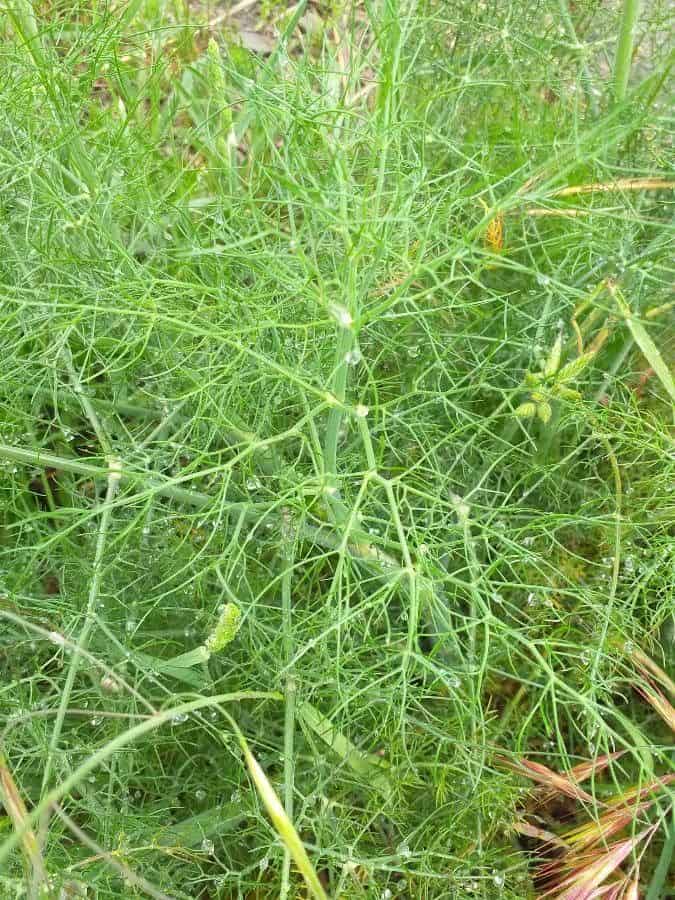
Fennel – the word itself conjures images of delicate, feathery fronds and the whisper of anise in the air. This versatile herb, scientifically known as Foeniculum vulgare, is not just a treat for the senses but also a joy to grow, even for beginner gardeners. If you’re eager to expand your fennel patch or share the bounty with friends, propagating your own plants is a rewarding endeavor.
This guide will walk you through the different methods of propagating fennel, empowering you to cultivate an abundance of this aromatic herb:
1. Seed Starting: A Beginner’s Best Bet
Propagating fennel from seed is remarkably easy and offers the satisfaction of witnessing the entire life cycle of your plant.
- Timing is Key: For best results, sow fennel seeds directly outdoors after the last frost or start them indoors 4-6 weeks before transplanting.
- Sowing the Seeds: Sprinkle the seeds on well-drained soil, lightly pressing them into the surface. Fennel seeds need light to germinate, so avoid burying them too deep.
- Patience, Young Gardener: Keep the soil consistently moist but not waterlogged. Depending on the temperature, germination takes about 7-14 days.
- Thinning Out: When the seedlings develop a few true leaves, thin them out, leaving the strongest ones about 1 foot apart.
2. Division: Multiply Your Fennel Bounty
If you already have a mature fennel plant, division is an excellent way to create new plants.
- When to Divide: Divide fennel plants in early spring or fall when they are dormant.
- Digging Deep: Carefully dig up the entire plant, ensuring you get as much of the root system as possible.
- Separation Anxiety (For the Plant): Use a sharp knife or garden shears to divide the plant into sections, making sure each section has a good chunk of roots and shoots.
- Replanting: Replant the divisions immediately in prepared planting holes, ensuring they are at the same depth as they were originally growing. Water thoroughly after planting.
3. Root Cuttings: A Slightly More Advanced Technique
While slightly more challenging, propagating fennel from root cuttings is achievable with a little practice.
- Timing Matters: Take root cuttings in late fall or early winter when the plant is dormant.
- Cut to the Chase: Choose healthy roots that are about ¼ inch thick and 3-4 inches long. Make a clean cut at the top of the root and an angled cut at the bottom.
- Potting Up: Plant the cuttings vertically in a pot filled with a well-draining potting mix, ensuring the angled end faces down and the top is just below the surface.
- Patience is a Virtue: Keep the pot in a cool, dark place and maintain moisture until new growth emerges. Once established, you can transplant your new fennel plant to a larger pot or outdoors.
Fennel Frenzy Awaits!
Propagating your own Foeniculum vulgare is a fulfilling way to ensure a constant supply of this aromatic and culinary delight. Whether you choose the simplicity of seeds, the efficiency of division, or the challenge of root cuttings, propagating fennel will undoubtedly add a touch of green magic to your gardening journey. So go on, unleash your inner fennel fanatic and enjoy the fruits (or rather, fronds) of your labor!