Unraveling the Secrets of Gagea reticulata: A Guide to Propagation
Have you ever stumbled upon a patch of delicate, yellow wildflowers nestled amidst springtime greenery and wondered how to bring that beauty into your own garden? Today, we’re diving into the world of Gagea reticulata, a captivating spring ephemeral, and exploring the best ways to propagate this enchanting plant.
A Glimpse into the World of Gagea reticulata
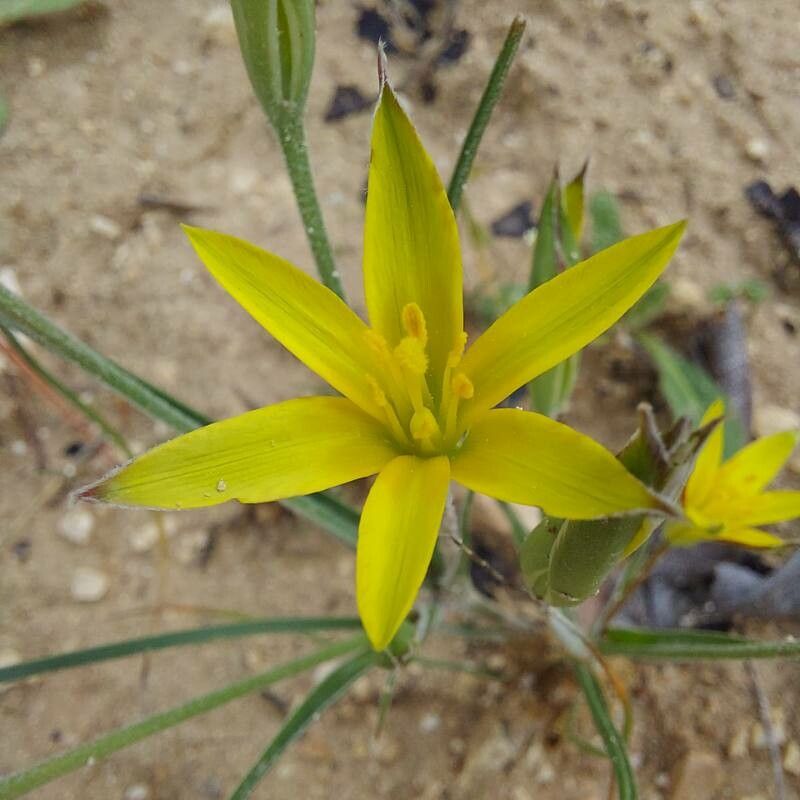
Gagea reticulata, also known as the “Netted Gagea,” is a charming, low-growing bulbous plant that belongs to the lily family. This species boasts bright yellow, star-shaped flowers that emerge on slender stems, captivating the eye with their simple elegance. Native to Europe and parts of Asia, Gagea reticulata thrives in moist, slightly shaded habitats, making it a beautiful addition to woodland gardens, shady borders, and even rock gardens.
Propagation Methods for Gagea reticulata
Don’t be intimidated by the idea of propagating this delicate plant. Gagea reticulata can be multiplied using various methods, each successful in its own right.
Division: This method is the most straightforward for multiplying your Gagea reticulata. In autumn, after the foliage dies down, gently dig up the clump of bulbs and gently separate them. Replant the divided bulbs in well-drained soil at a depth of about 2-3 inches, spacing them around 4-6 inches apart. This method allows you to quickly establish new colonies and enjoy the beauty of Gagea reticulata in different parts of your garden.
Seed Propagation: While a little more time-consuming, seed propagation offers the chance to enjoy the cycle of growth from seed to flower with your Gagea reticulata. Collect seeds from mature seedpods after the flowers fade. Plant the seeds directly into a seed tray filled with a mixture of seed-starting compost and fine grit. Ensure the compost remains consistently moist and place the tray in a cool, bright location. Germination might take a few weeks or even months. Once your seedlings have developed a few true leaves, they can gently be transplanted into a larger pot or their final planting location.
- Offset Bulbs: Gagea reticulata produces small, bulb-like offsets around the main bulb. In autumn, after the foliage has withered, you can extract these offsets and plant them individually in pots or directly into your garden bed. The offsets will develop into independent plants over time, showcasing the joy of nurturing a new generation of Gagea reticulata.
Creating the Perfect Habitat
Gagea reticulata thrives in a cool, moist environment with good drainage. Choose a planting spot that mimics their natural habitat: a location with dappled shade from trees or shrubs. Incorporating a thick layer of organic matter, such as compost or leaf mold, into the soil will help retain moisture while providing valuable nutrients.
Timing is Key
The best time to propagate Gagea reticulata is in autumn, after the foliage has died down and the bulbs are dormant. While you can try dividing the bulbs in spring, this might stress the plants and hinder their flowering during the next season.
Enjoy Your Springtime Beauties
Gagea reticulata adds a touch of magic to the spring garden with its delicate, yellow flowers. These vibrant blooms are a welcome sight after the long winter months, their cheerful color a harbinger of the growing season ahead. By following these propagation methods, you can easily expand your Gagea reticulata collection and create a vibrant and captivating spring display. So, get your hands dirty, and let the journey of propagating these remarkable little gems begin!