Unlocking the Secrets of Galium estebanii: A Guide to Successful Propagation
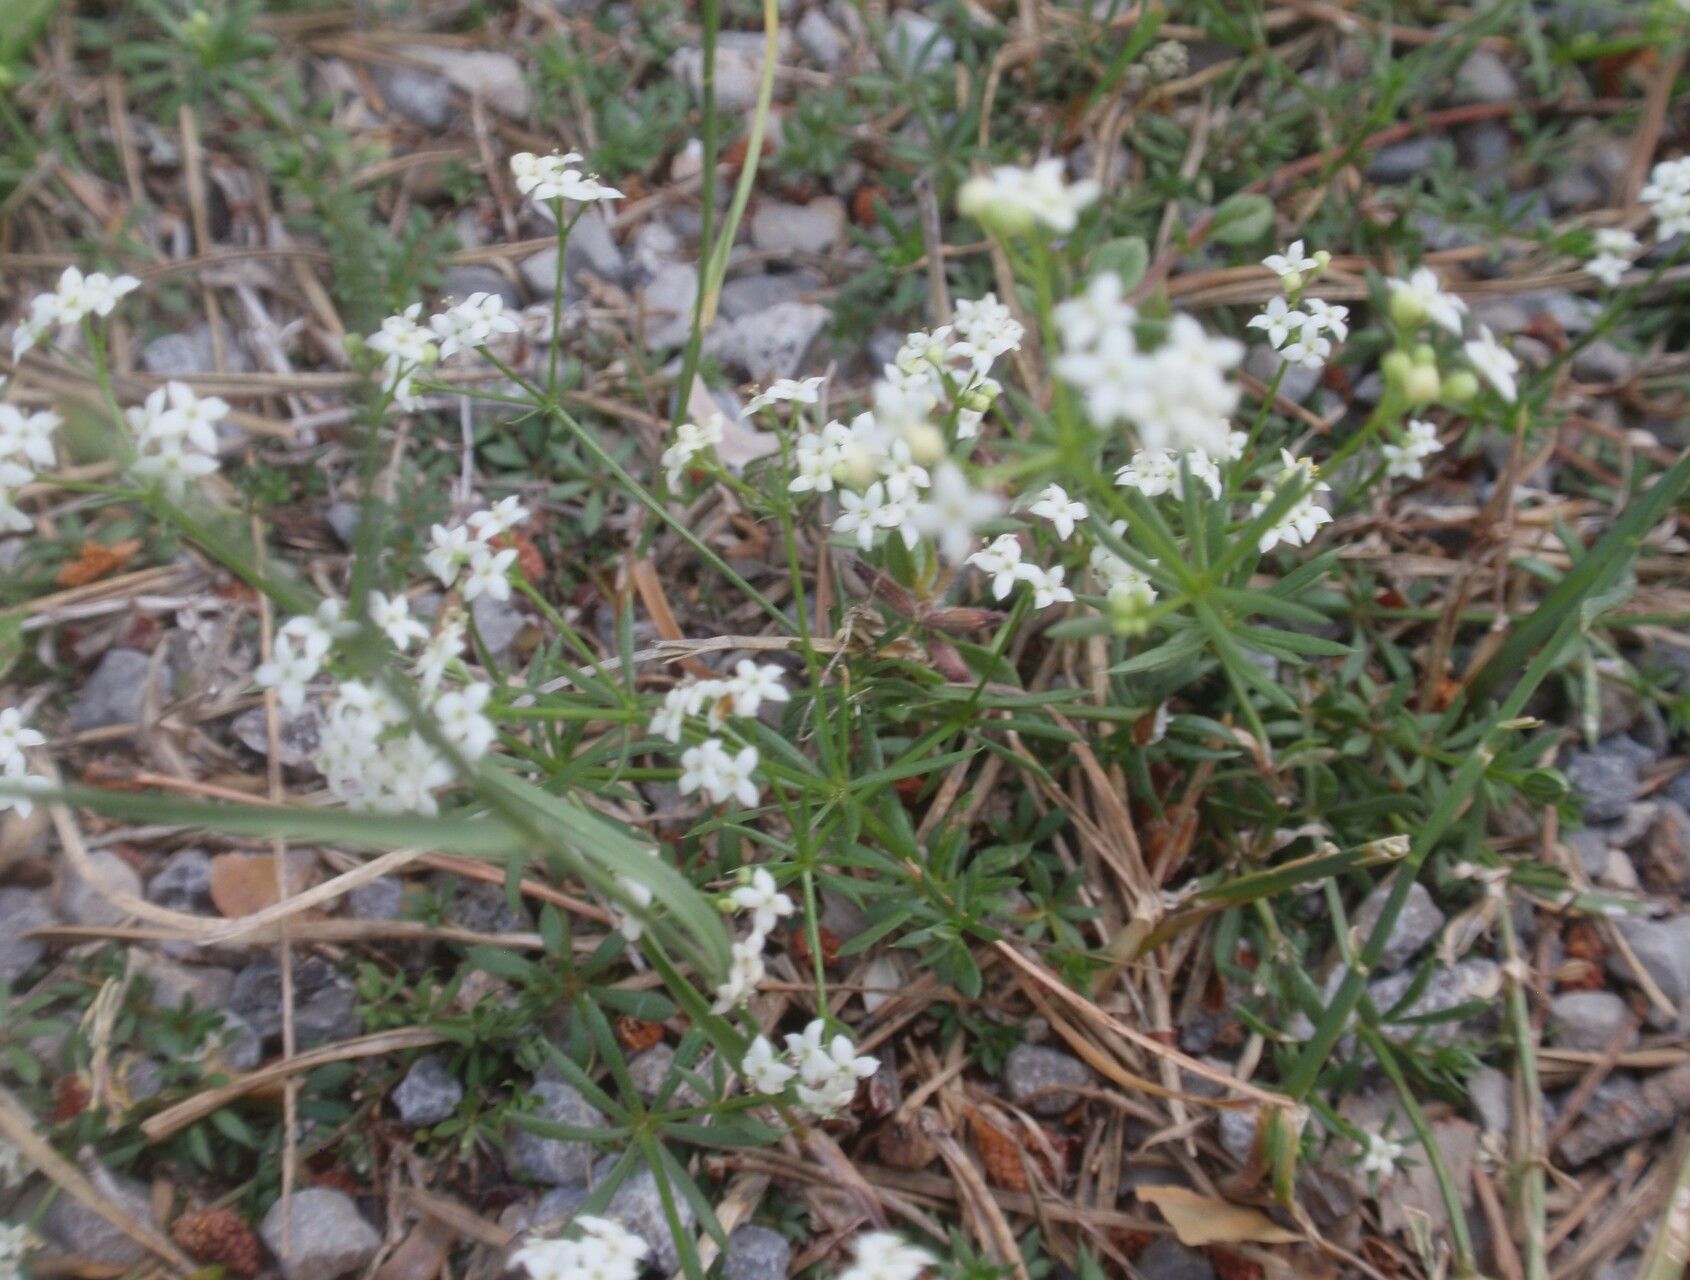
The enchanting Galium estebanii, with its delicate white flowers and captivating foliage, is a coveted addition to any garden. But acquiring this rare and beautiful plant can be a challenge. Luckily, propagating Galium estebanii from cuttings can be a rewarding journey, allowing you to expand your collection and share this botanical treasure.
This comprehensive guide will dive into the intricacies of propagating Galium estebanii through different methods, equipping you with the knowledge to nurture new life from your existing plant.
The Art of Cuttings:
Galium estebanii can be successfully propagated using stem cuttings. Here’s a step-by-step process:
Step 1: Choosing the Right Cutting
Select healthy, non-flowering stems with at least two sets of leaves. The cuttings should be about 4-6 inches long.
Step 2: Preparing the Cuttings
Remove the lower leaves from the cutting, leaving only the top two sets. Make a clean, angled cut just below a node, the point where leaves grow from the stem.
Step 3: Rooting Hormone
Dip the cut end of the cutting in rooting hormone. This helps stimulate root growth and ensures a higher success rate.
Step 4: Preparing the Rooting Medium
Use a sterile, well-draining potting mix. Perlite or vermiculite can be added to improve aeration.
Step 5: Planting the Cuttings
Gently insert the cuttings into the rooting medium, ensuring the nodes are buried. Water thoroughly.
Step 6: Providing Optimal Conditions
The cuttings should be kept in a humid environment with indirect sunlight. A clear plastic dome or bag can be used to create a mini-greenhouse effect.
Temperatures around 70-75°F are ideal for root development.
Step 7: Patience is Key
Galium estebanii cuttings can take around 4-6 weeks to root. Resist the urge to check them too often, as this can disturb the delicate roots.
Step 8: Transplanting
Once roots have formed, carefully transplant the cuttings into individual pots filled with potting mix suitable for mature Galium estebanii.
Alternative Method: Layering
For Galium estebanii, air layering can be another successful method. This technique involves encouraging roots to develop on a stem while it’s still attached to the parent plant.
Step 1: Selecting a Stem
Choose a healthy, flexible stem near the base of the plant, with at least two sets of leaves.
Step 2: Making an Incision
Carefully make a shallow incision on the stem, about 1-2 inches long.
Step 3: Wrapping the Incision
Wrap the incision with moist sphagnum moss, then enclose it with plastic wrap.
Step 4: Moistening and Monitoring
Maintain humidity levels within the plastic wrap by misting as needed.
Step 5: Transplanting the Layer
Once roots have formed, carefully cut the layer below the rooted area and plant it in its own pot.
Tips for Success:
- Cleanliness: Sterile equipment and a clean workspace can help prevent contamination.
- Humidity: Maintain high humidity around the cuttings, especially during the initial rooting period.
- Patience: Allow sufficient time for root development, and don’t be disheartened by a few failed attempts.
Propagating Galium estebanii is a fulfilling endeavor that expands your green thumb and allows you to share the magic of this remarkable plant. Embrace the process with patience and enthusiasm, and you’ll be rewarded with flourishing new plants that add a touch of elegance to your home or garden.