Unlocking the Secrets of Gaya Parviflora Propagation: From Seed to Stunning Blooms
Gaya parviflora, with its delicate foliage and charming, butter-yellow flowers, can be a captivating addition to any garden. While not as widely known as its close relative, the Rock Rose (Cistus), this semi-evergreen shrub deserves a place in the spotlight. One common question we encounter is how to successfully propagate this beauty. So, let’s delve into the world of Gaya parviflora propagation and discover the secrets to expanding your floral collection.
Seed Propagation: A Rewarding Journey of Patience
For those who enjoy witnessing the miracle of life unfold from a tiny seed, Gaya parviflora offers this fulfilling experience. Here’s how to embark on this rewarding journey:
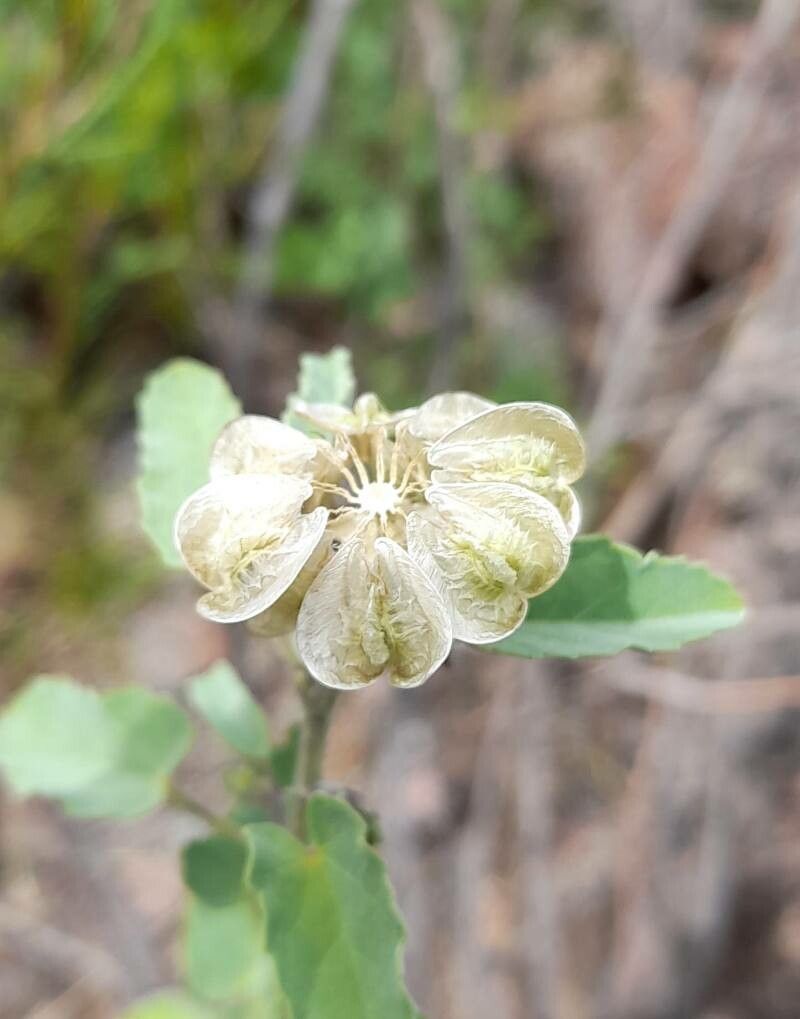
- Seed Collection: Harvest mature seeds in late summer or early fall. Look for seed pods that have turned brown and dried out on the plant.
- Seed Preparation: Gaya parviflora seeds benefit from a period of cold stratification to mimic natural winter conditions and improve germination rates. Store the seeds in a moist paper towel inside a sealed plastic bag in your refrigerator for 4-6 weeks.
- Sowing: In the spring, sow the stratified seeds in seed trays filled with a well-draining seed starting mix. Sow the seeds on the surface and press them in lightly, covering them with a thin layer of vermiculite to help retain moisture.
- Optimal Conditions: Provide warmth (around 65-70°F) and consistent moisture. Place the seed tray in a bright location but out of direct sunlight.
- Transplanting: Germination can take several weeks to a few months. Once the seedlings have developed a couple of true leaves, transplant them into individual pots filled with a well-draining potting mix.
Cuttings: A Faster Route to New Plants
If you’re eager for quicker results or want to ensure your new plants inherit the characteristics of a specific parent plant, propagation through cuttings is an excellent method. Follow these steps for success:
- Timing is Key: Take semi-ripe cuttings in late summer. These cuttings should be taken from healthy, non-flowering stems.
- Taking the Cuttings: Using clean, sharp pruning shears, cut a 4-6 inch section of stem just below a leaf node. Remove the leaves from the bottom half of the cutting.
- Encouraging Rooting: Dip the cut end of the cutting in rooting hormone powder to stimulate root development.
- Planting the Cuttings: Insert the cuttings into a well-draining potting mix, burying the bottom node.
- Creating a Humid Environment: To promote rooting, cover the pot with a plastic bag or humidity dome. This helps maintain moisture levels around the cuttings.
- Patience is a Virtue: It may take several weeks for the cuttings to develop roots. Once rooted, gently tug on the cutting – resistance indicates successful rooting. Gradually acclimatize the rooted cuttings to normal conditions before transplanting them to their permanent location.
Nurturing Your Gaya Parviflora:
Whether you choose seed propagation or cuttings, remember that Gaya parviflora thrives in well-drained soil and prefers a sunny location. Provide regular watering, especially during dry periods, and enjoy the beauty of these charming yellow blooms in your garden.
With a bit of patience and care, propagating Gaya parviflora can be a rewarding experience. So go ahead, unlock the secrets of this delightful plant and expand your horticultural horizons!