Bringing New Life to Geniostoma pedunculatum: A Guide to Successful Propagation
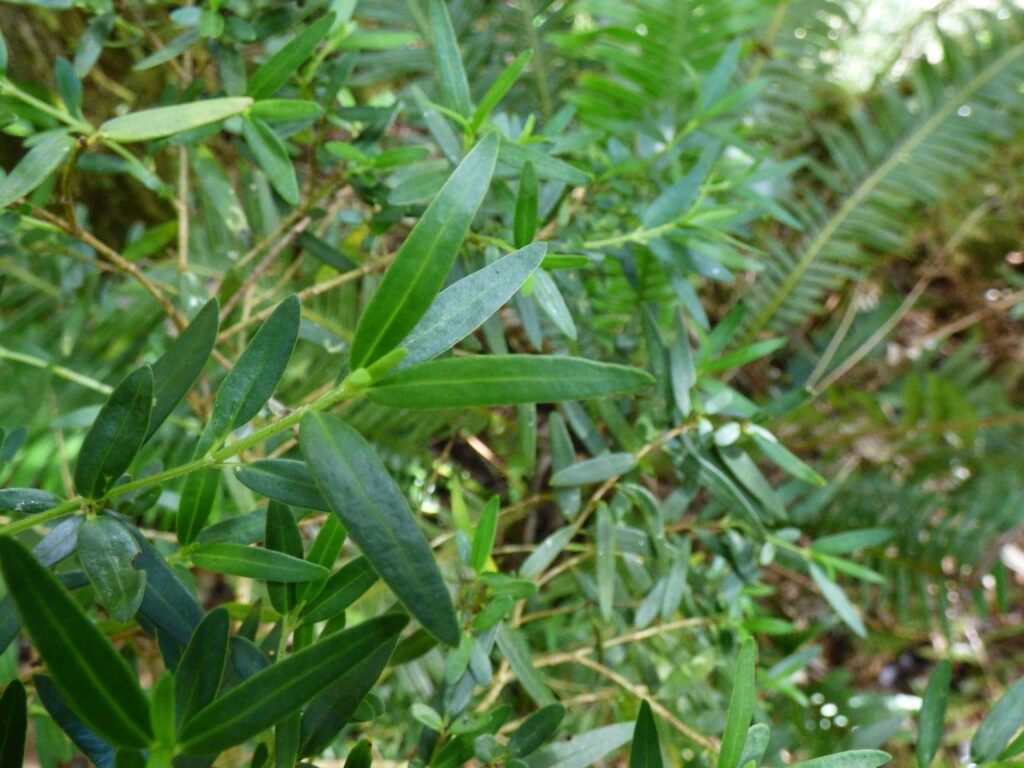
Geniostoma pedunculatum, with its glossy green leaves and delicate white flowers, is a captivating plant that adds a touch of elegance to any garden. But acquiring more of these beauties can sometimes be challenging. Fear not! Propagation is an exciting way to create new plants from existing ones, allowing you to expand your collection and share the joy of Geniostoma pedunculatum with others.
This guide will delve into the world of Geniostoma pedunculatum propagation, providing clear instructions and tips to ensure success.
The Power of Cuttings: A Beginner-Friendly Method
For those new to plant propagation, cuttings offer a straightforward and highly effective approach for Geniostoma pedunculatum. Here’s how to do it:
- Choose the Right Material: Select healthy, non-flowering stems that are about 4-6 inches long. Look for stems with firm, green leaves and avoid any showing signs of disease or damage.
- Prepare the Cuttings: Using a sharp knife or scissors, make a clean cut just below a leaf node. Remove the leaves from the bottom inch or two of the stem.
- Promote Rooting: Dip the cut end of the stem in rooting hormone powder, which helps stimulate root growth. Alternatively, you can use a liquid rooting solution.
- Plant and Water: Insert the treated end of the cutting into a propagation mix, ensuring that the bottom leaves are above the soil line. Water thoroughly, but avoid overwatering, as this can lead to root rot.
- Maintain Ideal Conditions: Place your cutting in a bright, indirect location, ideally with temperatures around 70-75°F. To maintain humidity, you can cover the container with a plastic dome or bag.
- Patience is Key: Rooting can take several weeks, so be patient. After a month or two, gently tug on the cutting to see if it has developed roots.
Harnessing the Power of Seeds
For a more adventurous propagation method, consider starting Geniostoma pedunculatum from seeds. While this option might be slightly trickier, it offers the potential for a large number of new plants:
- Sourcing Seeds: Collect seeds from your existing Geniostoma pedunculatum plant once the capsules have fully ripened and turned brown.
- Pre-Treatment: Seeds of Geniostoma pedunculatum often benefit from pre-treatment to improve germination rates. Methods include scarification (gently nicking the seed coat) or soaking in warm water overnight.
- Sowing and Germination: Fill a seed tray or container with a well-draining seed-starting mix. Sow the seeds thinly, barely covering them with soil. Maintain a consistent moist environment and warm temperatures (around 70-75°F) for optimal germination.
- Time for Patience: Germination can take several weeks, so be patient and keep the soil consistently moist.
- Transplanting: Once the seedlings have developed a few true leaves, carefully transplant them into individual pots filled with well-draining potting mix.
Additional Tips for Successful Propagation
- Water Wisely: Allow the soil to dry slightly between waterings to avoid root rot.
- Inspect Regularly: Check your cuttings and seedlings for signs of pests, diseases, or fungus.
- Provide Adequate Light: Geniostoma pedunculatum thrives in bright, indirect light. Avoid placing them in direct sunlight, which can scorch their delicate leaves.
A Gift of Beauty to Share
Whether you choose cuttings or seeds, propagation allows you to enjoy the captivating beauty of Geniostoma pedunculatum in your garden and beyond. Share your newly propagated plants with friends and family, spreading the joy of this unique and elegant species. Happy propagating!