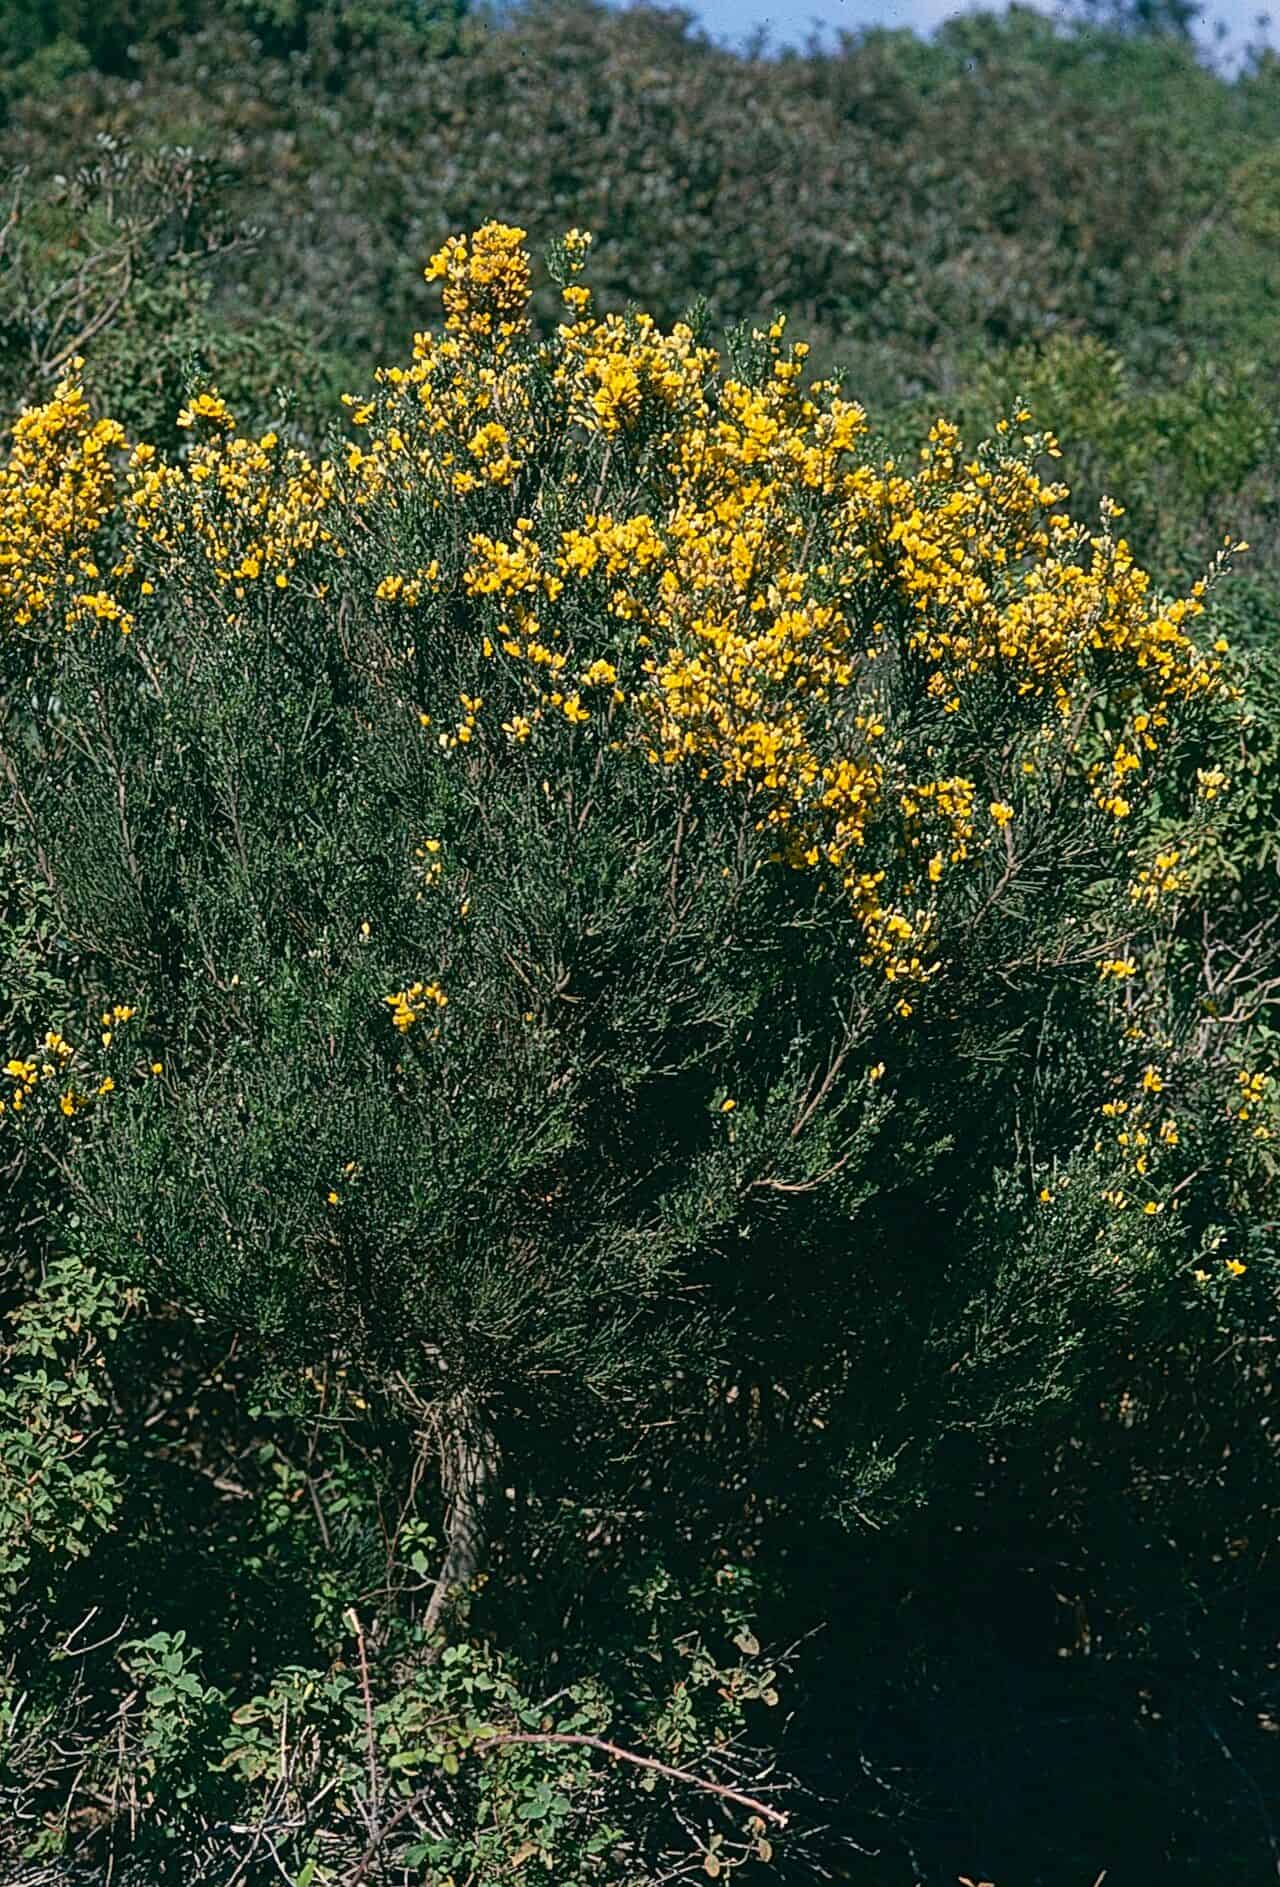
Taming the Wild Beauty: Propagating the Spanish Gorse (Genista aspalathoides)
The Spanish Gorse, or Genista aspalathoides, is not your typical garden variety flower. This wild beauty, hailing from the sunny landscapes of Spain and Morocco, captivates with its vibrant yellow blooms and spiny, evergreen foliage. While it possesses an untamed charm, successfully propagating this sun-loving shrub requires a bit of finesse and understanding of its unique preferences.
Seeds: A Test of Patience
Propagating Spanish Gorse from seed can be a rewarding, albeit lengthy, process. Fresh seeds offer the highest viability, ideally collected in late summer as the seed pods turn brown and dry.
Here’s how to sow your Spanish Gorse seeds:
Scarification: Due to their hard seed coat, it’s crucial to scarify the seeds before sowing. Gently rub them between two pieces of sandpaper or soak them in warm water for 24 hours. This process weakens the outer layer, encouraging germination.
Sowing: Fill seed trays with a well-draining seed-starting mix. Sow the seeds on the surface and lightly cover them with a thin layer of vermiculite or fine grit.
Patience is Key: Maintain consistent moisture and warmth (around 20-25°C). Germination can be erratic, taking anywhere from a few weeks to several months. Don’t lose hope!
- Transplanting: Once seedlings develop a few sets of true leaves, carefully transplant them into individual pots. Gradually harden them off before planting outdoors in spring.
Cuttings: A Faster Approach
For a quicker and potentially more successful method, consider propagating Spanish Gorse from cuttings.
Here’s a step-by-step guide:
Timing is Everything: Take semi-hardwood cuttings (from new growth that’s beginning to firm up) in late summer or early autumn.
Prepare the Cuttings: Using clean, sharp secateurs, take 4-6 inch cuttings just below a leaf node. Remove the lower leaves, leaving just a few at the top.
Hormone Power: Dip the cut end in rooting hormone powder to encourage root development.
Potting Up: Plant the cuttings in a mix of equal parts peat moss and perlite, ensuring good drainage.
Humidity is Key: Cover the pot with a clear plastic bag or propagator lid to create a humid environment. Place it in a warm, bright location, out of direct sunlight.
- Rooting Success: After 4-6 weeks, gently tug on a cutting; resistance indicates successful rooting. Once roots are established, gradually acclimate the cuttings to outdoor conditions before planting them in their permanent location.
Thriving in its Natural Element
Once established, Spanish Gorse is relatively low-maintenance. Plant it in a sunny location with well-drained soil. It thrives in poor soils and tolerates drought conditions, making it ideal for arid regions. While it appreciates occasional watering during prolonged dry spells, be sure to avoid overwatering.
A Note of Caution:
Be aware that Spanish Gorse can be invasive in some regions due to its prolific seed production. Regularly deadhead spent blooms to prevent unwanted spreading.
A Rewarding Challenge
Propagating Spanish Gorse might require a bit more patience and attention than some plants, but the reward of these sunshine-yellow blooms in your garden is well worth the effort. So, embrace the challenge, and bring a touch of the Spanish wilderness into your own backyard!