Sun-Kissed Cascades: Propagating Your Own Genista Lydia
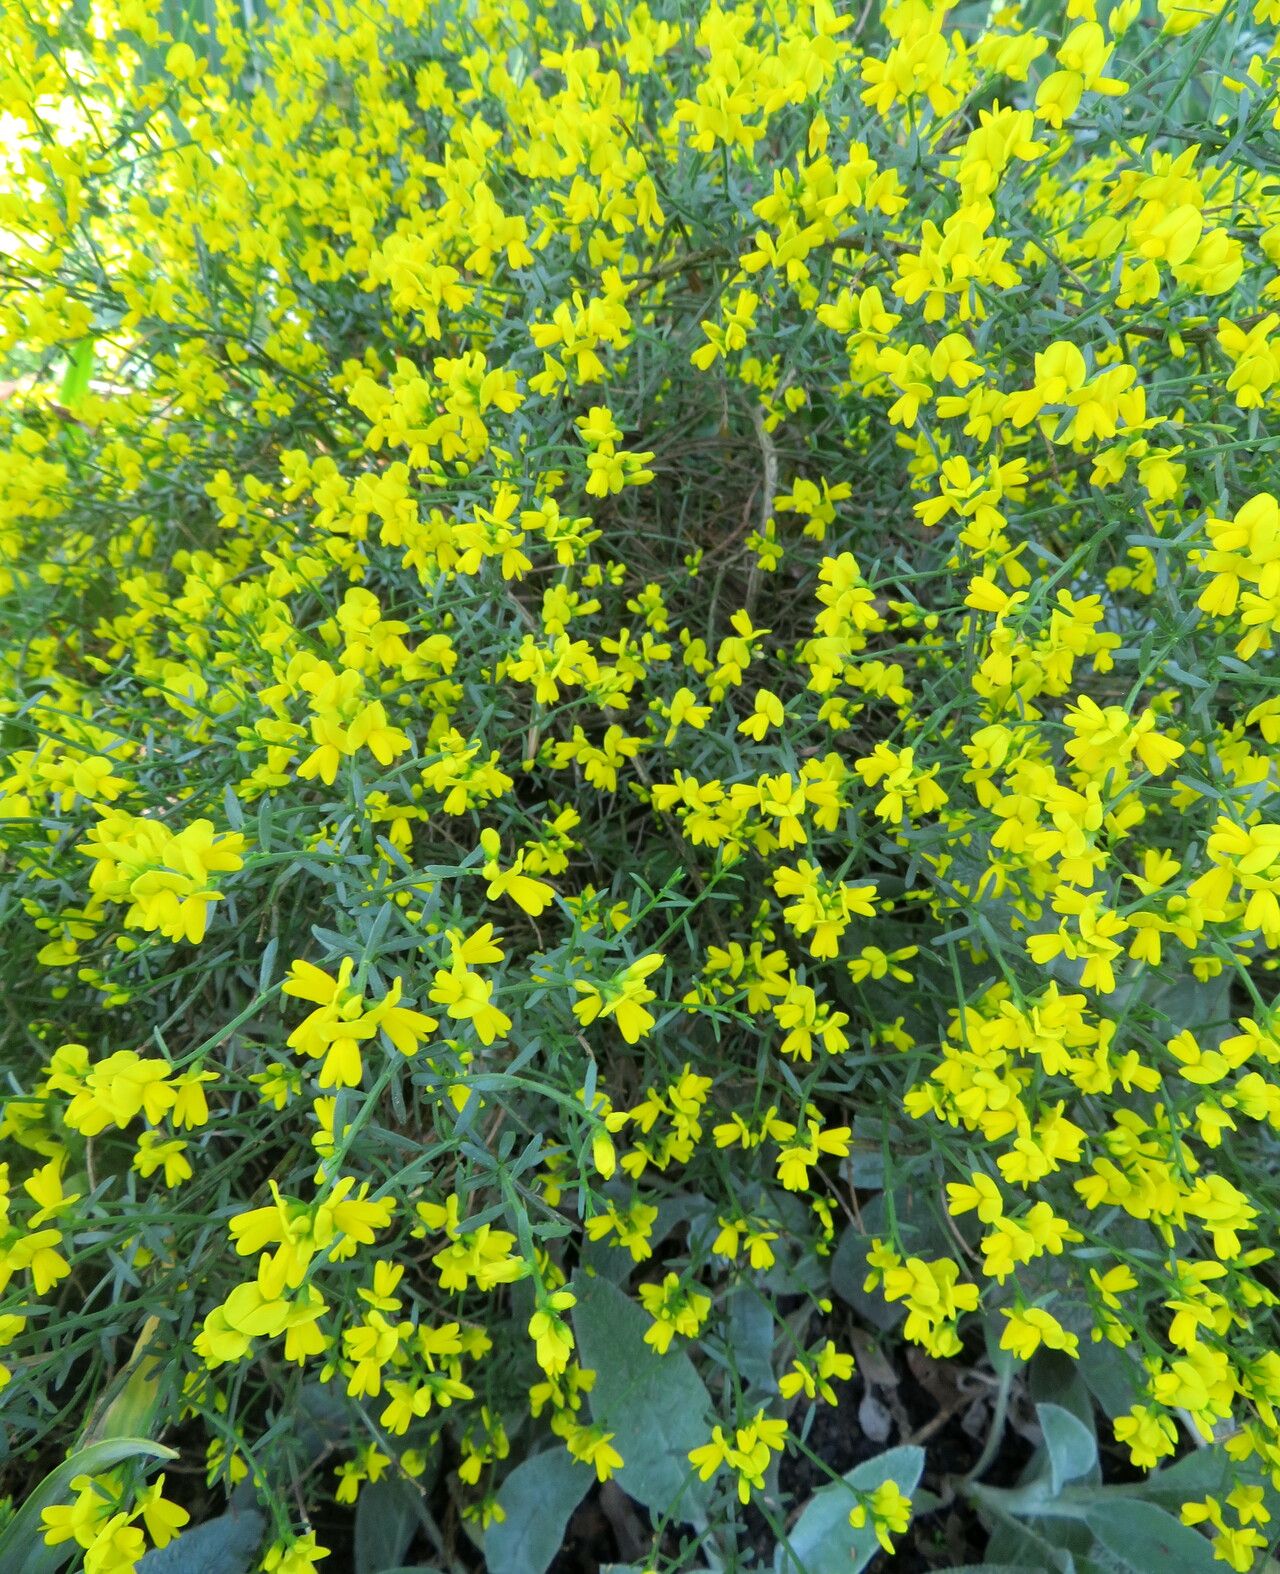
Genista lydia, with its vibrant yellow blooms cascading like waterfalls of sunshine, is a sight to behold. This hardy, low-maintenance shrub can bring a touch of Mediterranean magic to any garden. But did you know that propagating your own Genista lydia is surprisingly simple? Whether you want to multiply your existing plants or share the joy with friends, this guide will equip you with the knowledge to propagate like a pro.
Understanding the Options:
There are two primary methods for propagating Genista lydia:
Seed Propagation: While possible, growing Genista lydia from seed can be less predictable and more time-consuming. Seeds require scarification (lightly scratching the hard outer layer) and may have a lower germination rate.
- Semi-hardwood Cuttings: This method, utilizing portions of the plant’s stem, is generally more successful and yields quicker results.
The Semi-Hardwood Cutting Advantage:
Propagating Genista lydia from semi-hardwood cuttings offers several benefits:
- Higher Success Rate: Cuttings have a higher chance of developing into healthy plants.
- Faster Growth: Plants propagated from cuttings mature faster than those grown from seed.
- Clonal Replication: This method ensures you’re creating an exact genetic copy of your parent plant, preserving its desirable traits.
Step-by-Step: Propagating Genista Lydia from Cuttings:
1. Timing is Everything: The ideal time to take cuttings is late summer or early fall when the plant’s growth is mature but still somewhat pliable.
2. Gather Your Tools: You’ll need:
- Sharp pruning shears or a clean, sharp knife
- Small pots (approximately 3 inches in diameter)
- Well-draining potting mix specifically formulated for cuttings
- Rooting hormone powder (optional but recommended)
3. Select Healthy Cuttings:
- Look for healthy, non-flowering stems that are about 4-6 inches long.
- Make a clean cut just below a leaf node (the point where a leaf emerges from the stem).
4. Prepare Your Cuttings:
- Remove the leaves from the bottom third of the cutting.
- Dip the cut end in rooting hormone powder (this encourages root development).
5. Pot Your Cuttings:
- Make a small hole in the center of each pot filled with the prepared potting mix.
- Gently insert the cutting into the hole, ensuring the bottom node is buried.
- Lightly firm the soil around the base of the cutting.
6. Provide the Ideal Environment:
- Water the cuttings well, allowing excess water to drain.
- Place the pots in a bright location, but out of direct sunlight.
- Maintain a consistently moist environment, but avoid overwatering which can lead to rot. A humidity dome or clear plastic bag over the pot can help retain moisture.
7. Patience is Key:
- It typically takes 4-6 weeks for roots to develop. You can gently tug on the cutting to check for resistance, which indicates rooting.
8. Transplanting Success:
- Once rooted, gradually acclimate the cuttings to outdoor conditions by slowly increasing their exposure to sunlight.
- Finally, transplant them to larger pots or directly into your garden.
Enjoying Your Sun-Kissed Creations:
With a bit of patience and care, you can easily multiply your Genista lydia, creating a stunning display of golden blooms year after year. Soon, your garden will be overflowing with these radiant shrubs, spreading sunshine and joy wherever they bloom.