Unveiling the Secrets of Geum Heterocarpum Propagation: From Seed to Success
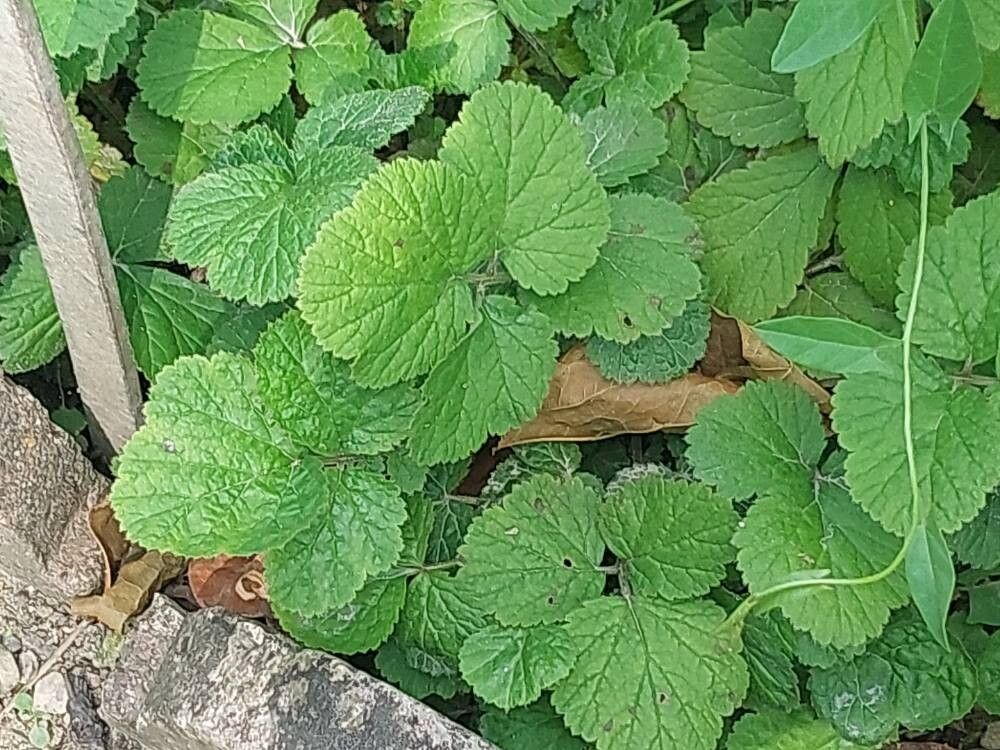
Geum heterocarpum, a lesser-known gem among the Geum family, offers delicate apricot-hued blooms and a charming wildflower appeal. If you’re looking to invite this unique beauty into your garden, understanding its propagation methods is key. While not as commonly found in nurseries, propagating Geum heterocarpum can be a fulfilling endeavor for gardening enthusiasts. Let’s delve into the methods that will lead you to a flourishing patch of this captivating plant.
Method 1: Seed Germination – Patience is a Virtue
While it requires a bit more time and dedication, propagating Geum heterocarpum from seed offers a sense of accomplishment and a cost-effective way to expand your collection.
Steps for Seed Germination:
- Harvesting Seeds: Collect ripe seed heads from existing plants in late summer or early fall. These seed heads should be brown and dry for optimal seed viability.
- Seed Preparation (Stratification): Geum heterocarpum seeds benefit from a period of cold stratification, mimicking natural winter conditions.
- Mix the seeds with a small amount of damp vermiculite or sand.
- Place the mixture in a sealed plastic bag and store it in the refrigerator (around 4°C) for 4-6 weeks.
- Sowing the Seeds:
- Once stratified, sow the seeds in seed trays or pots filled with a well-draining seed starting mix.
- Sprinkle a thin layer of vermiculite or fine soil over the seeds, just enough to cover them lightly.
- Mist the soil surface with water, being careful not to dislodge the seeds.
- Providing the Right Environment:
- Place the trays or pots in a bright location, but out of direct sunlight.
- Maintain a temperature around 18-21°C for optimal germination.
- Germination: Be patient! Geum heterocarpum seeds can take anywhere from 2 to 8 weeks to germinate. Keep the soil consistently moist but not waterlogged.
- Transplanting: Once the seedlings have developed a couple of true leaves, they can be carefully transplanted into individual pots or directly into the garden.
Method 2: Division – Sharing is Caring
For established Geum heterocarpum plants, division offers a quicker and more straightforward method of propagation.
Steps for Division:
- Timing: Divide established plants in early spring or fall, when the weather is cool and the plant is dormant or just emerging from dormancy.
- Lifting the Clump: Carefully dig up the entire clump of the plant, ensuring you get as much of the root system as possible.
- Division: Using a sharp, clean knife or garden spade, divide the clump into smaller sections, ensuring that each section has a healthy portion of roots and shoots.
- Replanting: Replant the divisions at the same depth they were growing previously, spacing them about 30cm apart to allow for adequate airflow and growth.
Caring for Your New Geum Heterocarpum Plants
Whether started from seed or division, young Geum heterocarpum plants require consistent moisture, especially during their first year.
- Watering: Water deeply but infrequently, allowing the soil to dry slightly between waterings.
- Light: Plant Geum heterocarpum in full sun to partial shade for optimal growth and flowering.
- Soil: Well-draining soil is essential to prevent root rot.
By following these propagation methods and providing attentive care, you’ll be able to enjoy the delicate charm of Geum heterocarpum in your garden for years to come. As the plants mature, you can continue to divide them and share the joy of this unique species with fellow gardening enthusiasts.