Unlocking the Secrets of Giliastrum Rigidulum: A Propagation Guide
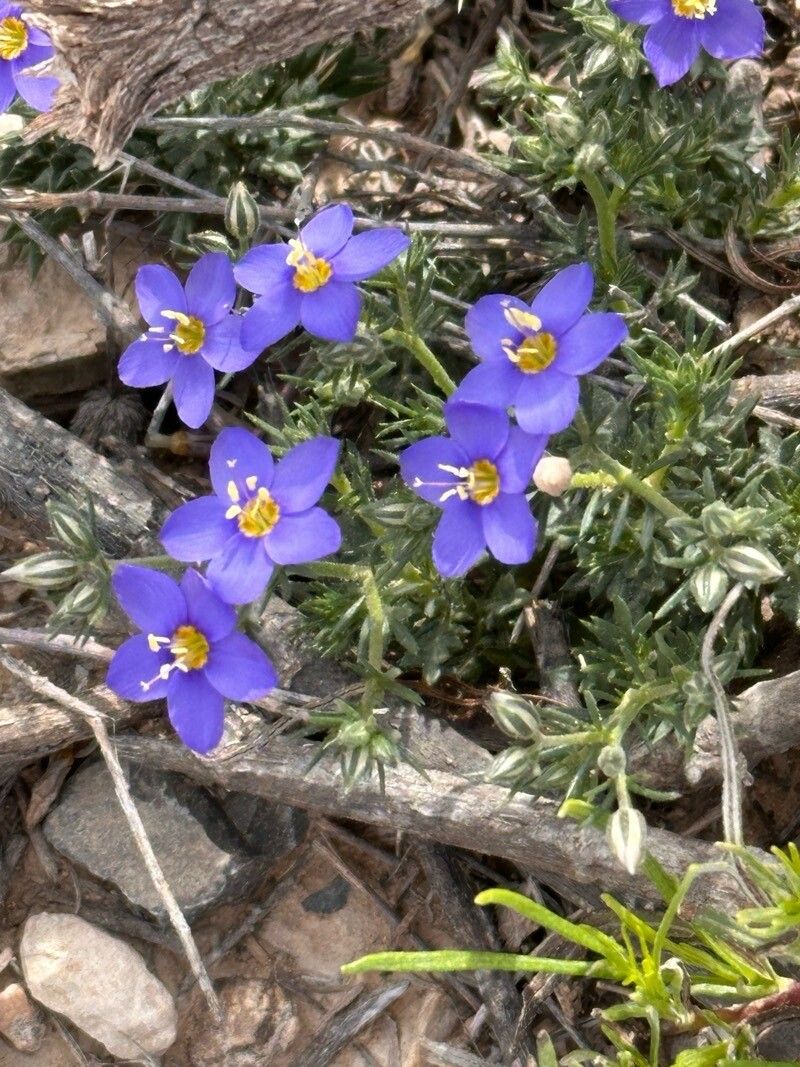
Giliastrum rigidulum, with its charming pink star-shaped blooms and drought-tolerant nature, is a fantastic addition to any garden. This Southwestern native, also known as rigid gilia or bluebowls, brings a delicate beauty and effortless charm to xeriscapes, rock gardens, and wildflower meadows alike.
While you can often find Giliastrum rigidulum plants at specialty nurseries, propagating your own allows for greater control and, let’s be honest, a deep sense of satisfaction. Don’t worry – it’s easier than you think!
This guide will delve into two effective methods for propagating Giliastrum rigidulum:
Method 1: Seed Propagation
- Timing is Key: The ideal time for sowing Giliastrum rigidulum seeds is in the fall or early spring. This timing takes advantage of the natural cool and moist conditions preferred by the seeds for germination.
- Sowing the Seeds: Choose a well-drained seed starting mix or create your own using a combination of peat moss, vermiculite, and perlite. Sprinkle the seeds over the surface and lightly press them in, ensuring they are covered by a thin layer of the mix.
- Water Wisely: Mist the soil surface regularly to keep it consistently moist but not waterlogged. Excess moisture can lead to damping-off, a fungal disease that affects seedlings.
- Location, Location, Location: Place your seed tray in a bright location out of direct sunlight. A south-facing window with filtered light is ideal.
- Germination Patience: Giliastrum rigidulum seeds typically germinate within 2-4 weeks, depending on the temperature and humidity levels.
- Thinning the Herd: Once the seedlings have developed a few sets of true leaves, thin them out to give the strongest ones ample space to grow. You can gently transplant the thinned seedlings to individual pots if desired.
Method 2: Cuttings
- The Right Timing: Take cuttings in the spring from healthy, non-flowering stems.
- Making the Cut: Using a sharp, sterilized knife or pruning shears, cut a 4-6 inch section of stem just below a leaf node (the point where a leaf emerges from the stem).
- Prepping the Cutting: Remove the lower leaves from the cutting, leaving only a couple of leaves at the top.
- Encouraging Root Development: Dip the cut end of the stem in rooting hormone powder to stimulate root growth (optional but recommended).
- Planting the Cutting: Insert the cutting into a well-draining potting mix, burying at least one leaf node.
- Creating a Humid Environment: Place the pot in a clear plastic bag or cover it with a humidity dome to help retain moisture.
- Patience is a Virtue: Keep the cutting in a warm, bright location out of direct sunlight. It will take several weeks for roots to develop. Tug gently on the cutting after a month; resistance indicates root formation.
Transplanting Your Success
Once your Giliastrum rigidulum seedlings or cuttings have developed a strong root system and are large enough to handle, you can transplant them into your garden or larger pots. Choose a sunny location with well-drained soil for optimal growth.
Propagating Giliastrum rigidulum is a rewarding experience, allowing you to expand your garden with these beautiful and hardy plants. So, embrace your inner gardener, roll up your sleeves, and watch your propagation efforts bloom!