From One Gladiolus to Many: Mastering the Art of Propagating “Gladiolus gunnisii”
Want to transform a single “Gladiolus gunnisii” into a vibrant garden full of these breathtaking blooms? Look no further! This fascinating species, known for its striking red-orange flowers and captivating, almost alien-like appearance, can be easily propagated through several methods.
Understanding the Basics:
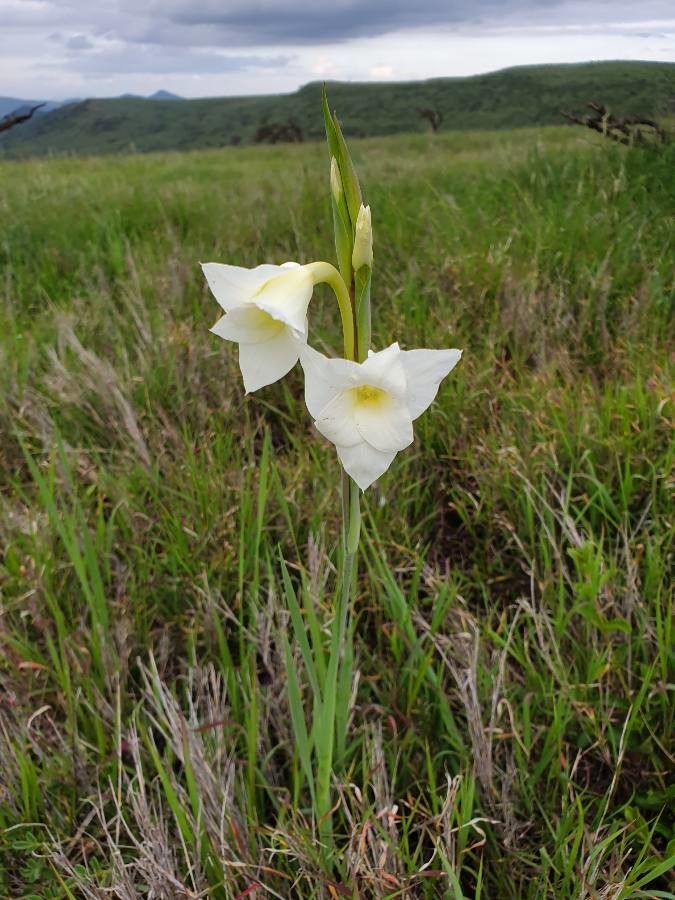
“Gladiolus gunnisii,” often called the “Natal Gladiolus,” is a bulbous plant native to South Africa. Unlike many other gladiolus varieties, it thrives in cool, moist conditions and even tolerates some shade. But here’s the secret – knowing the right propagation techniques can help you create a whole new generation of these captivating beauties.
Method 1: Division
This is the simplest and most common method for propagating “Gladiolus gunnisii”. Here’s how it works:
- Choose the Right Time: Ideally, divide the bulbs in late summer or early autumn after flowering.
- Preparation: Carefully lift the clumps of bulbs from the ground, keeping the soil intact around the roots for maximum protection.
- Divide and Conquer: Gently separate the bulbs, ensuring each division has at least one healthy growth point.
- Replanting: Plant the divisions in well-drained soil, ensuring the top of the bulb is just below the surface.
Method 2: Seed Propagation
While a little more time-consuming, seed propagation allows you to grow a large number of plants from a single bulb. Here’s how to do it:
- Harvesting Seeds: After flowering, the seed pods will form. Allow them to fully mature and turn brown before harvesting.
- Sowing Seeds: Sow the seeds in a seed tray filled with a moist, well-draining seed-starting mix. Cover the seeds lightly with soil.
- Germination Time: Keep the tray in a warm, bright place. Germination can take several weeks. Once seedlings emerge, thin them out to give each plant ample space to grow.
- Transplanting: Once the seedlings are large enough, transplant them into individual pots or outdoors in a prepared bed.
Method 3: Offset Propagation
“Gladiolus gunnisii” forms small, bulb-like offsets around the main parent bulb. These offsets can be used to create new plants:
- Timing is Key: The best time to remove offsets is during the dormant period, typically in late summer or autumn.
- Gentle Removal: Carefully detach the offsets from the mother bulb, being careful not to damage the roots or the offset itself.
- Planting the Offsets: Plant the offsets in pots or directly into the ground, ensuring they are placed just below the soil surface in a well-drained location.
Important Tips for Success:
- Soil Matters: Ensure the soil where you plant your “Gladiolus gunnisii” is well-drained, rich in organic matter, and maintains consistent moisture.
- Watering Wisely: Water regularly, especially during the growing season. However, avoid overwatering, which can lead to root rot.
- Sunlight: Choose a location that receives partial to full shade.
- Pest Control: Monitor your plants for pests like snails and slugs, and take appropriate control measures if necessary.
By understanding the various propagation methods and following these essential tips, you can easily and successfully expand your “Gladiolus gunnisii” collection and enjoy the beauty of these spectacular flowers for years to come. Happy growing!